
Give your 3D Printer a Drawing Lesson with this Instructables Project


Instructables contributor Luke Rodley shared a 3D printing project that’s as much a course in 3D design as it is a 3D print job. Rodley’s step-by-step instructions for getting your 3D printer to draw nearly any image puts those willing to take this project on through the rigors. The results are pretty fun and could be more so if you printed on materials other than paper as Rodley suggests.
One of the great aspects of this project is that the software Rodley recommends is open source, so it’s free to download and use. You’ll need a 3D printer, a pen, something to attach the pen to the 3D printer (like a rubber band), and some clips to hold the paper (or other material) onto the print bed. Rodley’s recommended steps go something like this (slightly condensed from his numbered steps, which go into more extensive detail):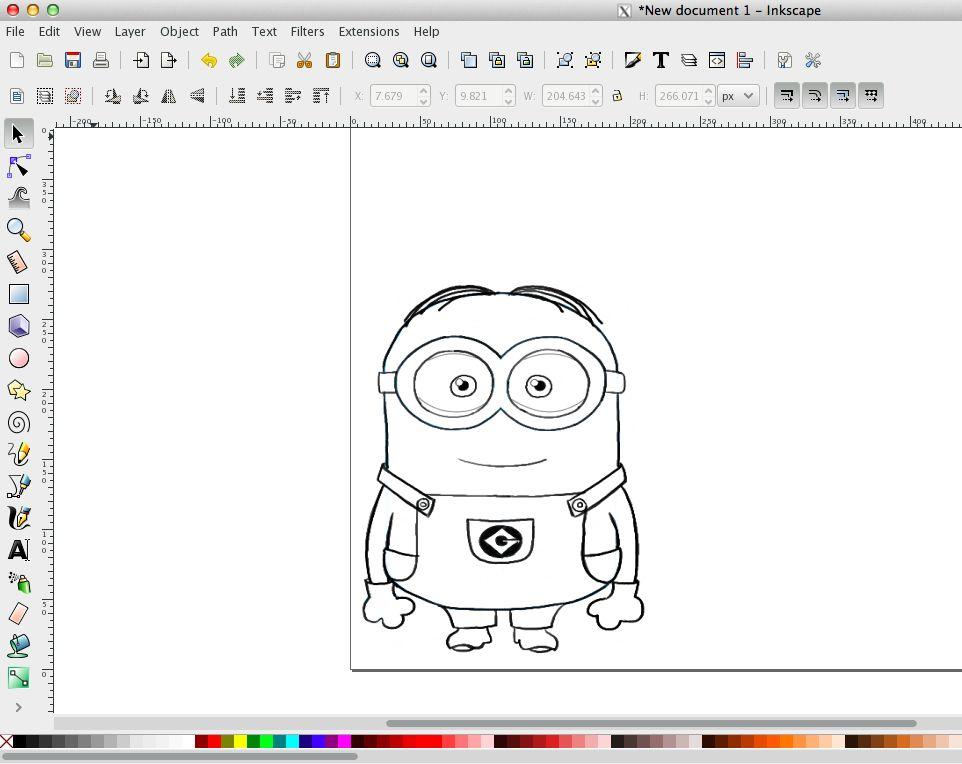
Step 1: Download Inkscape, which is a free, open-source vector graphics editor. You can use Inkscape to create illustrations, line art, charts, logos, diagrams, and even complicated paintings. Inkscape uses .svg (scalable vector graphics) files rather than, say, pixels or bitmaps (both raster graphics). With Inkscape, you’ll be able to convert raster graphics to .svgs, which are needed in order to coax the 3D printer to do the drawing for you. (If you’re running Inkscape on a Mac, you will need to download XQuartz, which will allow you to run Inkscape on your computer.) You’ll also need to download the Inkscape Laser Tool Plug-In. Go to the site and click on “Inkscape Laser Tool Plug-In” to begin the download. Pretty straightforward.
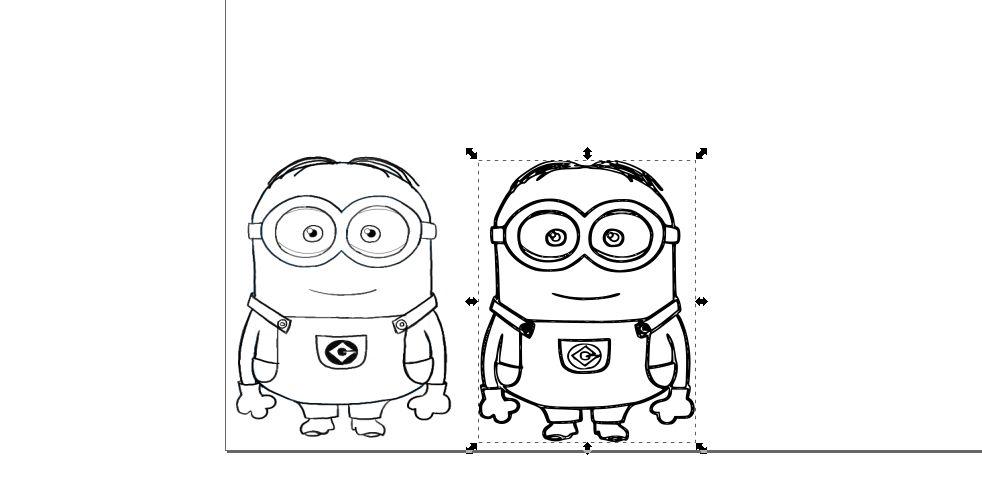 Step 2: This is the fun one: Decide what image you would like your 3D printer to draw. Note that the image should be primarily black and white; images with lots of gray tones won’t work as they would be too difficult to convert to vector with good, crisp lines. Import the image into Inkscape, then scale it down and drag it to the bottom left corner (this is because the extension treats the lower left corner as if it were the coordinates (0,0) on your 3D printer.
Step 3: This is the exciting moment when you convert the image into a vector graphic and then the vector graphic to G-Code. These steps are a bit more complicated, so we recommend that you follow Rodley’s instructions on the Instructables page. Once you get your vector image, you can delete the raster image and voilà! you’re onto the next step. Once you’ve done the G-Code conversion, you’ll be loading the G-Code into your printing software. This process might vary depending upon what kind of 3D printer you have.
Step 4: Now you need to set up the printer to draw! First, you need to trim the sheet of paper to fit your printer bed and then attach it using the clips. Use the rubber band to connect the pen to the printer; be sure the pen is held firmly in place so your image isn’t a mess after all of the trouble you’ve gone to.
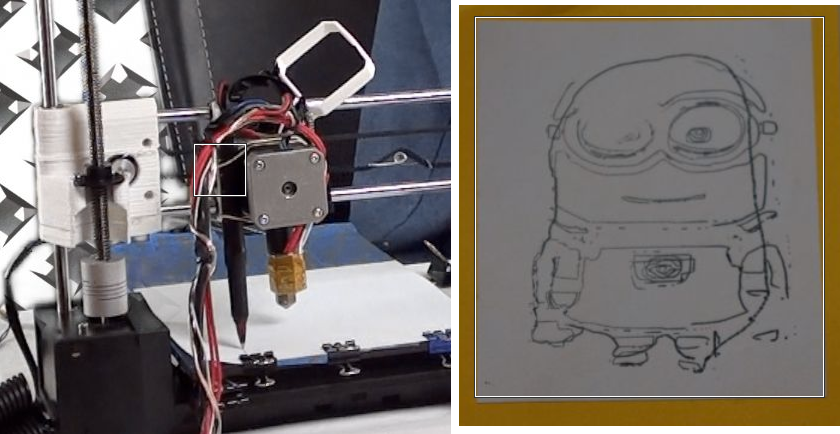
Step 5: Once your pen and paper (or other material) are in place, set all of the printer axes to zero and double-check that the pen is touching the paper. Now, hit “print” and watch your 3D printer draw your image. As the printer draws the image, you can actually adjust the Z-axis by hand to control the thickness of lines or, if you like living on the edge, you can wait and see how it goes.
After having gone through the above steps to create your drawing, you may feel the end result was anti-climactic but consider what you’ve learned in the process and experiment with other drawings. Hey! Maybe you can print yourself some kind of award or, as Rodley suggests, “Try drawing on things like wood or plastics. Another thing that you could do is draw your own paper circuits. If you get a pen that writes in conductive ink, all you have to do is attach it to your printer and load a circuit drawing.” The world is your oyster now!
We’ve seen other uses of 3D printers as 2D drawing machines before, and this version from Instructables certainly seems more accessible to younger or newer makers who are still dipping their toes into the 3D design waters. Learning how to use some of the software will be invaluable for anyone getting involved in the maker scene– and if you need another project for your 3D printer but have too many knicknacks around, this project might be a fun way to use your machine while saving some space.
Is this a project you think you’ll try? Let us know how it goes for you in the 3D Printer Drawings forum thread over at 3DPB.com. Check out the video below wherein Rodley walks us through the entire process.
https://youtu.be/_yxFHpsPAdw
Subscribe to Our Email Newsletter
Stay up-to-date on all the latest news from the 3D printing industry and receive information and offers from third party vendors.
Print Services
Upload your 3D Models and get them printed quickly and efficiently.


You May Also Like
Beyond Thermoplastics: Why JuggerBot Is Betting on Hybrid AM
For years, thermoplastics have been the workhorse of additive manufacturing (AM). They are pretty easy to process, available, and compatible with many of today’s industrial 3D printers. From prototypes to...
RIC Robotics Collaborates with K4k Construction on 3D Printed ADU in Sacramento
In 2024, RIC Robotics, the additive construction (AC) firm based in Denver, completed the build of an accessory dwelling unit (ADU) in Walnut, California, which was apparently an industry first....
Printing Money Episode 40: 3DP/AM Deal Analysis and More with Matthias Schmidt-Lehr, AMPOWER
Welcome to Printing Money Episode 40. Matthias Schmidt-Lehr (AMPOWER, Executive Partner) joins Danny for this episode and we are very thankful to have him back. In Episode 40, Danny and...
Additive Manufacturing at a Crossroads
Additive manufacturing is at a crossroads. Simultaneously, we find ourselves between certain very different modalities, applications, and industries. Rather than being able to explore them all, companies will now have...


