What is Metrology Part 7: GOM
GOM develops, produces and distributes software, machines and systems for industrial and automated 3D coordinate measuring technology and 3D testing. With more than 60 sites and a network of more than 1,000 metrology specialists, GOM provides professional advice as well as support and service to operators on-site in their local languages. In addition, GOM shares knowledge on processes and measurement technology in training courses, conferences and application-based workshops. GOM has been developing measuring technology in Braunschweig since 1990. In the respective research and development departments, more than 100 engineers, mathematicians and scientists shape the measuring technology of the present and the future. Some of their main customers include Audi, Avtovaz, Bentley, BMW, Chrysler, Daihatsu Motor, Daimler, Fiat, Ford, General Motors, Honda, Hyundai, Isuzu, Jaguar, Kia, Land Rover, McLaren, Modenas, NAZA, Nissan, Opel, Porsche, PSA, Renault, Seat, Skoda, Subaru, Suzuki, Tata Motors, Toyota, Volkswagen, Volvo, ABB Turbo systems, Airbus, Air Force Research Labs, Alstom, Aselsan, Boeing, Honeywell, Lockheed Martin, MTU, NASA, Northrop Grumman Systems, ONERA, Pratt & Whitney, RollsRoyce, Saturn and Siemens.
GOM wants to position itself as a precise industrial metrology organization. With this mindset, they have used their technologies in different industrial sectors. These sectors include automotive, aerospace, consumer goods, power generation/propulsion, transportation, biomechanics/medical, sheet metal forming, injection molding, casting and foundry, and education. As a one-source provider for measuring sensors, evaluation software, personal training and professional support GOM is trying to help meet the needs of global industries. GOM´s industrial metrology solutions worldwide support OEMs, suppliers and research centers to optimize processes, to reduce costs and to shorten development times. A majority of metrology organizations are doing similar things as GOM though, so what differentiates them?
GOM offers two comprehensive packages for apprenticeships and training courses: “ATOS for Education” for 3D scan and inspection applications and “ARAMIS for Education” for materials and components testing. Besides the corresponding hardware and software, the GOM education packages also contain laboratory tests and lecture material including detailed background information and much more. With “ATOS for Education” for 3D scanning and inspection applications as well as “ARAMIS for Education” for materials and components testing, GOM offers comprehensive education packages for theory and practice lessons at schools, higher education institutes and universities. In addition to the industrial hardware and software, both packages consist of elaborate laboratory tests and lecture material with detailed background information. Moreover, the educational packages include inspection software for students, practical training for trainers and professional support provided by experienced engineers.
I am very interested in the apprenticeship aspect that GOM offers. It is an interesting way to approach the market. Apprenticeship implies actual learning of technology, inside and out. Through my analysis of other metrology organizations thus far I see a guided focus in combining industry experience with the academic realm. Training the future work force on how to use these technologies helps grow the market. At the same time the next generation of experts will develop a preference for GOM tools. The technologies that GOM uses for metrology include the following:
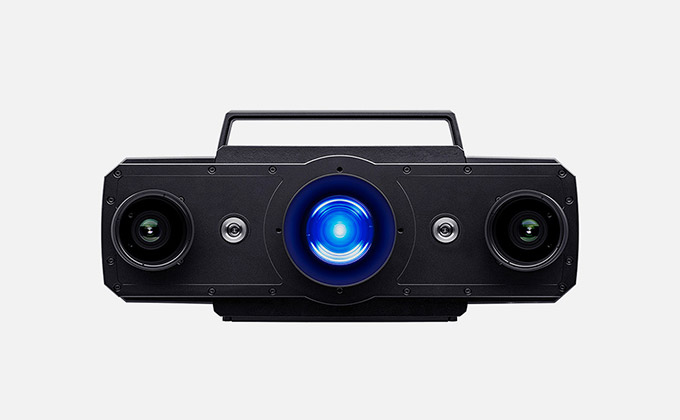
The ATOS 5 scanner delivers high-precision data in a short measuring time even under harsh conditions. The enhanced measuring areas combined with high resolution result in faster processes due to fewer measurements. The ATOS 5X is a similar system. With a strong light source, ATOS 5X enables the use of large measuring volumes for maximum speed in automated applications. In combination with the ATOS ScanBox series, ATOS 5X is a high-end scanning system for tool, press and body shops.
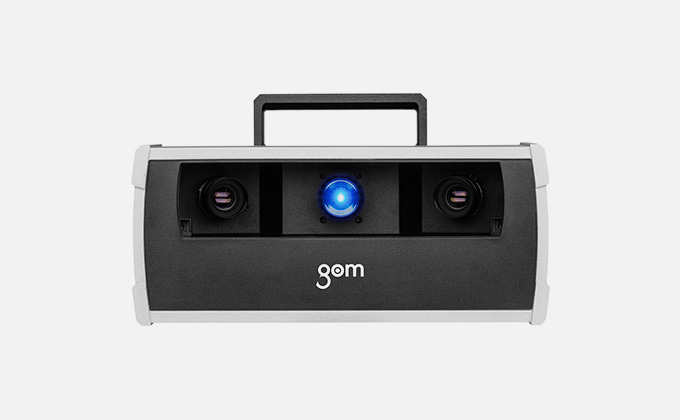
ATOS Triple Scan is a high resolution, optical digitizer that delivers rapid and precise three-dimensional measuring data for the optimization of design processes, thereby improving industrial production processes. ATOS sensors are used in many industries for the inspection of parts such as sheet metals, tools and dies, turbine blades, prototypes and injection molded and pressure die-cast parts. In the standardized measuring machine ATOS ScanBox, ATOS Triple Scan is used for fully automated measuring and inspection of parts. The ATOS ScanBox is an optical 3D measuring machine that was developed by GOM for an efficient quality control in production and manufacturing processes. In the ATOS ScanBox models of series 5, 6, 7 and 8, ATOS Triple Scan can be extended with a Plus Box photogrammetry add-on. This allows bigger components or multiple parts to be measured simultaneously.
The ATOS Capsule is an optical precision measuring machine (OPMM) for full-field digitization of contoured part geometries. The fringe projection system of the ATOS series is used for production quality assurance of small to medium-sized parts and excels by its high precision for fine details. ATOS Capsule is utilized, for example, for first article inspection of gears, turbine blades, and wheels as well as medical parts.
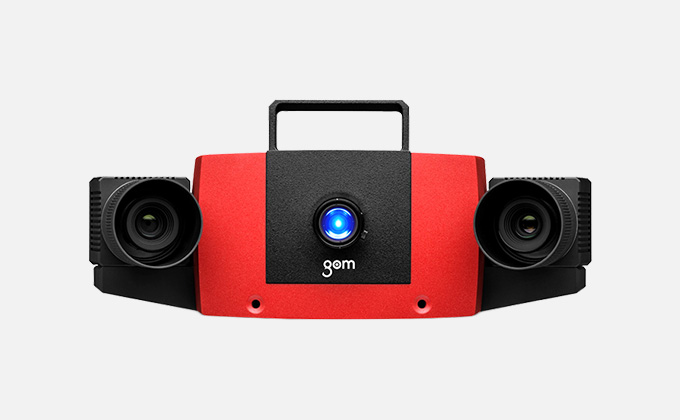
The ATOS Compact Scan provides benchmark level quality in terms of accuracy, sharpness and completeness. This particular system has a scalable measuring area, integrated scanning and tracking functionality, the optical 3D scanner adapts ideally to the challenges of the respective measuring task.
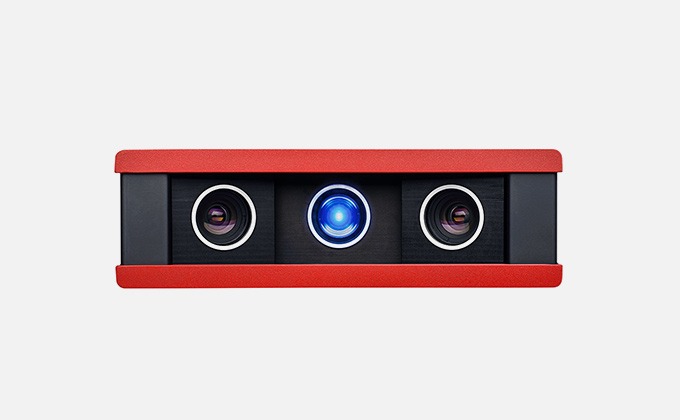
ATOS Core is the specialist for the three-dimensional measurement of small components up to 500 millimeters in size. The sensor forms the basis for a diverse range of measuring tasks – from simple 3D scanning to fully automated measurement and inspection processes. The ATOS Core is used for the three-dimensional measurement of small and medium-sized objects such as ceramic cores, and cast parts. To capture large objects of several meters in optimal workflows, the ATOS Core can be easily combined with digital photogrammetry of GOM’s optical 3D coordinate measuring machine TRITOP. TRITOP is an optical 3D Coordinate Measuring Machine meant for attachment and supplementing measurement capabilities. The portable TRITOP CMM system measures coordinates of three-dimensional objects quickly and precisely. Measuring tasks that were traditionally performed by tactile 3D coordinate measuring machines can now be carried out with the TRITOP CMM system. It does not require any complex, heavy and maintenance-intensive hardware.
With the skills required to use these items, and the interesting position that GOM places itself within the market as a precise metrology organization, I am intrigued by the future development of their organization and how it will proceed in the future. I will also be looking into how one can do an apprenticeship through GOM. I’ll be doing some follow up research and outreach to individuals within GOM.
Subscribe to Our Email Newsletter
Stay up-to-date on all the latest news from the 3D printing industry and receive information and offers from third party vendors.
Print Services
Upload your 3D Models and get them printed quickly and efficiently.
You May Also Like
MX3D Receives €7 Million in Series A Funding for WAAM Services
Dutch large-format wire arc additive manufacturing (WAAM) firm MX3D has gotten a €7 million ($7.8M) investment in its Series A round. The round is led by EDF Pulse Ventures, with...
3D Printing News Briefs, April 23, 2025: Awards, Scalmalloy, & More
We’re starting with double awards for AMIS in today’s 3D Printing News Briefs, as the company was recently honored on both sides of the Atlantic! Moving on, BLT Europe announced...
3D Printing News Briefs & Events Roundup: March 8, 2025
Starting this week, we’re shaking things up a little! We’ll be combining our 3D Printing News Briefs with a more curated weekly list of 3D printing webinars and events to...
Endgame for Currant 3D and Sugar Lab as the Pioneers of 3D Printed Sweet Treats
From powdered sugar to gravity-defying creations, the 3D printing of sweet treats was pushed further than ever by culinary brands Currant 3D and Sugar Lab. Co-founded by Kyle von Hasseln...


