MakerBot’s Helpful Post-Processing Guides Offer Detailed Step-By-Step Instructions on Painting, Vacuum Forming, and More


 Desktop 3D printing has had a big impact on what and how students can learn in school, and also how professionals work. However, many people simply don’t realize what is possible with 3D printed objects. It can be more than an early concept model, teaching aid, or just a cool object that you pry off the printing bed and use once. It can be a functioning machine, a realistic prototype, or even a mold for an end-use product. MakerBot has always made it a priority to continue educating the 3D printing population, adults and children alike, on the best ways to utilize the technology. It hosted several big Makeathons this summer, including one in our nation’s capitol, launched a free 3D printing and design learning guide for schools, and posted a helpful guide on how to properly provide attribution to designs found on Thingiverse.
 Now the company is at it again, with some helpful post-processing guides the employees spent months working on. These cost-effective techniques for creating functional machines, prototypes, and molds are here to “help you take your ideas beyond the build plate.”
MakerBot posted, “We created these guides based on feedback from our customers and the wider 3D printing community. Each guide offers effective powerful techniques for getting even more from your 3D prints.”
For each how-to category, MakerBot shows you exactly what to do: the guide tells you approximately how long the process takes, lists the supplies you’ll need, and offers helpful tips throughout. You can check out all of the full how-to videos and step-by-step guides, but here is a quick breakdown of what you can learn using MakerBot’s post-processing guides:
Sanding, Gluing, Painting
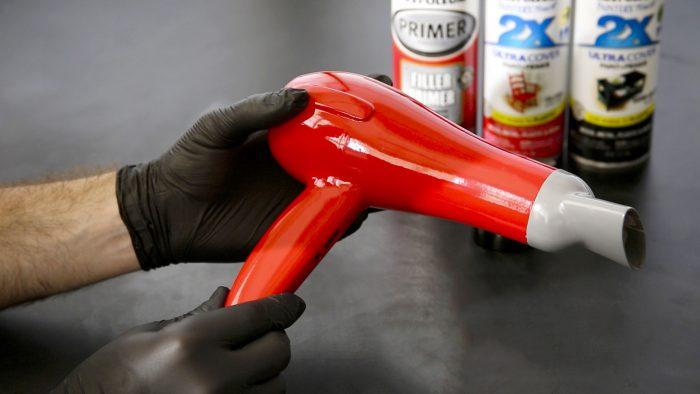 You can always sand down a rough surface to make your model look a little cleaner, and then be done with it. But by sanding, gluing, and painting your models, you can make them look completely realistic, perfect for end-stage prototyping. This technique is also helpful when you’re conjoining multiple assembly parts, or making objects that are larger than your 3D printer’s build volume. MakerBot’s guides walk you through these three separate methods by creating and finishing a prototype hairdryer shell (designed by GrabCAD user Ferro), and show you how to complete “a nearly automotive quality paint job on any of your 3D printed objects.”
According to the guides, it took MakerBot three hours to complete the sanding process, twenty minutes to glue the parts together, and six hours to paint; however, the guide does note that these times can vary, depending on the model you use.
Silicone Molding
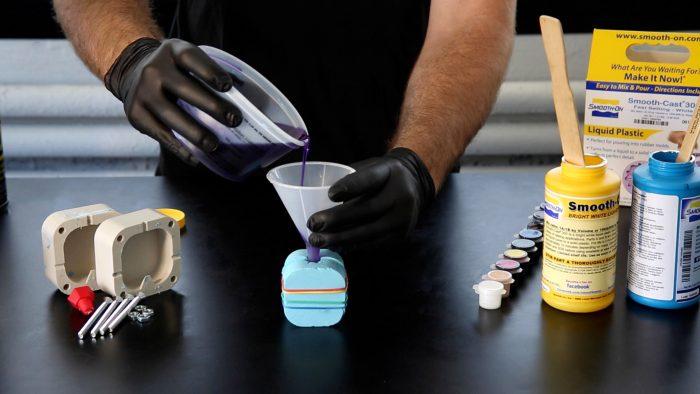
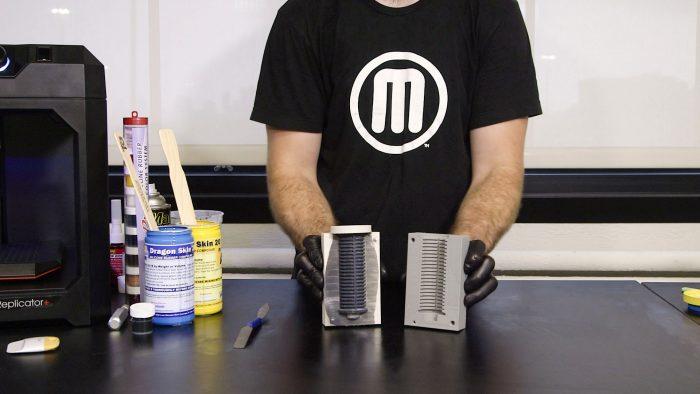 This is a helpful manufacturing method, and MakerBot posted two guides on the technique. In the first, you learn how to create a mold by pouring the silicone around an already 3D printed master; the second guide shows you how to 3D print a mold first, and then pour the silicone into it. The example MakerBot used in the first guide was the cap to a perfume bottle, in order to “understand what the process would look like for a product development team attempting to produce several concept models of a prototype.” The example in the second guide was a rubber bicycle handlebar grip, which MakerBot cast into a 3D printed mold. These techniques are useful because you are not only able to create objects using materials that aren’t generally supported by 3D printers, you can create them faster than you would be able to 3D print them.
Threaded Brass Inserts
This guide shows you how to effectively wield a soldering iron to install threaded brass inserts in a Light Switch Box (designed by Thingiverse user qbasan) that was 3D printed at MakerBot. Many of the common devices you likely have sitting around your house, like TVs and remote controls, use plastic enclosures. If you’ve ever attempted to 3D print an enclosure, or assembly, that had to be fastened using screws, you’re probably already aware that plastic threads do not hold up well against the mighty forces of the common metal machine screw.
According to the MakerBot guide, “Threaded brass inserts can be a great way to add longevity to 3D printed enclosures that need to accept screws.”
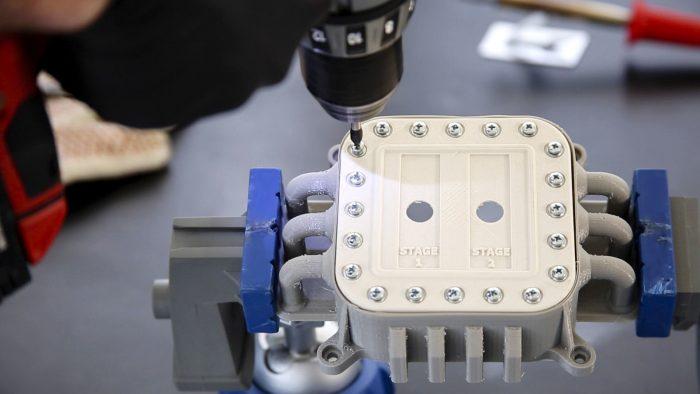 Using this guide to help you install threaded brass inserts, you should be able to fasten and unfasten plastic enclosures hundreds of times, without worrying that they’ll fall apart. MakerBot’s example only took ten minutes to complete, but remember, work time will vary depending not only on your chosen model, but also on how many inserts you want to install. Bonus: the first helpful tip in this how-to guide notes that the manufacturers of threaded brass inserts will “specify the hole size needed for the insert.”
Vacuum Forming
 This common manufacturing process involves heating and forming a sheet of plastic over your mold; this process is frequently used when making products like bathtubs and interior car panels. 3D printing can majorly reduce the cost for manufacturers who use vacuum forming: typical molds are milled out of aluminum, which takes a lot of time and can cost up to several thousand dollars. With 3D printing, you can instead create complex, cost-effective molds. MakerBot’s guide shows you how to vacuum form using a 3D printed mold to create objects like the example they used, the sign that lights up on top of a taxi. The supply list for this guide (including a mold mounting fixture and a cutting tool), is much shorter than the ones for painting and sanding: it only lists seven things you’ll need to complete the project. MakerBot also noted that while their example was created using an industrial vacuum forming machine, you can achieve the same effect by building one at home. Discuss in the MakerBot forum at 3DPB.com.
Subscribe to Our Email Newsletter
Stay up-to-date on all the latest news from the 3D printing industry and receive information and offers from third party vendors.
Print Services
Upload your 3D Models and get them printed quickly and efficiently.










You May Also Like
How One Artist Is Using 3D Printing to Tell Stories About the Ocean
Artist Kimberly Callas sees something different when she looks at a 3D printer. Where others see a machine for making parts, she sees a way to tell stories about the...
Bambu Lab Wants Home 3D Printing to Feel Less Like a Workshop with PLA Pure
As desktop 3D printers become increasingly common in homes, Bambu Lab is focusing attention on something beyond print speed and hardware features. This week, the company launched a new filament,...
AM Asia Watch: China Exported 2.46 Million 3D Printers in Four Months
China’s consumer 3D printer industry seems to be reaching a new level of global dominance. According to Chinese state media outlet China Global Television Network (CGTN), China exported 2.46 million...
Bambu Launches A2L: What the New Printer Reveals About Its Strategy
Bambu Lab continues its relentless march for 3D printing domination with the launch of the A2L. The 330 × 320 × 325 mm printer will have a nozzle temperature of...