Artist Shows Off An Easy Water Marbling Technique for Painting 3D Prints

Without question, 3D printing has opened up new vistas for artists and designers. When it comes to color, however, those vistas can be limiting if not monochromatic. While the technology is catching up with demand, it’s still tough to get really creative with color with the majority of 3D printers on the market as most will only print in one color at a time. Some new 3D printers that can print in multiple colors are making their way to the market, but most are significantly more expensive than most home 3D printers can afford–from about $3,000 and up.
That limitation hasn’t stopped ingenious makers from getting creative. In fact, in some ways it has inspired creative solutions. Do a quick Google search of “painting 3D printed objects” and you’ll be impressed by the results–scores of ideas for colorizing 3D prints.
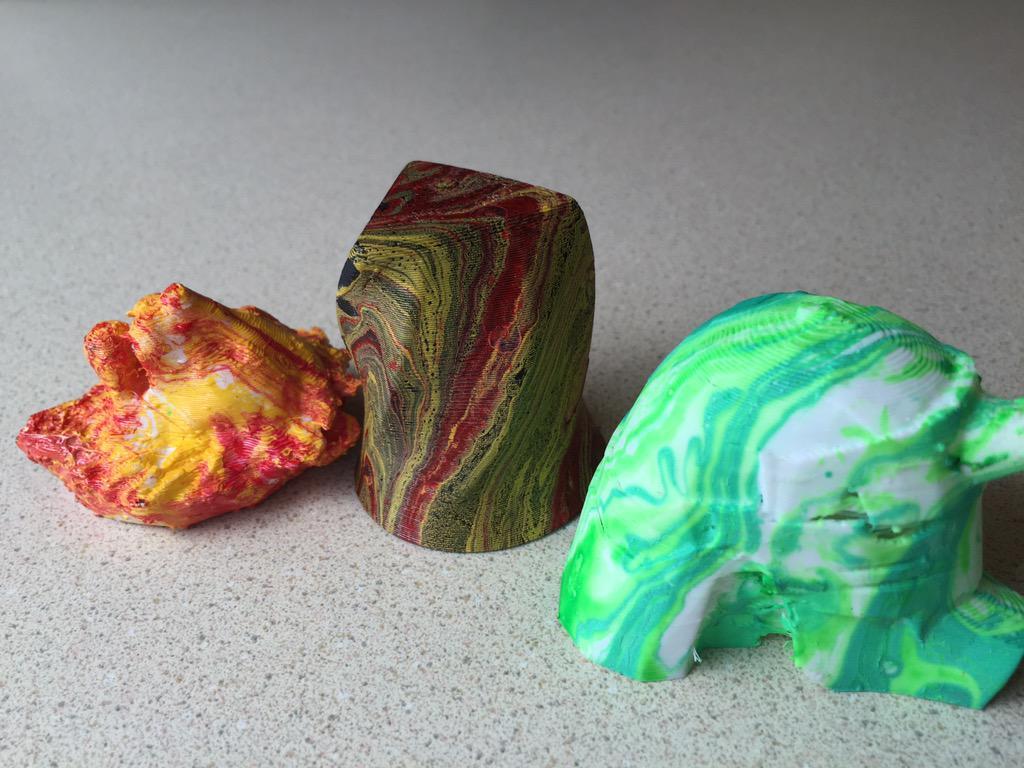 Today, we have a new technique to share, one that was provided by Ben Malesh of the Digital Harbor Foundation, a Tech Center for youth located in Baltimore City in Baltimore, Maryland. Malesh devised a process for water marbling 3D printed objects. The process is ideal for all kinds of objects from statues and other home decor items–lamp bases, vases, storage bins, flower pots, and picture frames–to jewelry and other wearable art.
 Malesh’s step-by-step process seems pretty easy, although we recommend trying it out first on an object that can be tossed if your test run doesn’t provide desired results. You will get the best results coloring objects that are 3D printed in lighter colors. Darker colors like black won’t show the marbling effects especially well, but you may be going for subtlety anyway. Also keep in mind that the colors you are using to create the marbling effect can change the base color of your object. Here’s a great Wiki page that can help you mix colors.
For this colorizing process, you will need the following supplies:
- At least two different colors of spray paint. Do some searching by looking up “marble” and seeing what variations and combinations look best by checking out the real thing
- A 5-gallon bucket (you won’t want to reuse it for anything else, although you can definitely use it again for this process after the original paint dries)
- Fishing line
- Rubber gloves
- Water (enough so that the object you’re marbling will be completely submerged)
The process works like this:
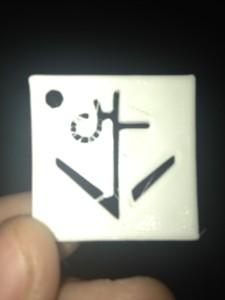
 Select the 3D printed object you want to colorize. Set up a place for the object to dry. This may be a surface covered with paper towels and/or newspaper, or you may devise a basic drying rack with a drip tray beneath it. If you can swing it, the latter approach seems more likely to produce an evenly dried surface with no sticking to the paper towels or newspaper.
- Add a small hole somewhere on the object and then loop the fishing line through it. Make sure that the line is long enough so that you can suspend the object and completely submerge it without getting your gloved hands in the water.
- Fill the bucket with water. Add enough water so that the 3D printed object can be completely submerged.
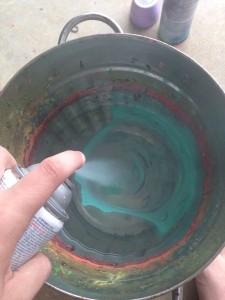
- Spray the first color of spray paint for about 3 seconds into the center of the water. It should form a puddle on the surface of the water.
- Spray the second color for about 3 seconds into the center of the puddle of the first color.
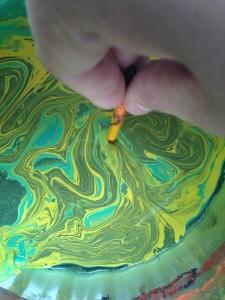
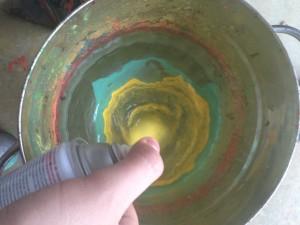 Repeat Steps 4 and 5 anywhere from 5 to 8 times so that you end up with concentric rings of alternating colors. Don’t take a lot of time to do this or the paint will begin to dry on the surface of the water.
- Take a pencil, a drinking straw, or a chopstick (or something like that) and drag it gently through the paint on the surface of the water to create a marbling effect you like.
- Lower the object into the paint and get it completely submerged. If your printed object floats, push it down under the surface of the paint and water gently with a gloved finger.
 Keep the 3D printed object completely submerged for about a minute. This will allow the paint to begin drying under the water.
- While the object is still submerged, grab some paper towels with the other hand and removed the remaining paint from the surface of the water. Keep wiping until as much of the paint as possible is gone. Be sure to wear your gloves while doing this!
- Carefully remove the object from the water. The paint will not yet be dry, so be careful not to touch it.
- Hold the painted object in the air for about a minute and then place it on the towels to dry or hang it from your drying rack.

For added protection, you should be able to use a coat or two of clear acrylic spray paint. To get a realistic marble effect, choose a gloss finish. And voila! You’ve added a whole new level of colorful sophistication to your 3D printed art!
Is this a technique you’ll try? Let us know how it goes for you in the Water Marbling 3D Prints forum thread over at 3DPB.com.
Subscribe to Our Email Newsletter
Stay up-to-date on all the latest news from the 3D printing industry and receive information and offers from third party vendors.
Print Services
Upload your 3D Models and get them printed quickly and efficiently.


You May Also Like
AMT Shakes Up 3D Printing Market with Affordable, High-Performance Post-Processing Consumables
Additive Manufacturing Technologies (AMT), a global leader in automated 3D printing post-processing, is launching a new line of consumables that promises to significantly reduce operational costs for additive manufacturing users....
The Bambu Lab 3D Printing Platform… or Trapdoor?
Bambu Lab began as a completely closed 3D printing system, where the printer, software, and materials all functioned well but were exclusively from the company itself. This approach mirrored Formlabs,...
2025 Renault 5 E-Tech Electric Is Latest Car with 3D Printed Accessories
Due to the required numbers, additive manufacturing (AM) has struggled to make significant inroads into vehicle interiors in meaningful numbers—at least as far as public knowledge is concerned. Typically an...
BMW Completes Project to Automate Plastic 3D Printing
After a three-year journey to efficiently scale polymer 3D printed part production, the POLYLINE project has concluded. This endeavor, headquartered at BMW’s Additive Manufacturing Campus, pooled the expertise of EOS,...