3D Print Your Own Kit for Screen Printing Designs onto Fabric or Paper

In the 1980’s screen printing was all the rage, in large part due to the punk rock movement’s 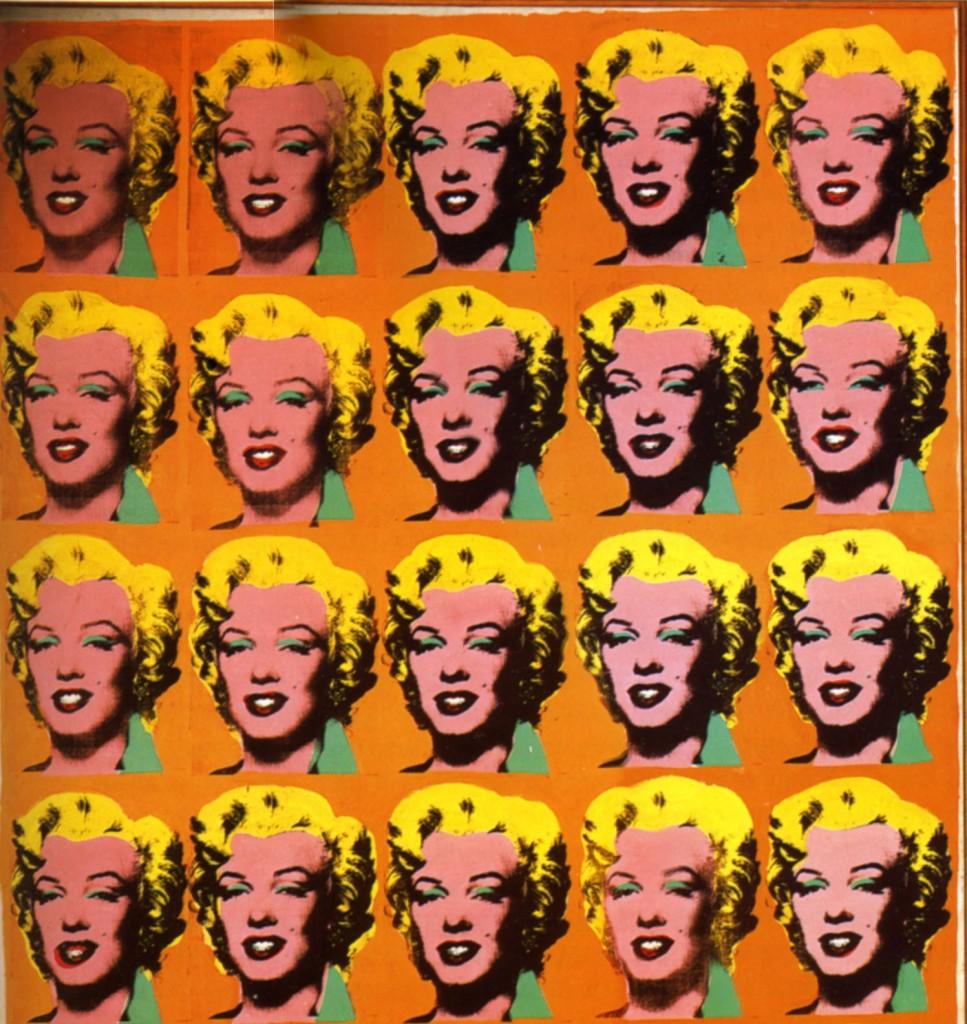 demand for original band t-shirts. That’s when I was first exposed to the concept of silk screen printing, whereby a mesh is used to transfer ink onto a substrate, like fabric, except where a blocking stencil is used to make the ink impermeable. While for me it was the 80’s punk scene that introduced silk screen printing, the practice is traced as far back as China’s Song Dynasty (960-1279 AD). As the technique became more popular in the West, it was the artist Andy Warhol who popularized silk screening in the U.S. art scene of the 1960’s. Ever seen this picture of Marilyn Monroe’s face printed in garish colors over and over again? That is an example of a Warhol silk screen print. Now you may have a better idea of what I am talking about!
Screen printing seems to have withstood the test of time when it comes to mass producing images inexpensively in a low-maintenance and enjoyable process. And now, you can 3D print your very own screen printing kit. The kit is designed by Media, Art, and Design teacher Cam Watt, who claims screen printing as one of his creative interests along with drawing, photography, CAD, and 3D printing. His kit includes a squeegee, frames, and a script to convert png files to stl for 3D printing. Sometimes it can be a problem converting a 2D image into a 3D model, but Watt includes a link to help you do just this. That way, the image you want to print is not limited. There’s also a tutorial on the same conversion process here.
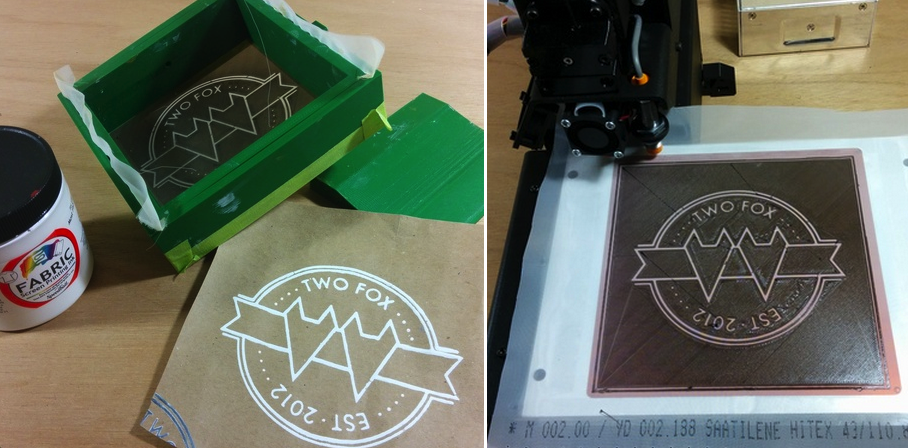
The kit is also fairly compact and durable. It can be printed on any printer that is 6 x 6″ or larger, and it can be used with paper of fabric to make numerous prints. The kit’s total print area is about 120 x 20 mm. In addition to the STL files for the print job, you’ll also need the following items to complete a successful print: 10″X 10″ polyester (screen printing) fabric; screen printing ink; palette knife or popsicle stick; double sided tape; painters tape; a 3D printer that can print 6 X 6″; 3D printing filament (PLA and flexable filament like Ninjaflex); 1X Bolt and Nut #6 1″ long.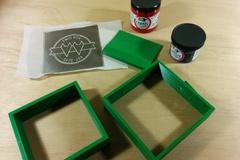
After you’ve prepared your design that you’d like to screen print, you can proceed with 3D printing it. Watt did this using Ninjaflex at 220 degrees C and a bed temperature of 30 degrees C. For the rest of the kit, Watt printed the kit frames, standoff leg, and squeegee in PLA at 30% infill. Once printed, the kit should be assembled and then, of course, used.
This is a great project with a very thorough set of instructions and guidelines. With this, you are basically 3D printing another kind of printer. And this printer can be used over and over again, as needed, for all of the projects you are likely to think of once you get your kit 3D printed. Let us know if you decide to take this project on. Discuss in the 3D Printed Screen Printing Kit forum thread on 3DPB.com
Subscribe to Our Email Newsletter
Stay up-to-date on all the latest news from the 3D printing industry and receive information and offers from third party vendors.
Print Services
Upload your 3D Models and get them printed quickly and efficiently.


You May Also Like
3D Printing Financials: Velo3D Revenue Up Fueled by Defense Momentum
Velo3D (Nasdaq: VELO) reported a strong start to 2026, with revenue rising as defense and aerospace customers continued shifting from pilot programs into full-scale additive manufacturing (AM) production. The company...
AMS 2027: The AM Industry’s Biggest Business Conversations Return to New York
Additive Manufacturing Strategies (AMS) is heading back to New York next February for what has become one of the industry’s most important business gatherings. The 10th annual AMS conference (or...
AM & the Military’s Self-Infliction of Rapid Change
I’ve noted before that the additive manufacturing (AM) market for defense has started to evolve so quickly that it’s impossible to even keep track of all the updates in real...
ROBOZE Buys Dimanex Assets to Build “Physical AI” Platform
Dutch firm Dimanex got its start as an MRO platform for the railways. The company had a contract with the Dutch Army in 2018, and later that year signed one...