Watching This 3D Printed Push Up Automata Work Out Totally Counts as Exercise

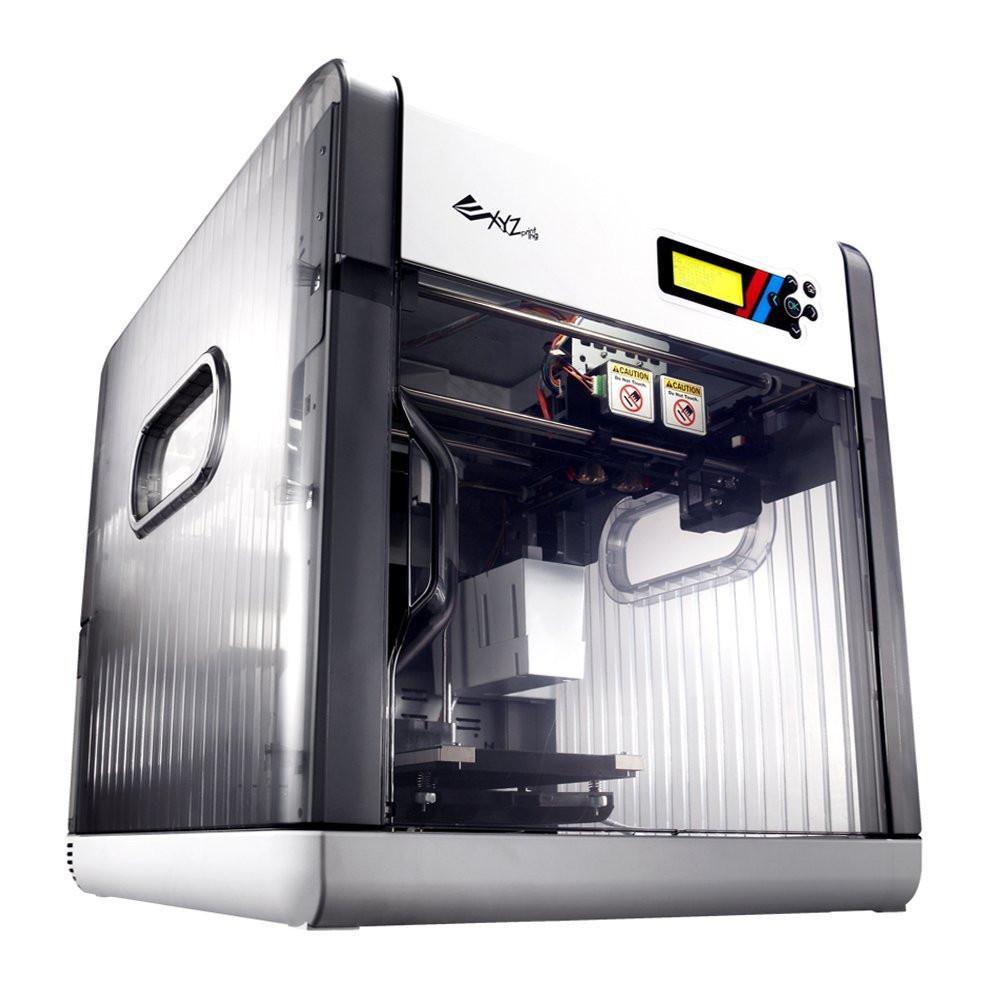
XYZ DaVinci 2.0
One of the reasons that 3D printing technology has been so successful in educational settings is because it allows users to explore the mechanics of design and fabrication quickly, at relatively little cost. While most modern CAD programs allow pre-visualisation and motion testing options, until you have a physical object in your hand it is very difficult to understand how and why something will and will not work. Especially for people without any formal 3D design training or experience. By being able to quickly 3D print a mock-up of a design and test out any simple mechanics, it is easier to find solutions to any inefficiencies in the design.
For 3D animator and future engineering student Daniel Fox 3D printing gave him a chance to bring his 3D designs to life. However he wasn’t interested in making statues or simple objects, he wanted to explore 3D printing simple mechanical objects. He wanted to make objects that had a purpose or a function, and after doing some research he decided to try his hand at making the 3D printed equivalent to some of the wooden automatons that he found online. So after purchasing a XYZ DaVinci 2.0, his first 3D printer, Fox got to work.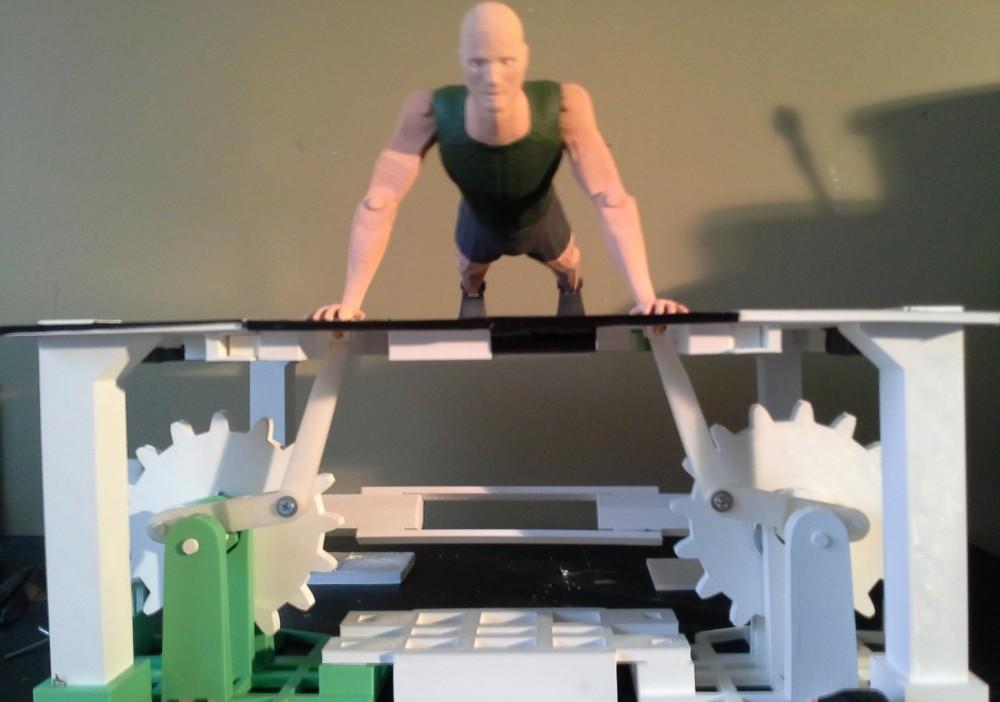
He started by visualizing the type of movement that he wanted to create, and how he could do that entirely with 3D printed parts. Because this would be his first 3D printed project, he wanted to start simple and create a machine that had repetitive and circular movement, so it would continue to reset itself after each motion. For some reason Fox does a lot of pushups and decided to emulate that movement for his first automation.
While still a relatively simple machine, Fox’s 3D Printed Push Up Automation is made up of 81 individual parts and components. His challenge was to hide or reduce the presence of all of the automata mechanics. So he spent weeks in 3D Studio Max testing and retesting various configurations of gears, levers and pulleys until he discovered the combination that would simulate the pushup movement the most efficiently. Take a look at a brief video of his pushup automation and breakaways of the various components:
“Well, as you turn the crank, the main axle rotates. There is a gear on either end of the main axle, which turns the larger gear adjacent to it. Attached to the larger gear is a short radial arm attached to a longer arm. That longer arm is attached to an even longer arm, which is the figure’s forearm, and it extends through the base to act as a lever moving back and forth parallel to the main axle. The back and forth motion acts on the figure’s elbow hinge to lower and raise the torso. There is an independently moving axle inside the shoulder area of the torso, which allows for forward and backward motion. Since the shoulders are on a single-plane hinge, the body needs to move forward and backward in order to be raised and lowered while still being secured to the platform. There are also hinges on the ankles to support this movement,” Fox explained to us.
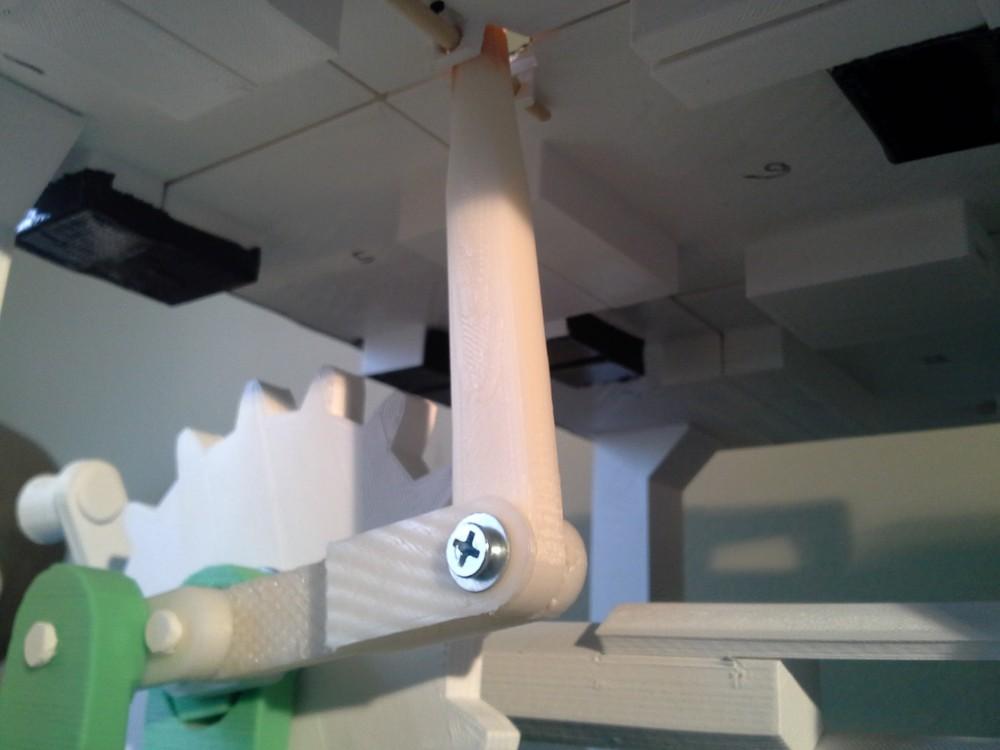
While the final automation was made up of 81 parts, many of those parts needed to be 3D printed and redesigned multiple times. Because this was Fox’s first experience with 3D printing he had to deal with a steep learning curve and go back to the drawing board more times than he could count. This was only his first 3D printing project and he has already devoted almost 300 hours of printing time on his DaVinci. Most of his problems came from the material strength, as plastic simply wasn’t durable enough to hold up to some of the movements his machine required. So he needed to adjust his design to compensate and ended up using a few bolts in places that would wear out 3D printed connectors.
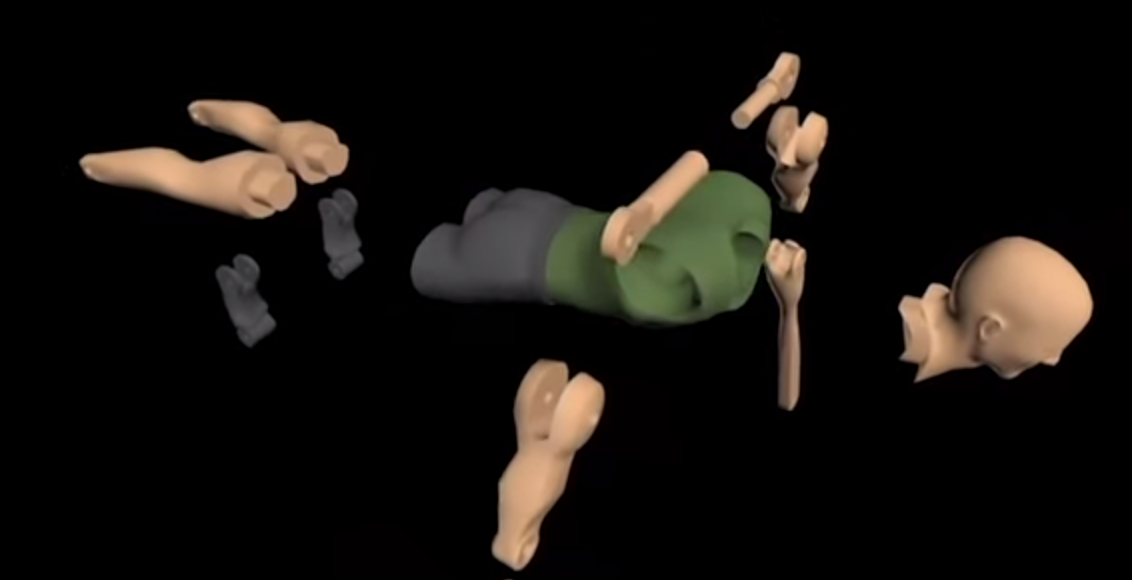
CAD cutout of the components that make up the push up automata
Once he found a sturdy design that would hold up to continuous movement, he 3D printed the final parts and smoothed them where he could with a Dremel. He also painted a few of the parts and added some duct tape to cover up the push up platform. While his first machine is an obvious success, Fox says that he learned quite a bit from the design and fabrication process and is ready to improve on his design. He’s currently brainstorming his follow-up project, which he says should feature less parts but hopefully perform more complex movements. Let us know what you think of Fox’s automata on our 3D Printed Push Up Automata forum at 3DPB.com.
Subscribe to Our Email Newsletter
Stay up-to-date on all the latest news from the 3D printing industry and receive information and offers from third party vendors.
Print Services


You May Also Like
3D Printing Grows to $15.9B in 2024 Amid Shifting Industry Dynamics
The global additive manufacturing (AM) market reached $15.9 billion in calendar year 2024, according to “Q4 2024 3DP/AM Market Data and Forecast” from Additive Manufacturing Research (AM Research). Despite a...
3DPOD 247: LJ Holmes, Executive Director for the Center of Advanced Manufacturing and Materials at Harrisburg University
Executive Director for the Center of Advanced Manufacturing and Materials at Harrisburg University, Larry “LJ” Holmes is a pioneer in applying additive manufacturing to defense and other critical sectors. Part...
Thai Startup OsseoLabs to Cut Surgery Time with 3D Printed Magnesium Implants
A patient undergoing mandibular reconstructive surgery typically faces two separate operations: one to place a custom-fit titanium plate and another month later to remove it. But what if that second...
Japanese Advanced Manufacturing Capabilities Grow in Europe with Sodick’s Purchase of Prima Additive
The global economy is currently undergoing a reshuffling in terms of what gets manufactured where. In large part, this trend is being driven by new geopolitical alliances and the need...