3D Print Your Own Functioning Retro MiniNES for Less than $50

The love for gaming is quite simply, ceaseless, and — most definitely — timeless. It doesn’t matter how many years or decades go by. If you can still find kids entranced by Pong, you better bet Mario on retro consoles is still high up on the list for fun for all ages — and especially with minis.
While the retro theme and gaming are a very popular combo, so is the addition of 3D printing and a wide array of customizations. Most gamers love to modify and hack, and if they can make something on their own that creates even more fun, is affordable, and adds a great conversation factor as well, you can bet they are on it—even if hours of hard work are involved simply for the “hey, look at this cool thing I made” factor — as well as the “and it works!” factor.
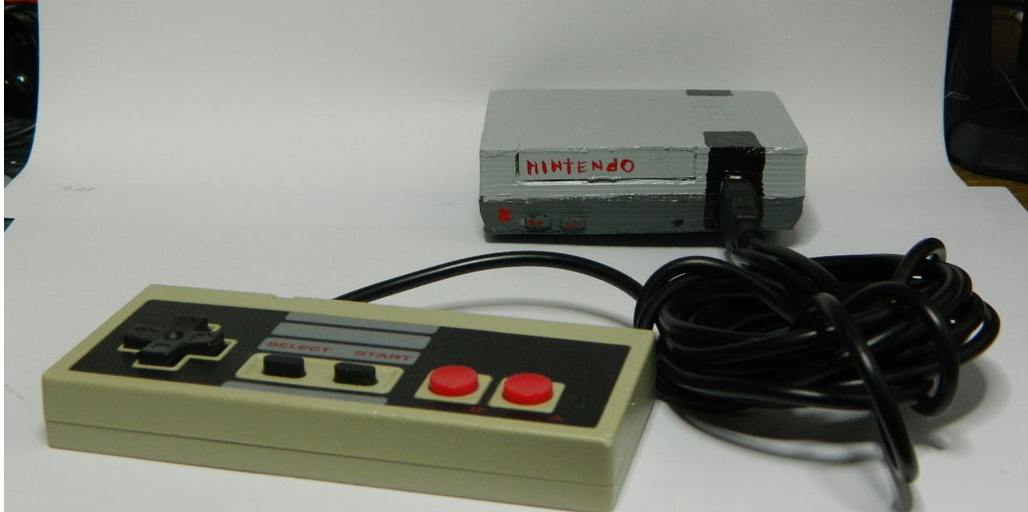
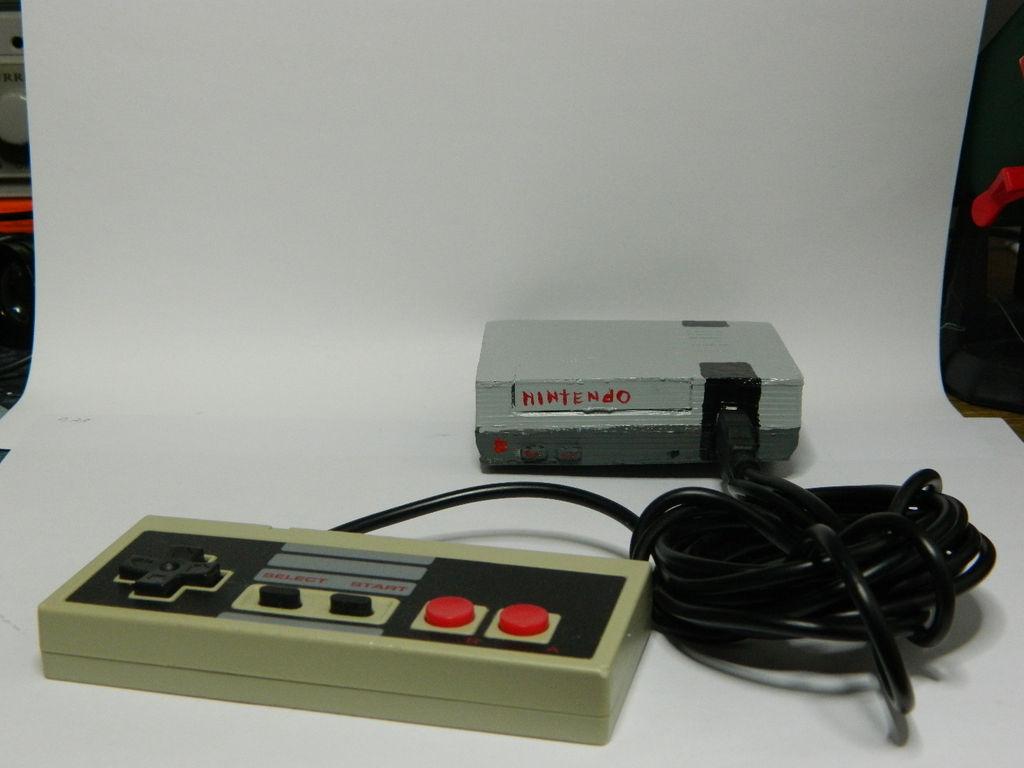
It’s amazing how much you can do with a first-time 3D design and 3D printing project when motivated by sheer recreation — as is evidenced in the 3D printed miniature Nintendo Entertainment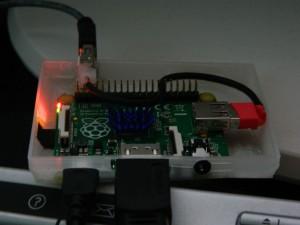 System (MiniNES) by 24-year-old Finnish engineering student Miska Karvonen who enjoyed this project so much, he would like to do this type of ‘work’ as a full-time job. (I’m sure many agree with him!)
For under what would be less than $50 USD, Karvonen was able to make a MiniNES by using a 3D printer, Raspberry Pi, and RetroPie.
So what ingredients will you need for this retro recipe of fun? Before cooking up any fun with Mario and his friends, Karvonen recommends the following basics in his Instructable. The list is simple, and gives any maker some pretty good latitude in parts:
- Any type Raspberry Pi
- Four or more GB SD cards
- HDMI cable
- Television
- Case (optional)
- USB extension cable (optional)
With a total print time of 2.5 hours using a Printrbot 3D printer, Karvonen created the 3D design for the case in Sketchup. It took a couple of prints before he got it just right due to the Z axis being a bit too low at first. Karvonen used hand tools to carve out the appropriate holes in the 3D printed 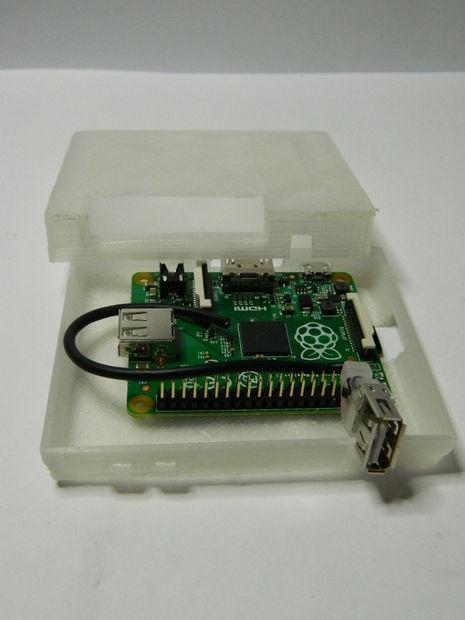 case, as he wanted all the ports in the same places as original device. Miska warns to make sure ahead of time that your USB cord will fit. With hot glue keeping everything stable, he tested the RetroPie, which you can get instructions for here.
After putting the SD card in the Raspberry Pi and turning it on, take time to configure it, attach a keyboard, and follow the instructions specific to the RetroPie.
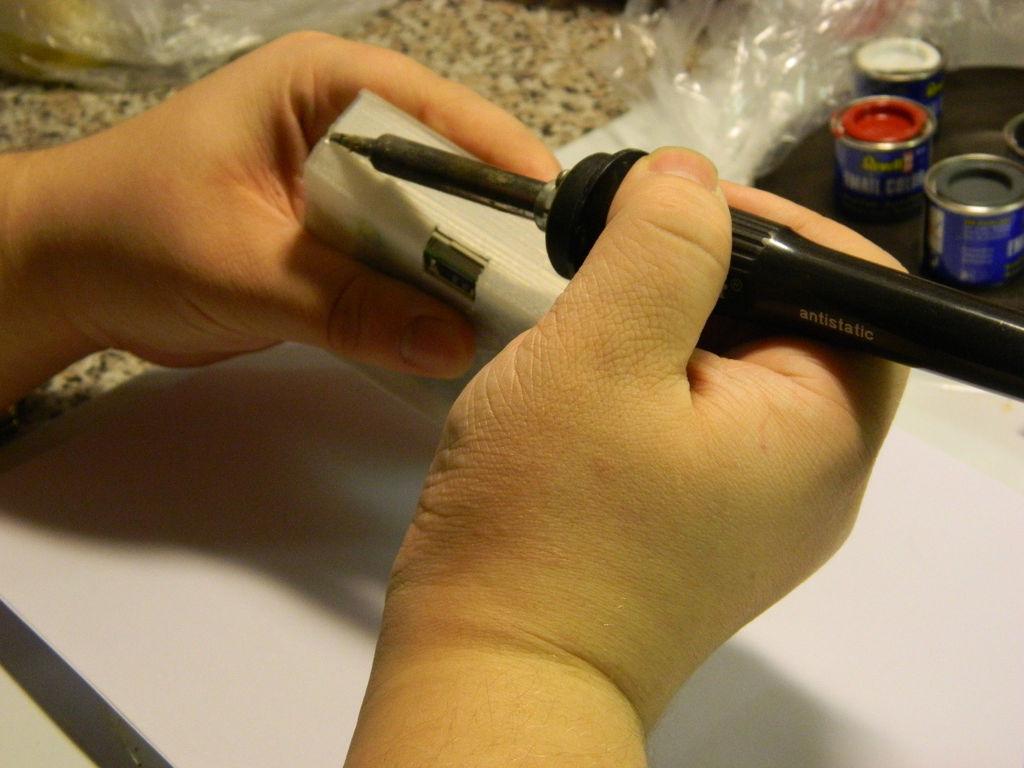
Once you have the two pieces of the case for the device 3D printed, Karvonen recommends putting them together with a soldering iron heated to 210-250° Celsius which will help melt the plastic enough so that you can press the two pieces together with the electronics nicely enclosed inside. After that, it’s time to put on your arts and crafts hat and apron, and paint the MiniNES to your liking.
“Configure the controller to the RetroPie and it’s ‘game on,’” says Karvonen.
With a plethora of retro games available for fun like the Mario series or Legend of Zelda, and far too more many to name, the whole household will be vying to get their hands on this highly affordable console.
Is this a retro gaming design you are interested in 3D printing? Have you designed and 3D printed any gaming consoles or cases of your own? Tell us about it in the 3D Printed MiniNES forum thread over at 3DPB.com. Check out a video of the process, as well as more photos, below.
Subscribe to Our Email Newsletter
Stay up-to-date on all the latest news from the 3D printing industry and receive information and offers from third party vendors.
Print Services
Upload your 3D Models and get them printed quickly and efficiently.










You May Also Like
Why the AM Industry Should Pay Attention to Schneider Electric’s $22.6B PTC Acquisition
By late 2024, there was already enough signaling of the additive manufacturing (AM) industry opportunity in the data center infrastructure market for AM Research to write a report on the...
How Does Nike’s 3D Printing Approach Fit Into Its Restructuring Plan?
Shares of Nike stock hit all-time highs in late 2021 but have cratered in the years following, with the company losing nearly 80 percent of its market cap since peaking....
3D Printing News Briefs, October 1, 2026: Defense, Enclosures, & More
In today’s 3D Printing News Briefs, we’re starting with defense news, first from Massivit and then from AML3D. Then we’ll move on to U.S. manufacturing of a new large-format LPBF...
South Korea’s Lincsolution Lands Hanwha Defense Deal as Hanwha Invests Billions in US
I recently wrote about how the South Korean additive manufacturing (AM) firm Lincsolution is building an aerospace and defense hub, part of the company’s construction of “the largest AM facility in...