Build Your Own Chimera DLP SLA 3D Printer for Only $60, Using Legos & K’NEX


 While the Chimera 3D printer may have an exotic name that invokes curiosity, the price will appeal to your common-sense side and your budget.
So before you spend too much time asking yourself if this Chimera and its attached assembly DIY price tag of $60 can actually be real, just check out the design by 21-year-old Instructables member mastermind. With a background in tinkering and building, the engineering student is an aspiring electrical technician who is is showing off a pretty good skill set, along with other Instructables projects completed recently too, displaying innovation and acumen in building.
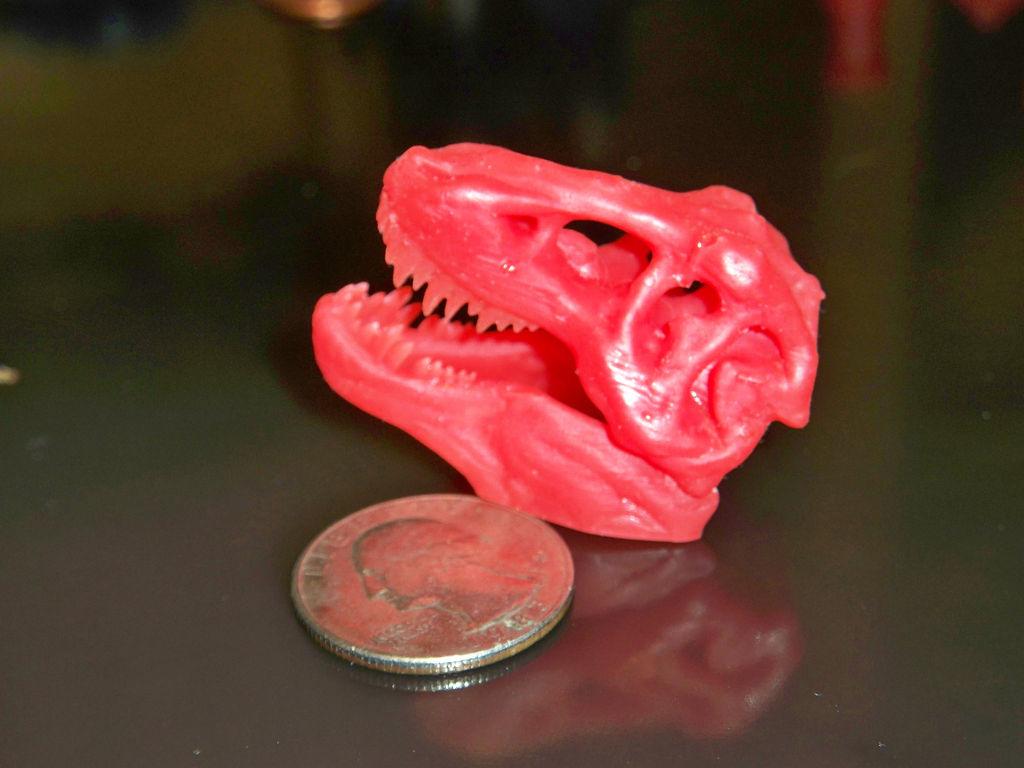
Mastermind is one of many who are turning to SLA 3D printing lately, as it offers a lot of interesting benefits as compared with traditional FDM 3D printing. Offering the ability to make 3D prints all in one piece, produce higher resolution and smoother surfaces, and allowing for easier cleaning are just a few of the perks.
As with FDM 3D printers, SLA enthusiasts have produced many different DIY 3D printers with myriad functional variations and interesting results. What is obviously going to catch immediate attention with the Chimera is its price. Even more amazing, with thriftiness and resourcefulness, 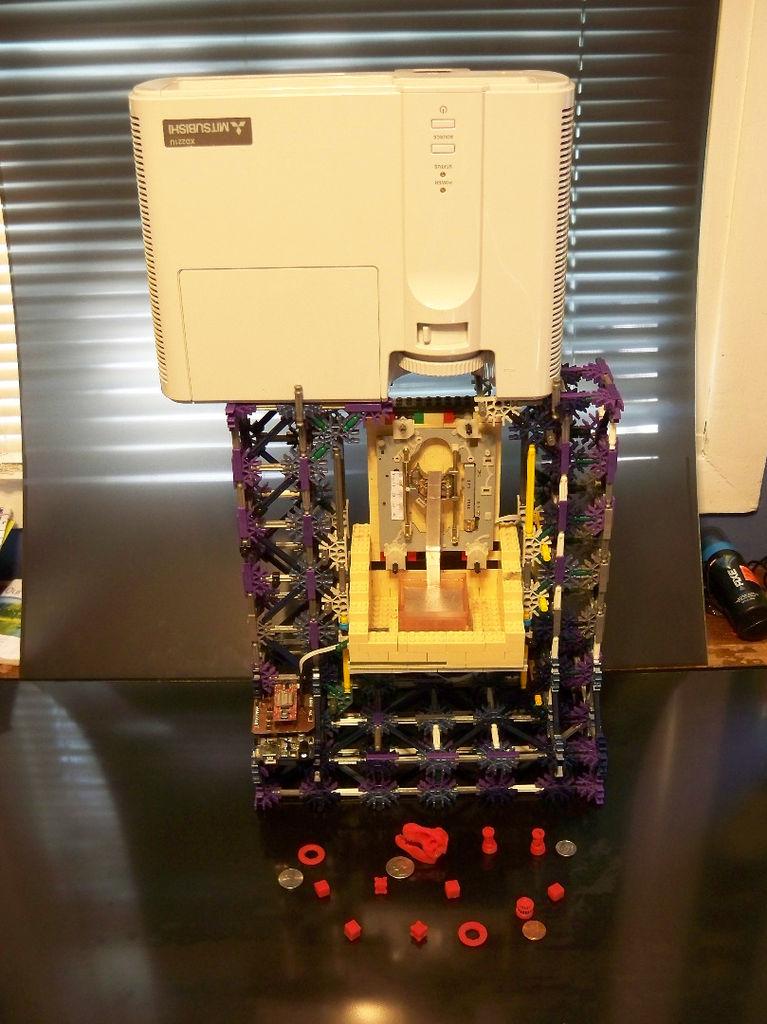 mastermind did not even spend close to $60. While that figure is calculated for everyone else, with a few gift cards resulting in points from funds spent at retailers, parts already owned, along with leveraging some savings on eBay–mastermind spent $39.99. For a 3D printer. Yes, times are changing.
“The chimera (ky-meer-a) is a mythological creature that is made up of 3 different animals,” notes mastermind, and “this printer is made using the recycled/modified parts of 3 different categories (projector, toys, and old computer stuff), hence the name.
Choosing the minimalist route in style also, mastermind went for the top-down style with the Chimera SLA printer, employing only one axis of motion, projector, and minimal electronics. Below is the complete parts list:
- 1x mitsubishi XD221u 1024 x 768 video projector (you can find one on eBay for around $40)
- 1x computer disc drive laser deck assembly with stepper motor (mastermind found this for free, as scrap)
- 1x Arduino UNO/Duemilanove or atmega328 based Arduino clone (purchased on eBay for $4)
- 1x Easydriver v4.4 (purchased on eBay for $2)
- Optional – ability to etch circuit boards
- Optional for frame – scrap wood (purchased for $10 at Home Depot)
Note: You will still, obviously, need to factor in the cost of resin.
 Once you have all the parts, you will need to purchase the projector of your choice, keeping in mind that it is important to get a good one, as well as looking for the best native resolution, as that has a direct impact on how your 3D print will turn out.
“Obviously the higher the resolution, the better the quality of the printed objects will be, but high-resolution projectors are not cheap,” states mastermind. “I would recommend not going any lower than 1024×768, which is the most common, but it is possible to go with lower resolution projectors–just don’t expect great results.”
Some models of projectors may not work without modifications to the focus as well as the bulb and the UV filter, which mastermind modified specifically to help with faster speed in curing. Mastermind includes customized instructions for doing so, in a number of clear and simple steps.
Rather than constructing a Z axis, mastermind settled for a prebuilt, easy-to-use assembly.
“As many people have found, a laser deck assembly from a computer disc drive is perfect for this purpose,” says mastermind. “The one I used is one that I have had around for a while, waiting for a good use for it. I do not know what model drive it came out of, but any assembly will work as long as it uses a stepper motor with four wires and not a DC motor with two wires.”
Mastermind gives you instructions on how to disassemble the drive, as well as instructing users on soldering wires and a four-pin female header to the stepper motor for connecting to the shield.
“I’ve taken at least 50 apart over the years and I would estimate 90% of the DVD burners I have taken apart contained the correct motor while only 50% of DVD players and only 10% of CD players had the correct motor,” says mastermind.
While recommending aluminum and some specific personal instructions regarding his experience manipulating and measuring, mastermind leaves options for the build platform up to you, with the warning that you just want to make sure you aren’t going to have adhesion issues.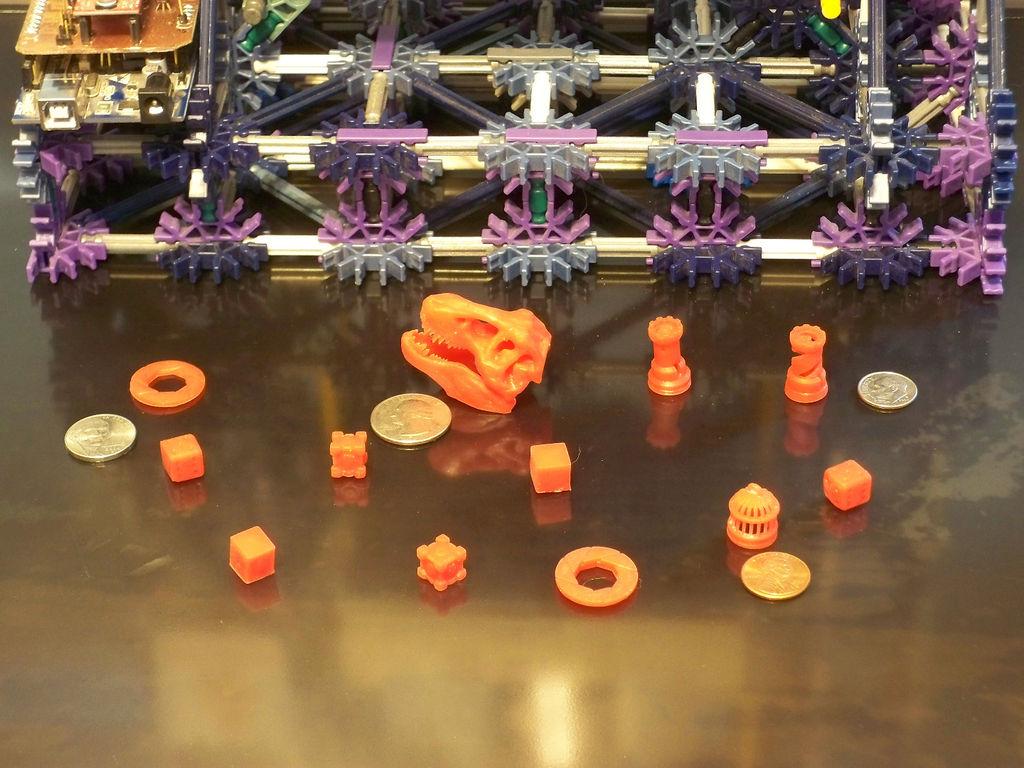
The resin container can basically be just that–any container that’s strong enough to hold the strong chemical base of resin and is a bit larger than your build.
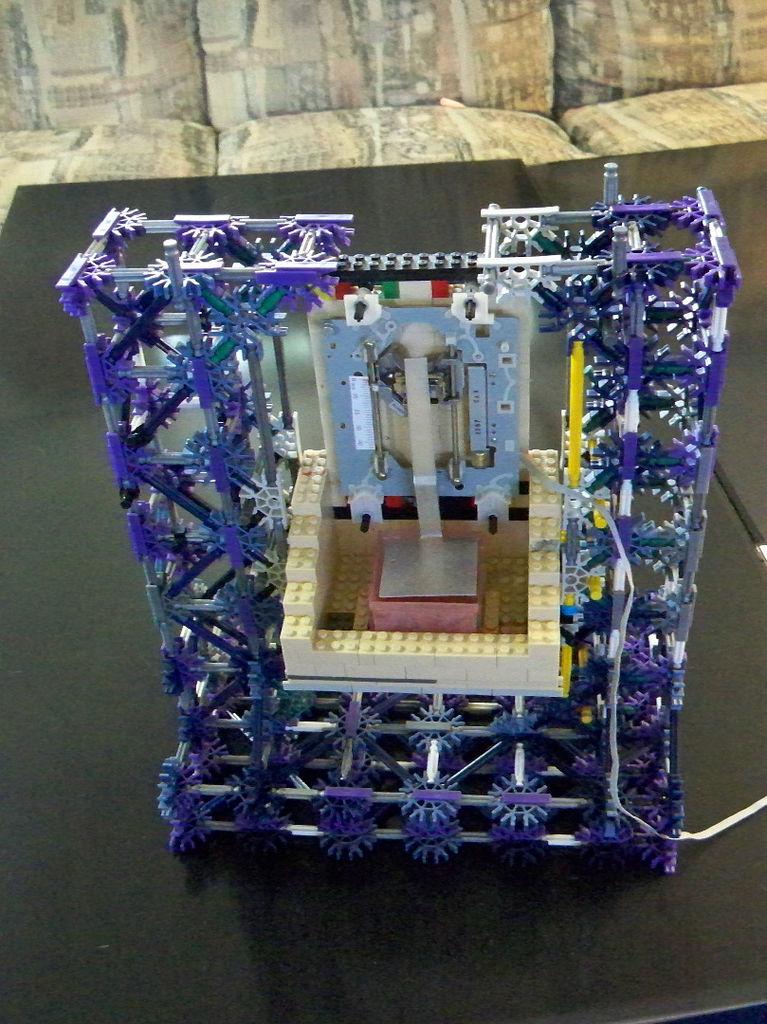
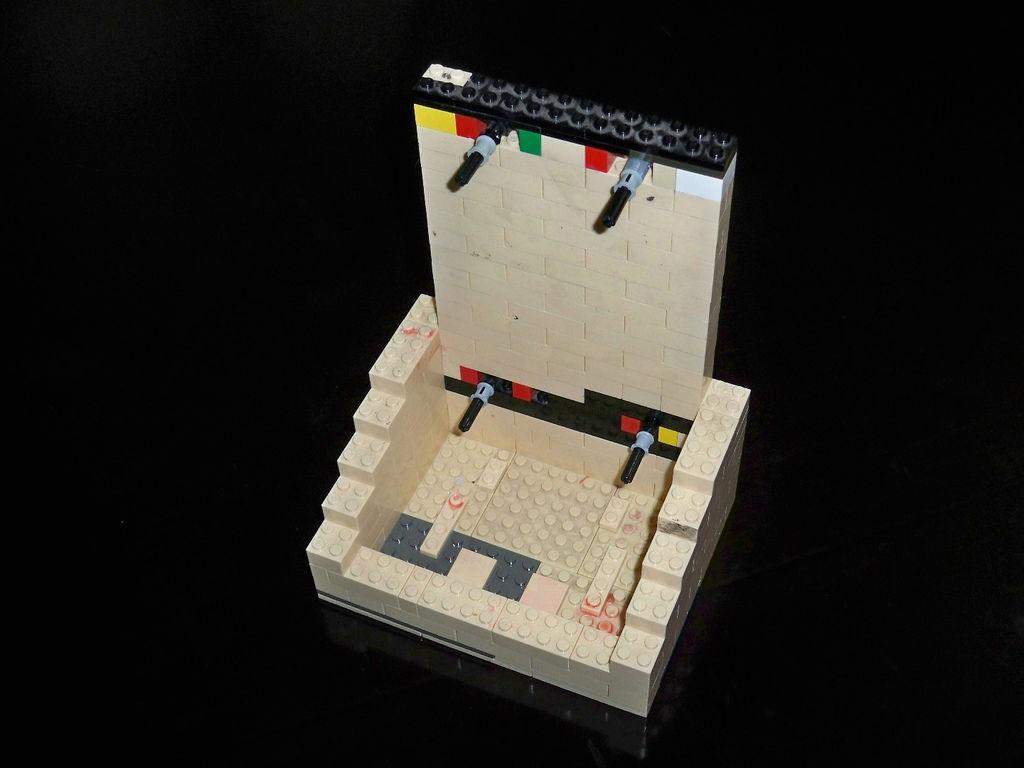
For the Z axis, mastermind employed the use of one of many 3D printing enthusiasts’ best friends: the Lego.
“I like to design as I go along, so I turned to the most versatile prototyping material in existence, LEGOs. Yes these are technically a toy, but I have not found any other materials that allow you to quickly construct, make small changes, or tear down a bad idea as easily as LEGOs do.”
 Mastermind does make the point that you of course also have the option of making the frame out of wood, which is the intended material for the final design.
Cashing in further on the use of plastic building toys for the foundation of the 3D printer, mastermind turned to K’nex for the main part of the frame which consists of the base, two towers, and a platform.
For electronics, users have the ease of employing just a simple Arduino Uno, which mastermind chose to etch a shield for with CadSoft EAGLE. A simple breadboard will work as well if you want even less complexity. All the instructions, which we won’t repeat in total detail here, are included for shield connections, covering everything from the easy driver to the power terminals.
Recommending GRBL 0.9i as firmware, mastermind includes the file for download as well as further instructions and configuration help for changing just a small bit of code to get everything working.
For software you will probably want to take mastermind’s lead in using Creation Workshop, which works well but may require some customizing per your preferences and build. Provided are the required steps for configuring the machine as well as the slicing profile, with some good recommendations on how to avoid pop-ups and freezing issues.
After that, you’re almost home free once the projector is focused, the machine is calibrated, and you’ve performed a test run. Is this a 3D printer you are interested in building? Share with us in the Chimera 3D printer forum thread over at 3DPB.com.


Subscribe to Our Email Newsletter
Stay up-to-date on all the latest news from the 3D printing industry and receive information and offers from third party vendors.
Print Services
Upload your 3D Models and get them printed quickly and efficiently.


You May Also Like
3D Printing News Briefs, June 20, 2026: Holograms, Insoles, & Prosthetics
We’re focused on volumetric 3D printing, 3D printed insoles, and 3D printed prosthetics in this weekend’s 3D Printing News Briefs. Read on for all the details! Researchers Using Holograms to...
3D Printing News Briefs, June 18, 2026: Reseller, Relocation, Metal Space Powder, & More
We’ll start with business news in today’s 3D Printing News Briefs, as XJet appointed a value-added reseller in Germany, BIO INX is expanding its presence in the Italian market, and...
Fabri Raises $13.5 Million to Create Digital Foundry
Fabri is a startup that wants to create a “digital foundry,” and just raised some funds to help it reach this goal. There are far too few foundries in America....
Scientists Use BMF to 3D Print Seal Whiskers That Track Prey Long After It’s Gone
Seals use their whiskers to hunt. Not Navy Seals, although they may in some way also, but this article is about lowercase seals. Not Seal the musician either; as far...