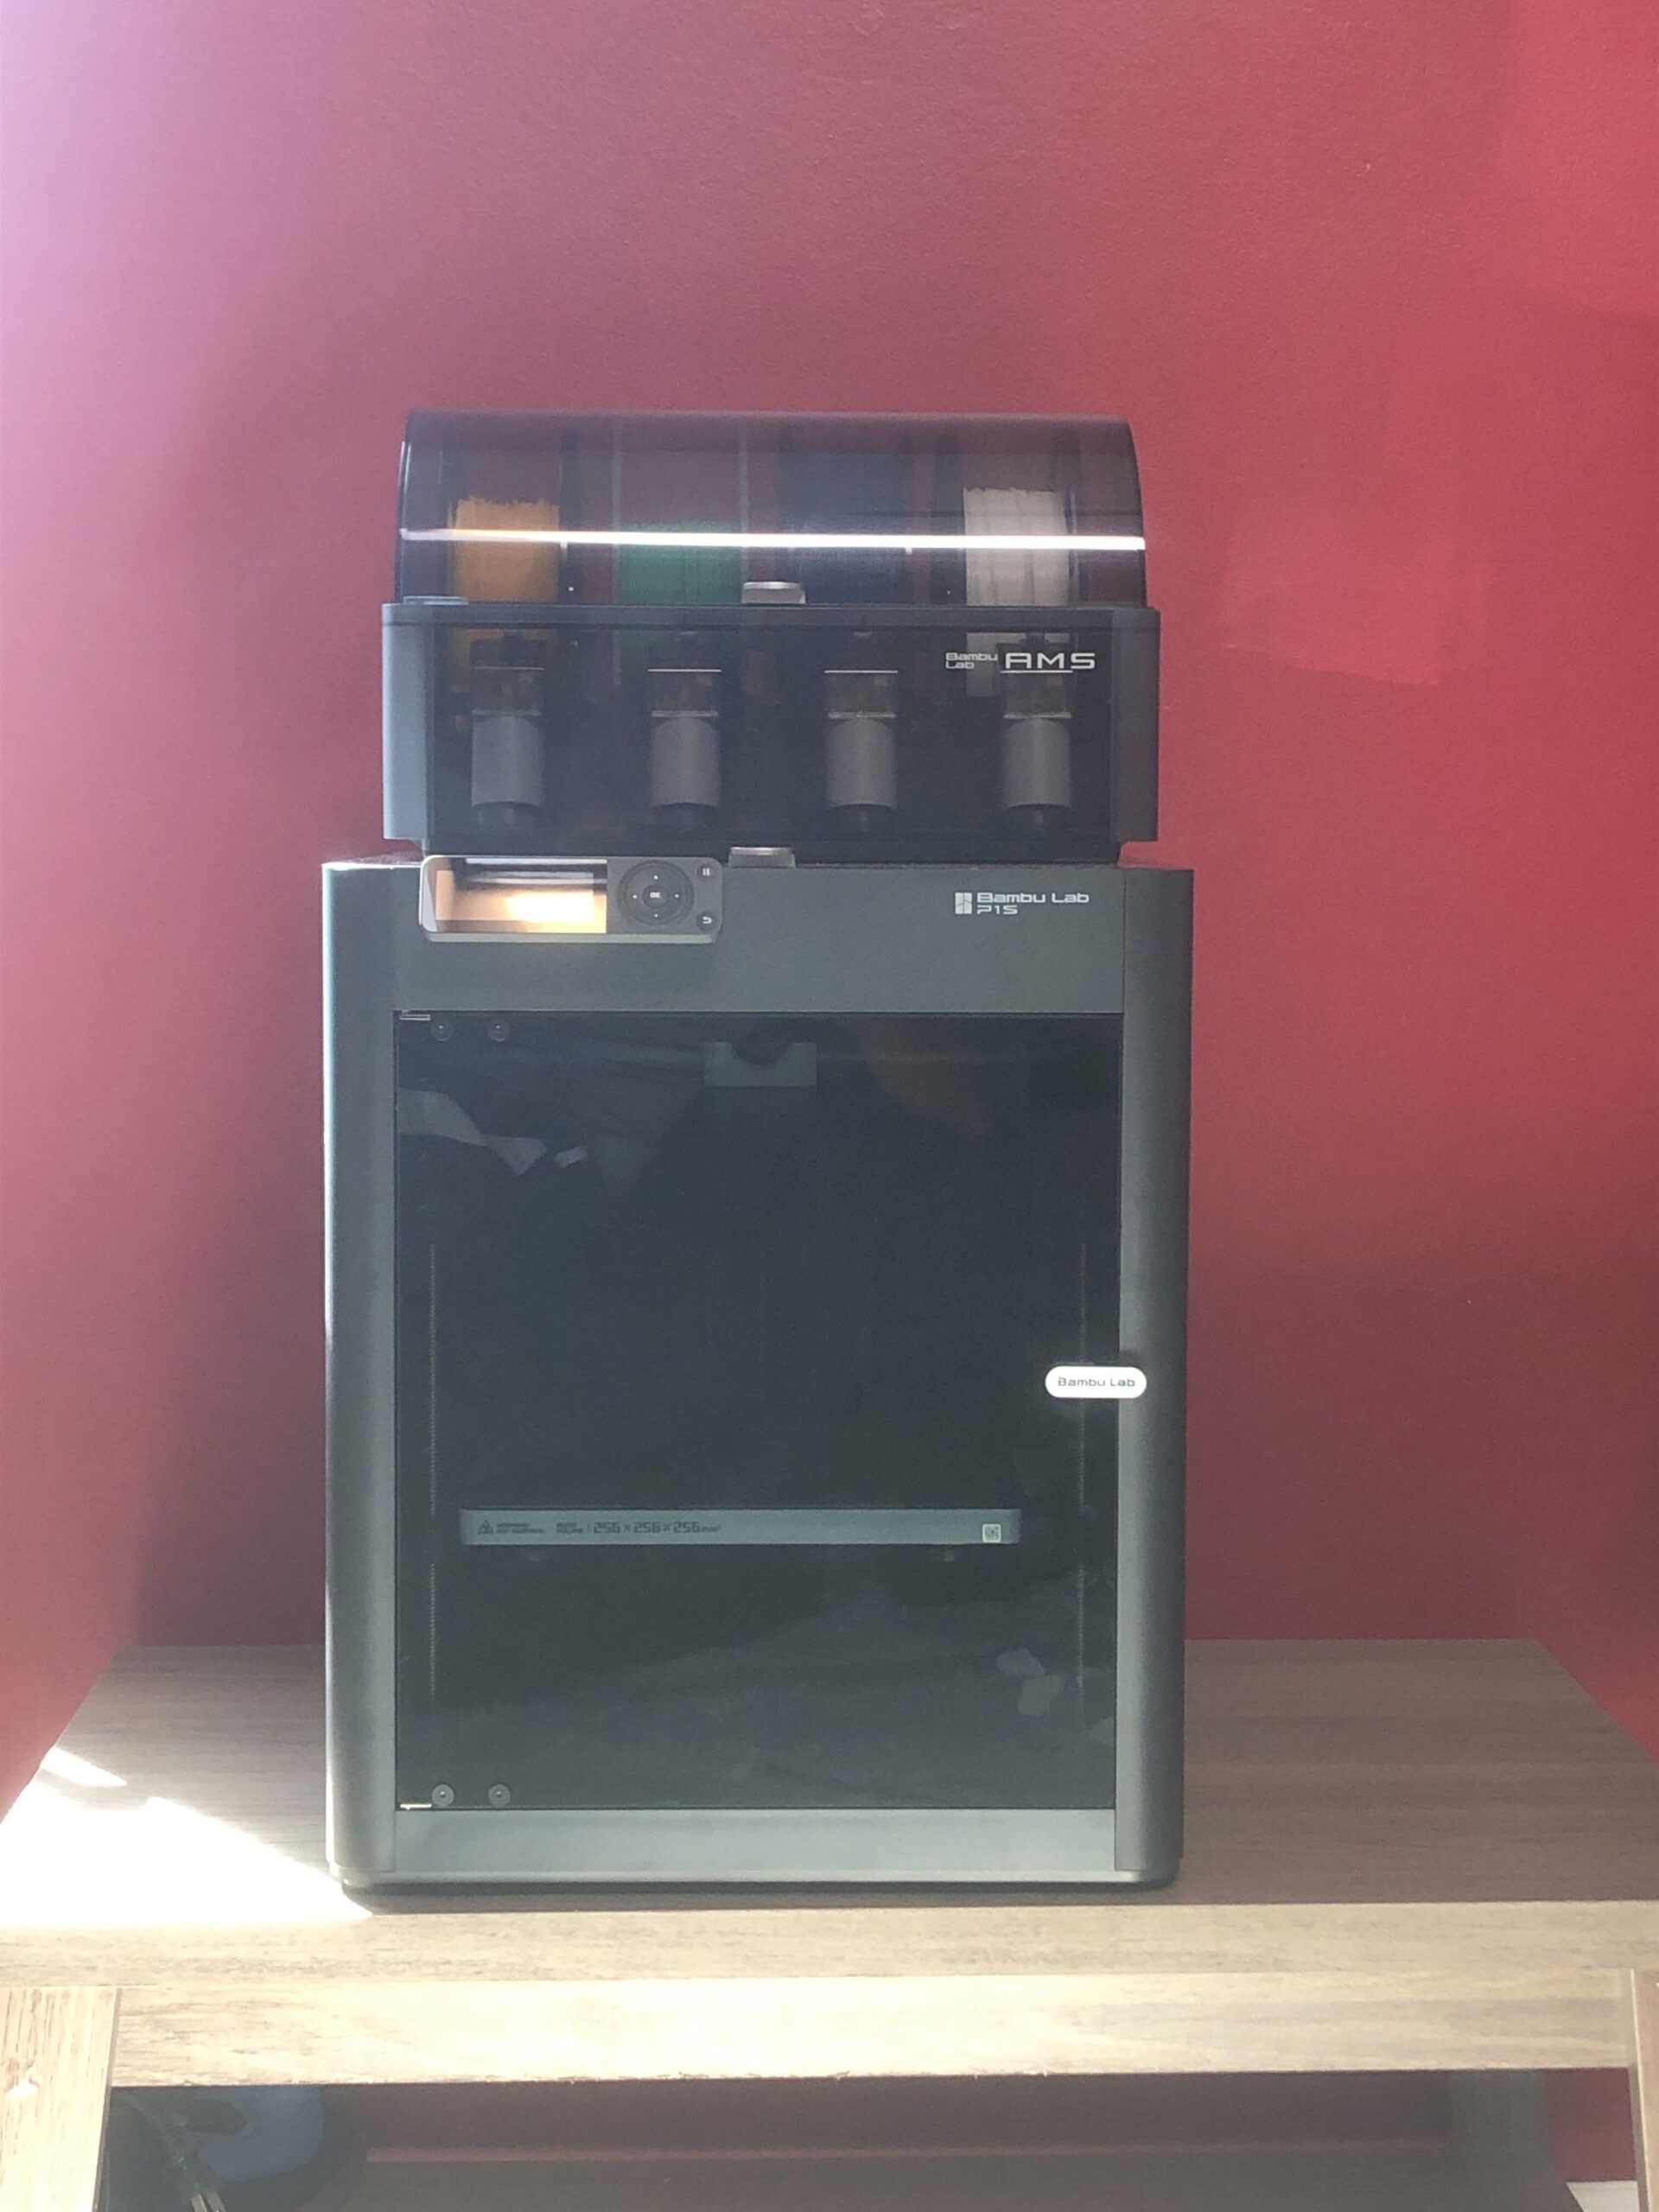
The Bambu Lab P1S 3D Printer Review: Ultra-fast & Multicolor 3D Printing

The hottest thing in the 3D printing industry right now is undoubtedly Bambu Lab—and rightfully so. In an otherwise stale consumer additive manufacturing (AM) market, Bambu Lab has entered guns blazing with true innovations such as active vibration compensation, input shaping, and print speeds which are mind-bogglingly fast. Match this with an automatic material station (AMS) that enables multicolor printing and a very competitive price point, and it’s clear to see why Bambu Lab has become the company to beat.
One of the company’s newer offerings is the P1S, which aims to be a more affordable variant of the flagship X1 Carbon. At 3DPrint.com, we wanted to put the P1S to the test to see what the printer was all about—and if it lives up to the hype of the Bambu Lab name. After weeks of testing out the P1S, here are my thoughts.
Unboxing and Setup
When you receive a P1S, the very first thing you must do is unbox the printer and get it set up. Along with an assortment of tools that you’ll need to get the machine up and running, the printer comes with a pamphlet that shows you step-by-step instructions on how to unbox your printer properly.
The process itself was more difficult than I would have liked it to be. Essentially, it consists of removing sets of screws that secure parts of the printer while in transit, as well as installing tubing and even connecting the LCD screen to the front PCB of the machine. As someone with much experience working with 3D printers, I consider myself to be pretty handy. However, I found the process to be a little bit confusing and difficult at times. All things considered, it took me between 30 and 45 minutes to get the system up and running.
Once the printer and AMS are hooked up and ready to go, you connect to the P1S via the company’s Bambu Handy app. It helps you walk through the set-up process, which includes a full self-diagnostic test, as well as some active vibration compensation testing.
From there on out, it’s mostly smooth sailing with the P1S.
Bambu Studio and Printer UI
If you want to get started printing with the P1S, you have two options: either you connect to the printer with Bambu Lab’s slicer software, Bambu Studio, or you can choose from a set of prints that come pre-loaded on the machine.
Overall, Bambu Studio was a pleasure to work with. While the interface can lag at times, its layout feels intuitive and gives you plenty of control over, and insight into, the printer’s status and operations. The camera feed, while slow, is acceptable for the purposes of an affordable consumer printer.
One of the biggest drawbacks of the P1S is the user interface (UI), which amounts to a low-resolution, 2.8 monochrome, LCD controlled by a directional pad. It is workable once you’re used to it, but it’s rather clunky and cumbersome. It generally feels antiquated compared to the rest of the machine. Fortunately, the Bambu Studio and Bambu Handy applications are pretty comprehensive, so you could likely get away with avoiding the UI altogether if you wanted to.
First Print: Benchy
Like any good 3D printing enthusiast, the very first print I ran on the P1S was a Benchy.
While optional, every single print on the P1S starts with automatic bed leveling, which adds about five minutes to the process but ensures consistent, quality prints. When printing with Bambu Labs PLA at Standard speed, the Benchy took about 25 minutes to print and came out as well as any Benchy I’ve ever seen.
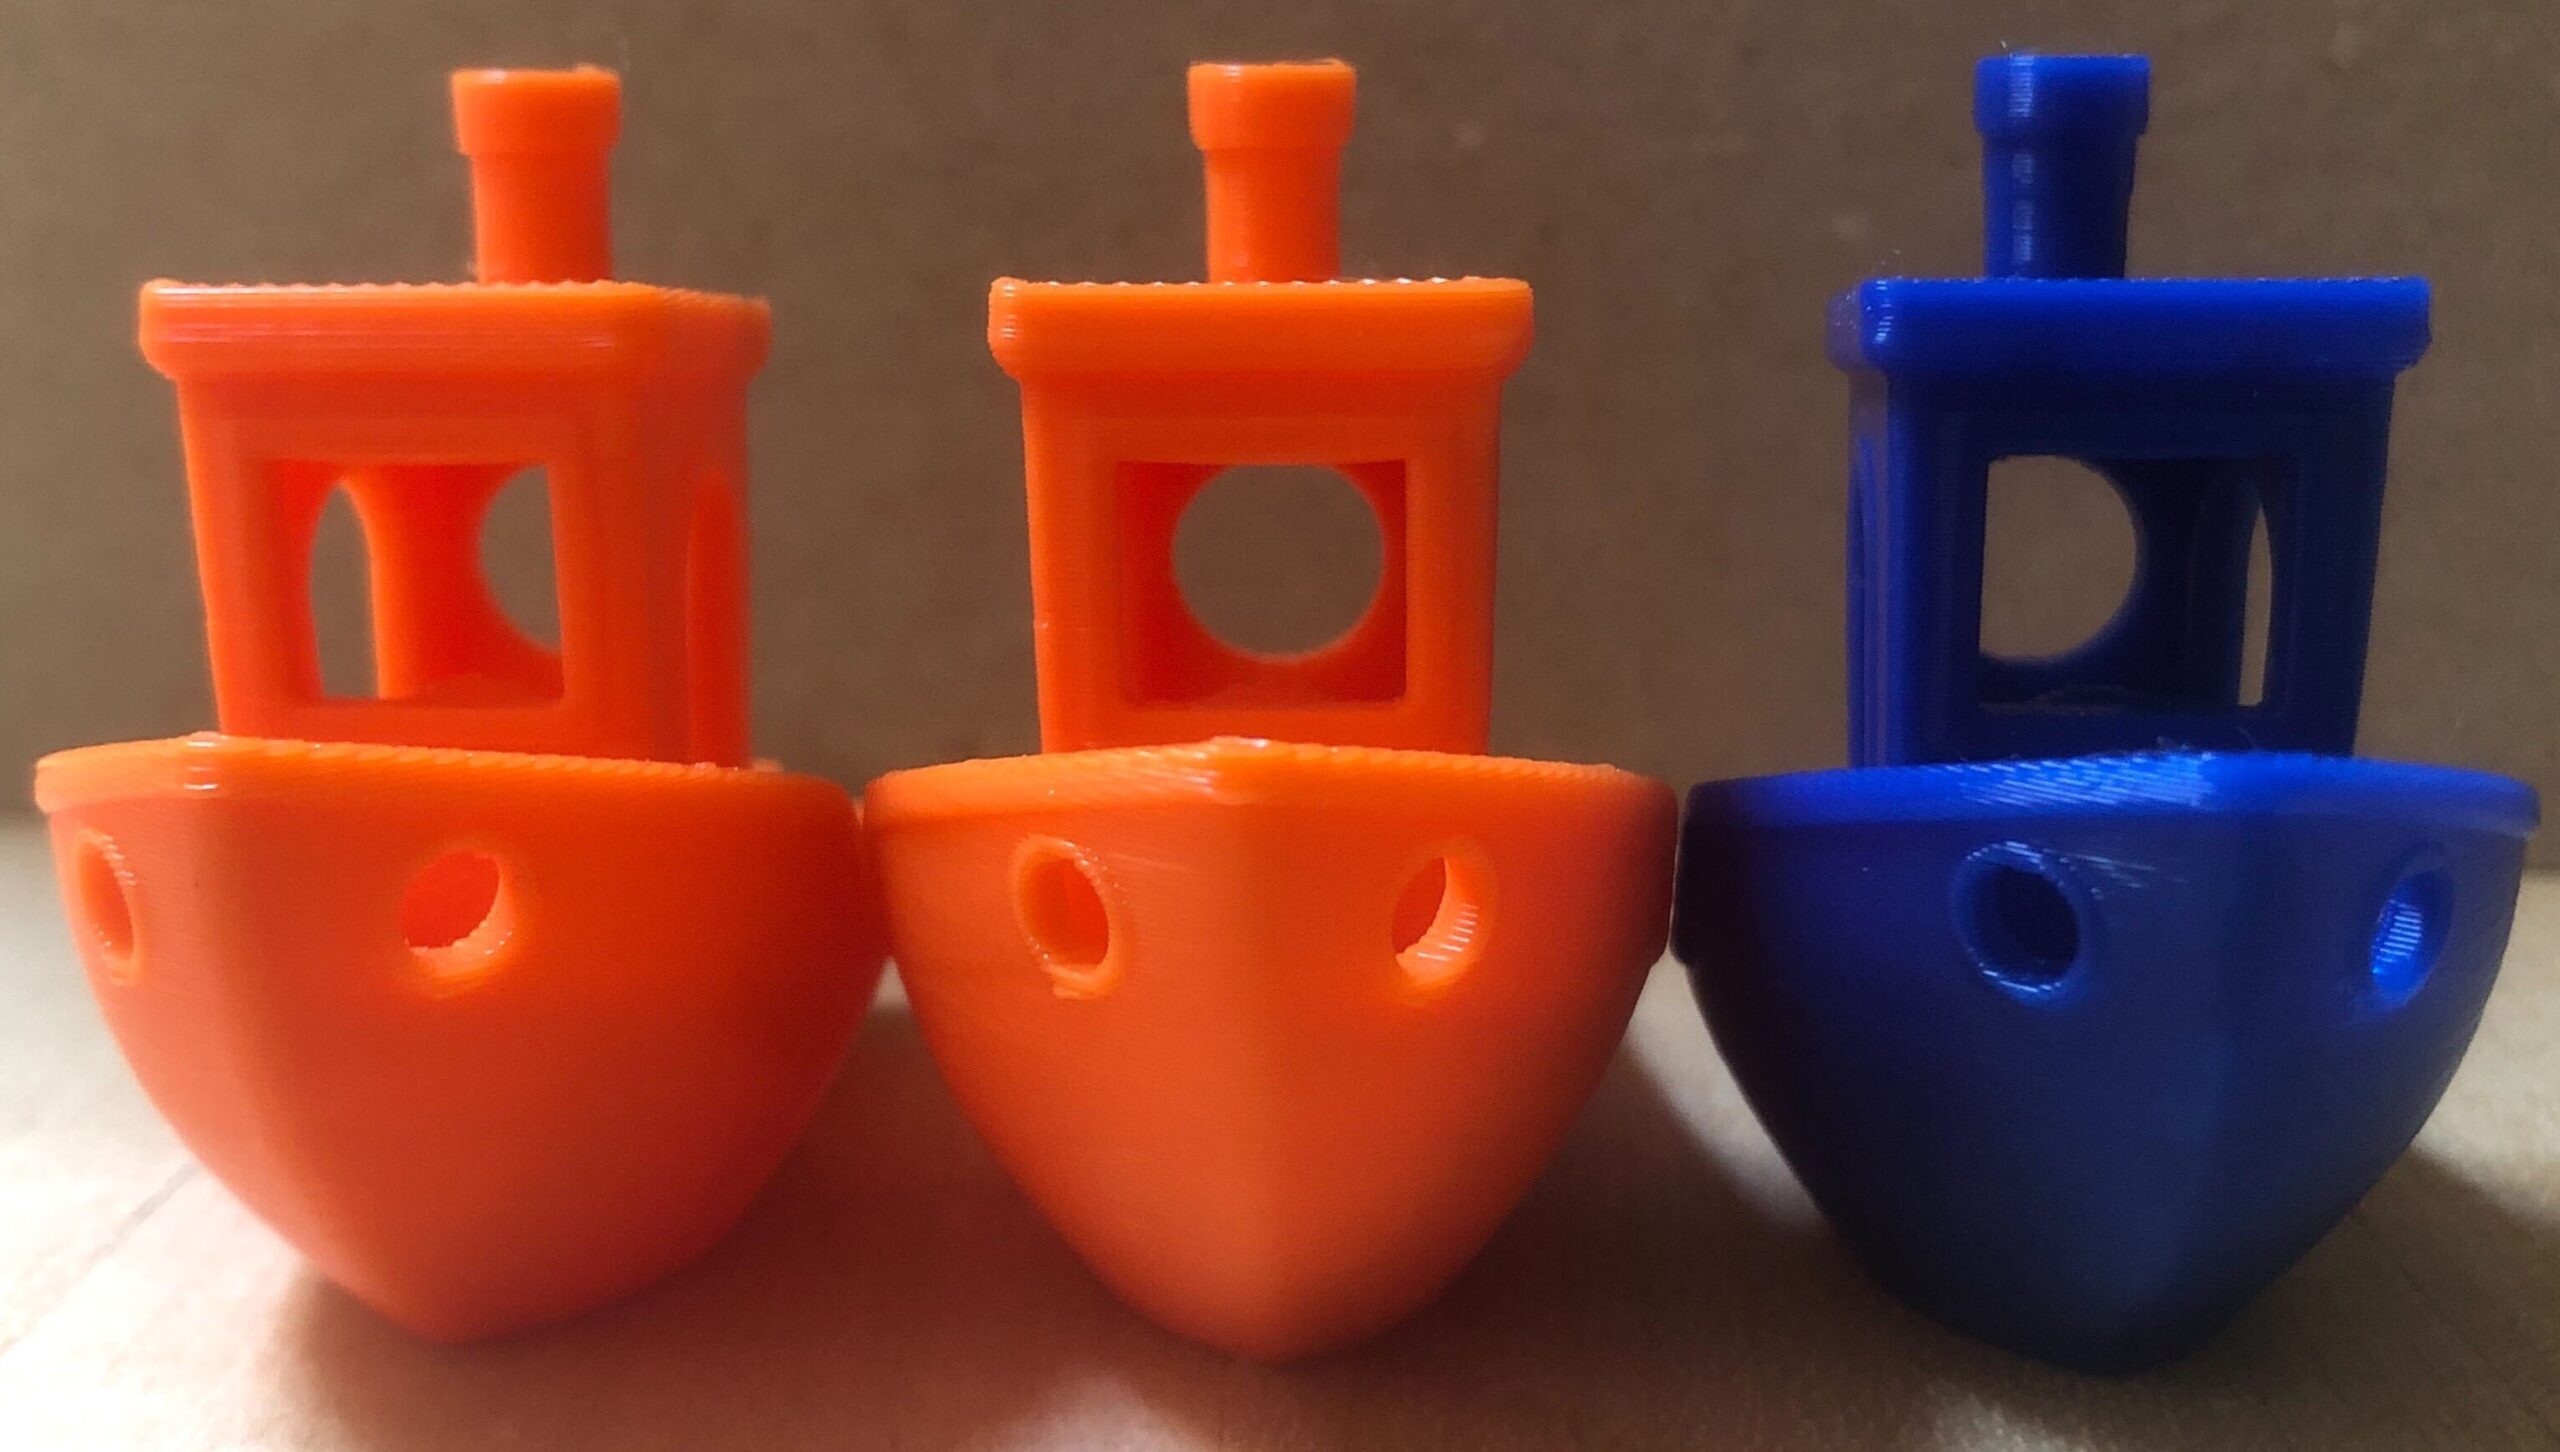 Left to right: Standard Mode using Bambu PLA, Ludicrous Mode using Bambu PLA, Ludicrous Mode using third-party PLA.
Then came the part that I’d been waiting for: Ludicrous Mode. Printing the same Benchy again, but this time at the printer’s fastest speed, was beyond impressive. This time the total print took about 12 minutes to complete, and the speed at which the toolhead moved and laid down material was simply mind-blowing. I’ve genuinely never seen a printer move so fast – I found it hard to believe at times.
Most impressive, however, was the print result. Comparing the same Benchy on Ludicrous and Standard mode, it seemed that there was little to no impact on print quality. While it’s very likely that Bambu Lab has highly optimized their machine for printing Benchy in particular, it’s still a highly impressive result.
Multicolor Printing and AMS
One of the greatest pleasures of using the P1S was the AMS, which is simple and easy to use. All you need to do is place filament in any one of the four slots and insert the filament into the opening. The AMS and printer work together behind the scenes to automatically load the material for you, making the process as hands-off as possible.
With a four-material AMS, the P1S is capable of achieving multicolor printing. Using the Coloring tool in Bambu Studio, users can choose which parts of their model will be printed in which color. The tool varies in difficulty based on the model you are printing. Some of them allow full regions to easily be colored in with the Fill tool, while others require meticulous drawing of lines and boundaries – sometimes to the point of not being feasible or worthwhile.
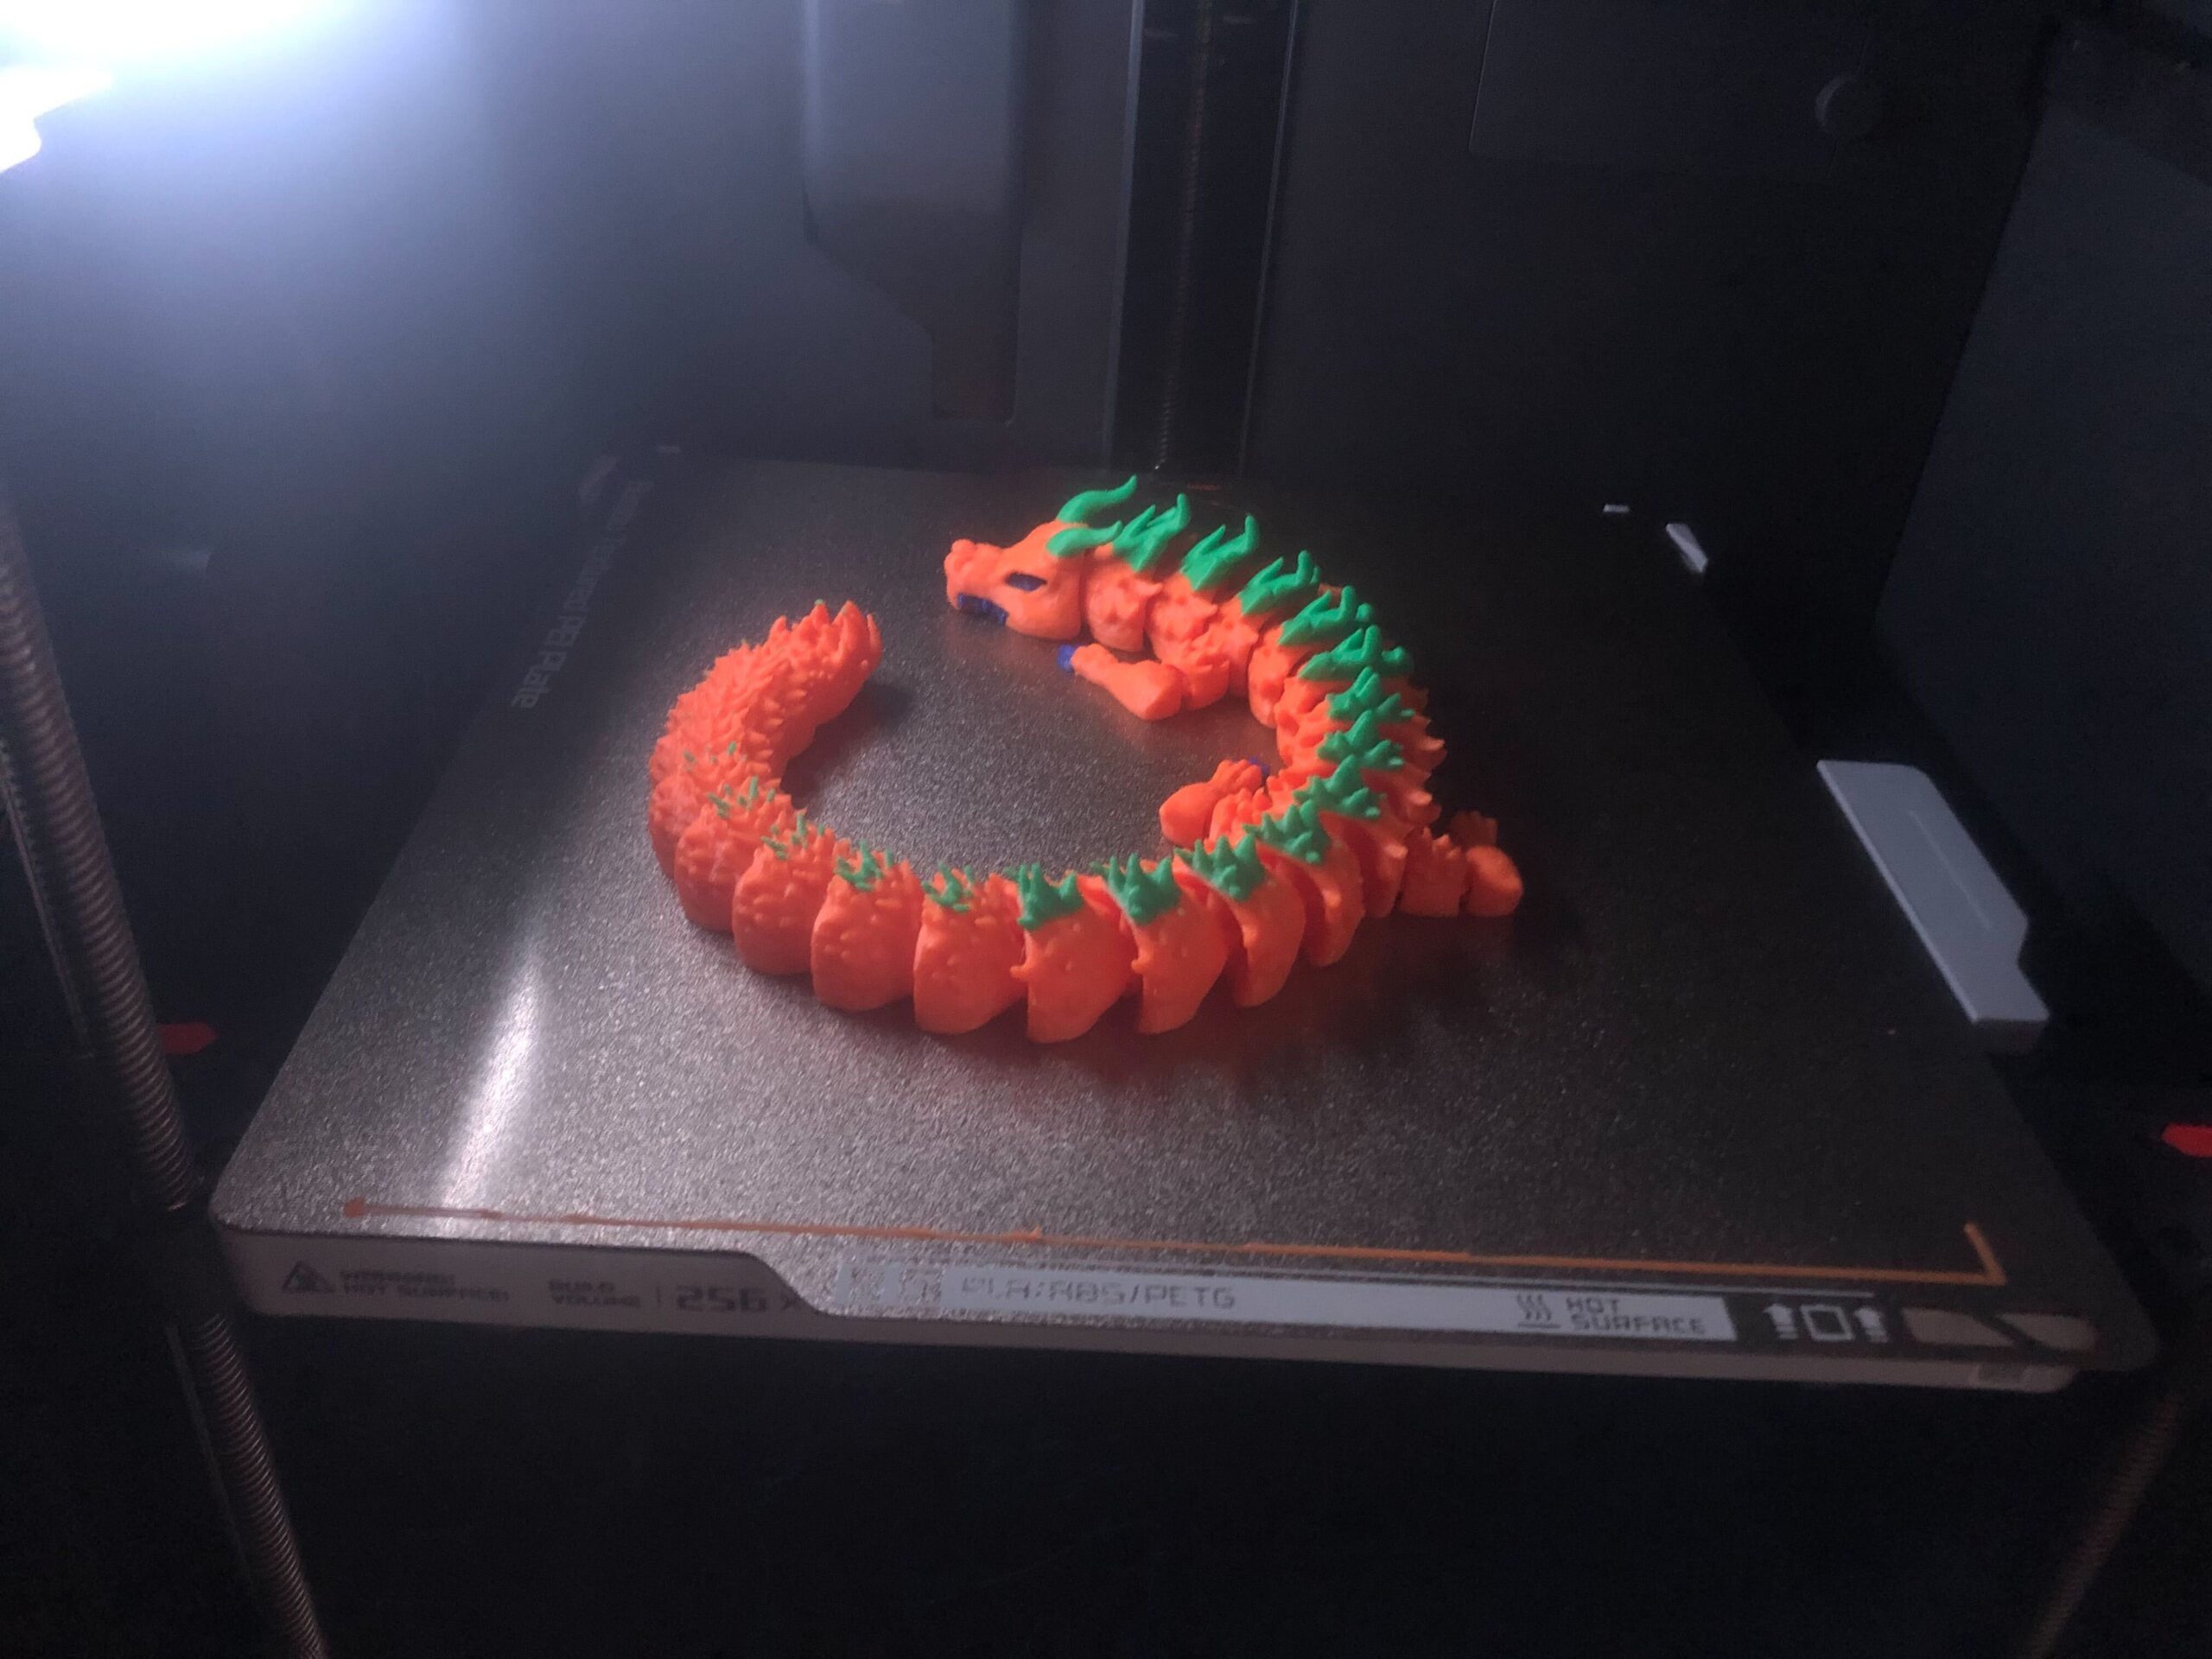 A three-color PLA print on the P1S.
If you do get a successfully colored model, the system takes care of the rest of it for you. The AMS will automatically switch materials and colors as specified in the slicer software, leaving you with nothing really to do but sit and wait for the print to finish.
The major downsides of the multi-color printing experience, in my opinion, were the filament waste, some encountered errors, and the increased print times. On each material change, the machine purges a significant amount of plastic, which gets ejected out of the back of the printer, a rather crude but simple and effective solution. Besides that, the biggest issues were occasional errors with switching that results in pausing the print. These errors are mostly resolved by telling the printer to try the material change again.
Overall, multi-material printing is straightforward and fun, but will add a significant amount of time to your print.
Third-party Materials
Something that I loved about the P1S was its ability to handle third-party filaments. While Bambu Lab does have its own line of materials that it recommends, using a third-party PLA had no noticeable impacts on print quality or speeds in my experience.
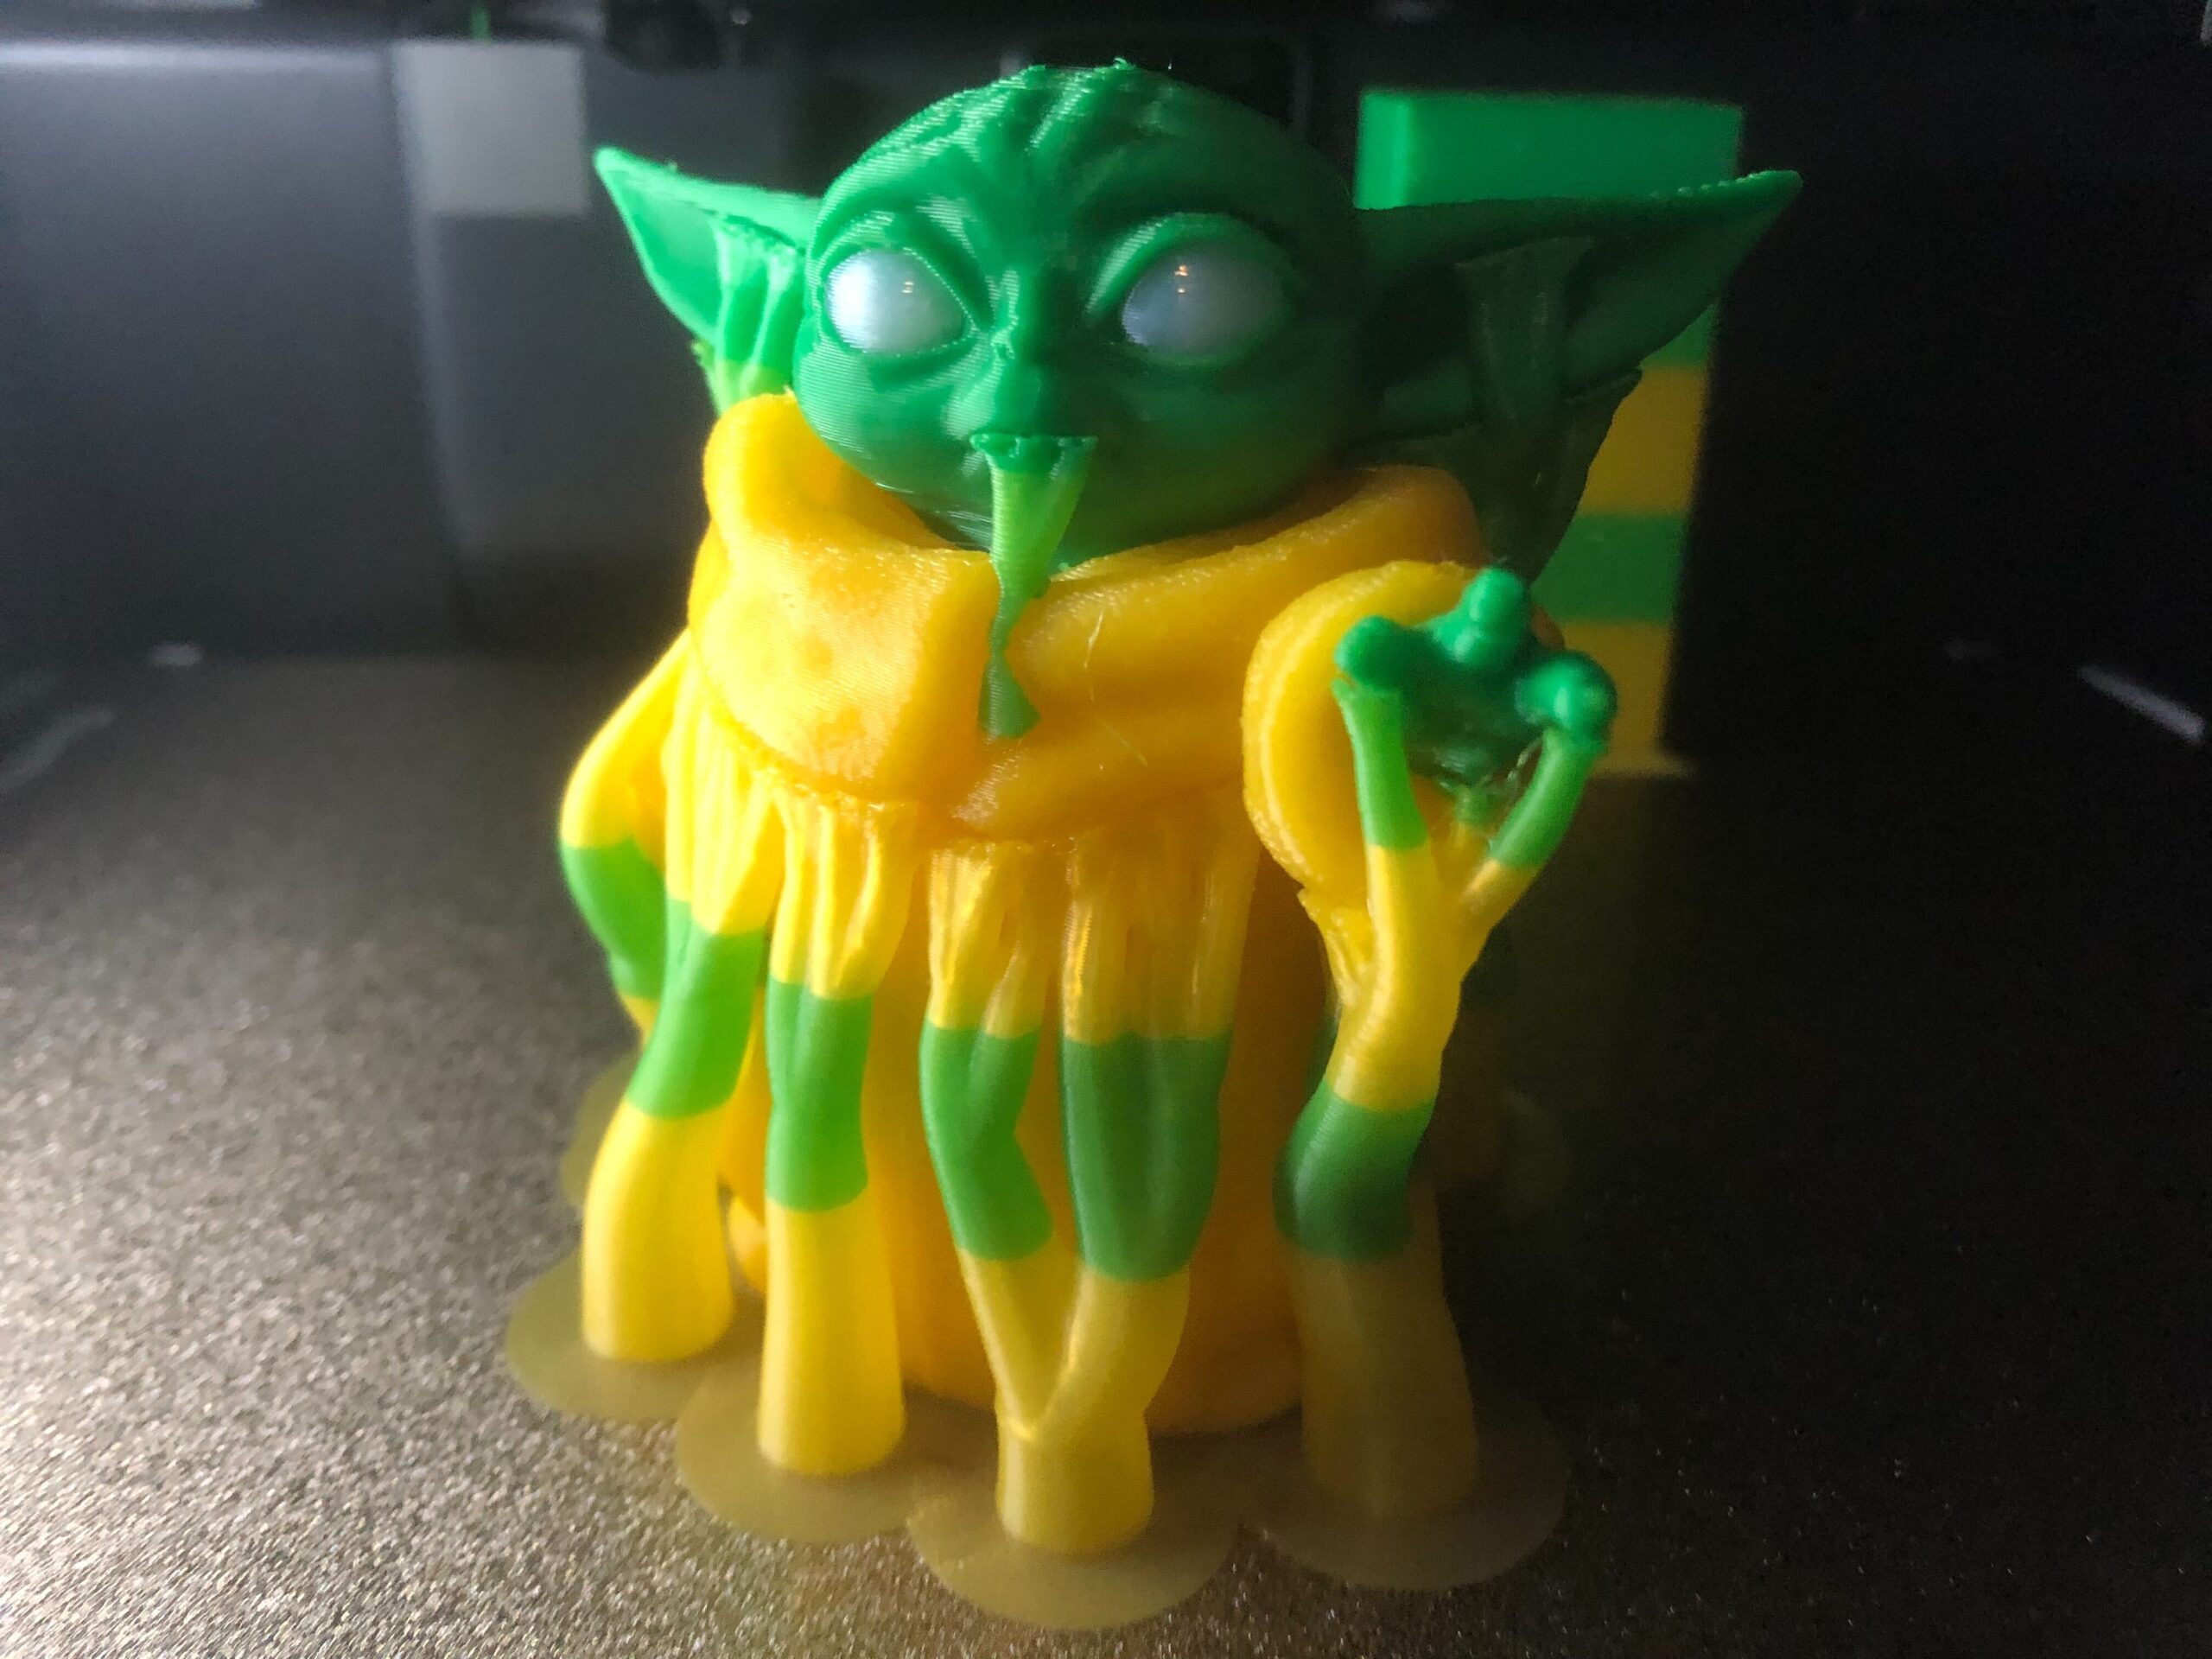
A three-material print using tree supports, consisting of two third-party materials and one Bambu material.
This even extended to multi-material prints, where a combination of Bambu Lab and third-party filament was used in a single print. Even here, there were no issues to be noticed in the final quality of the part. As long as your third-party material can fit inside the AMS, you are good to go.
Otherwise, you can side-load the filament into the printer using the external spool holder, but this precludes you from doing multi-material with the rest of the AMS.
It’s worth noting that my testing only consisted of PLA, although Bambu Labs does claim to support other materials such as ABS and Carbon Fiber.
Concluding Thoughts
The question of what makes a good 3D printer is pretty hotly debated and varies from person to person. To some, the most important factor might be dimensional accuracy. To others, it might be print speed. Some may disregard PLA printing entirely and only care about industrial and engineering-grade materials.
I think no matter what your definition is, it’s clear that the Bambu Lab P1S is a very good machine that serves its purpose as an affordable, yet high-performance consumer-facing 3D printer. While it has its drawbacks, namely the low-grade user interface, its printing capabilities are extremely impressive and its printing speed can be a little hard to comprehend. All things considered, the combination of speed, quality, ease of use, and price point make the Bambu Labs P1S a highly recommended printer for anyone in the market
Subscribe to Our Email Newsletter
Stay up-to-date on all the latest news from the 3D printing industry and receive information and offers from third party vendors.
Print Services
Upload your 3D Models and get them printed quickly and efficiently.


You May Also Like
DoW Accelerates Drone Readiness with AMTrain Phase 2 Launch at Camp Lejeune
Equipping today’s warfighter with the most advanced technology is paramount, driving increased prioritization and investment in drone development and advanced manufacturing training within the Department of War (DoW). In this...
AM & the Military’s Self-Infliction of Rapid Change
I’ve noted before that the additive manufacturing (AM) market for defense has started to evolve so quickly that it’s impossible to even keep track of all the updates in real...
3D Printing & Drone Dominance: Speed, Performance, and Derisking the Supply Chain
A shift is underway in drone manufacturing. Government programs like the U.S. Department of War’s Drone Dominance, a $1.1 billion effort to deliver low-cost, one-way attack (OWA) sUAS at scale,...
A Hilux for the Seas
With the US turning its back on exquisite, expensive military goods in favor of volume manufacturing of less expensive items, new strategies should come to the fore. But attritable $250,000...