Use Your 3D Printer for Easy Customized Iron-On Artwork Projects


It’s right that there’s no end to what you can do with a high-quality 3D printer, and we cover many of these stories here. But have you ever considered using your 3D printer to make customized artwork to be printed without the need for 3D design?
“Heinzdrei” has made this a possibility by figuring out how to do it and posting an Instructables project with 6 steps. You are making a plastic sheet, essentially, that is ironed onto fabric, thus, melting plastic to bond with fabric. A new variation of the old iron-ons! What a groovy idea.
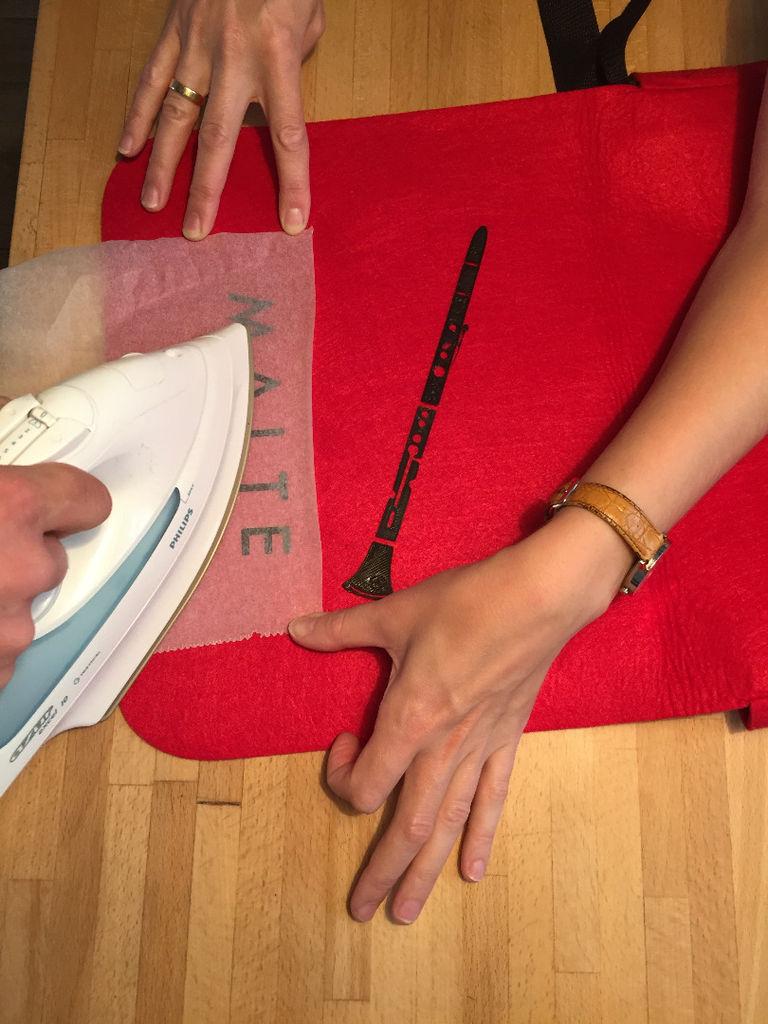
Heinzdrei’s wife, who had not initially been sold on their having a 3D printer, was also convinced of its household relevance when he figured out that he could use the machine to make iron-ons–like the one he demonstrates on Instructables, making a bag for a child named Malte’s birthday gift.![]()
“[M]y wife’s first reaction was: ‘finally something useful!'” Heinzdrei says of discovering this type of project was possible. “The acceptance of this thing is much higher now that I found out :)”
To start, you will need a 3D printer, press iron, fabric to iron onto, baking paper that can tolerate high temperatures, and a glue stick. Then you need to find a illustration that is black and white, silhouette-like. Inked sketches are not a good idea because single lines “lacking an adjacent solid area can lose shape” when they are taken off the build plate. Fine details might pose a problem if your printer is not high-quality.
“Keep in mind that different parts of your illustration that are not connected will have to be placed separately,” Heinzdrei cautions, “like for example every letter of a text and even every dot of every letter ‘i’ in your text.”
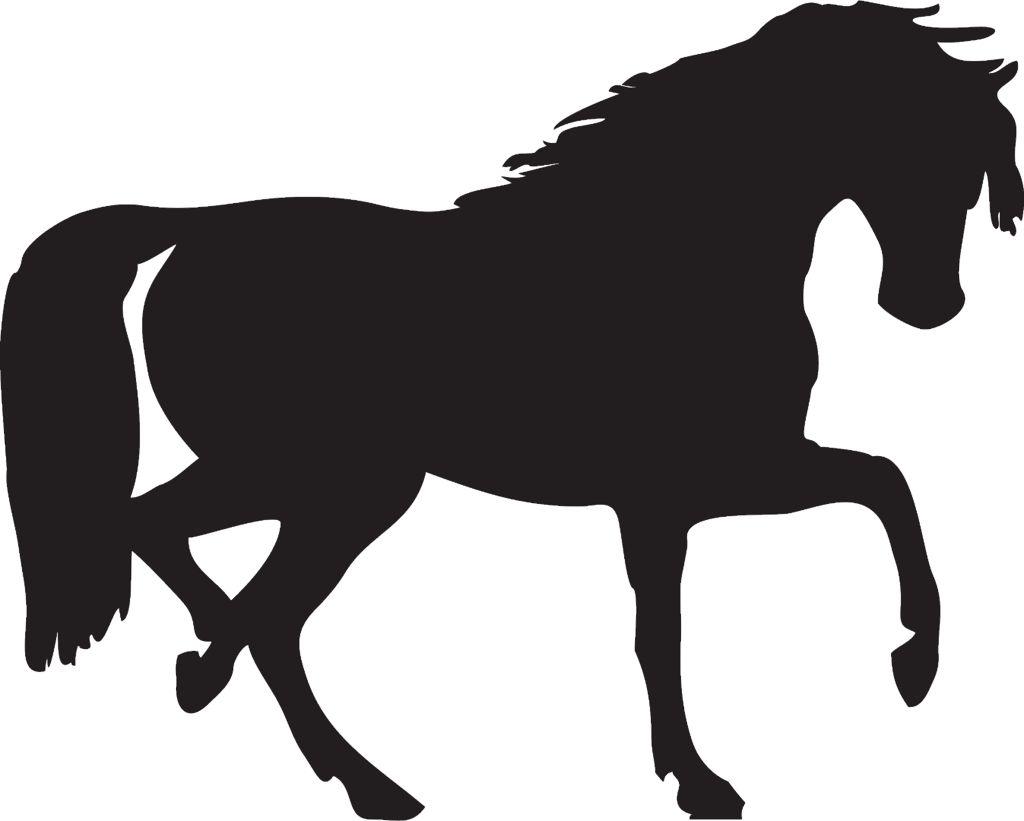
Also, there’s clip art available in standard vector format, required for the 3D printer to successfully print the image, but Heinzdrei has included optional Step 3 to describe how to create a vectorized image from a bitmap. This gives you almost endless options for images to use: the horse image below would work well for a project like this. Heinzdrei also includes a link to designs on Thingiverse from “elk” that were created to be iron-ons (perhaps serving as Heinzdrei’s original inspiration for the project?). Steps 3 and 4 can be skipped if using one of these already prepared designs.
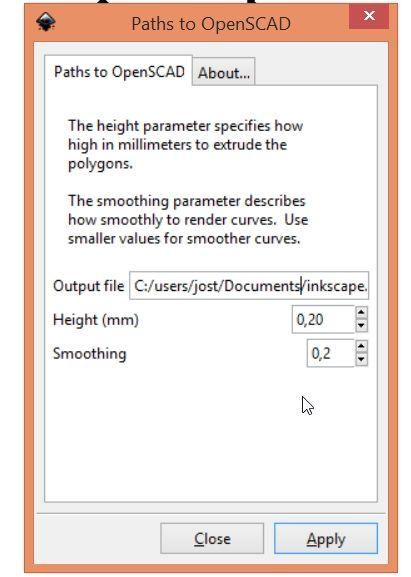
 Next, you will make a 3D printable STL file by following the instructions in Step 4 of the Instructable. Your 3D printer is wired to want a 3 dimensional object, so in this step you will create a .2 mm high 3D object. There’s software that makes image conversion really easy, or there’s a manual way to do this that Heinzdrei explains. Then, after you have your image converted as an STL — it’s time to print!
 PLA filament has a melting point that makes ironing on easy, but Heinzdrei reminds us that it’s stiff. This is good for things like notebook bags, but Ninjaflex or a more flexible filament might work better for ironing onto clothes. Use a 0.2mm layering height and make sure only one layer will be printed; don’t have a different setting for the first layer. Print slowly to ensure quality since this doesn’t take time to print anyway (2-3 minutes). Let your print bed cool thoroughly before you remove the print.
Last but not least is the assembly and ironing. Heat up your iron, place your parts where you want them, and use your glue stick to keep separate parts in place. Place the baking paper sheet over it carefully, and iron over the baking paper. After a few moments, you then cautiously lift the paper to see if the plastic has bonded with your chosen fabric. Never place a hot iron directly on plastic or it will melt!
Now there are no excuses to take your 3D printer in a more fashion forward direction by emblazoning your clothes and accessories with any number of fun images. Just another example of 3D printing’s incredible versatility!
Is this a project you might try out? Let us know how it goes for you in the 3D Printed Iron-On Designs forum thread over at 3DPB.com.
Subscribe to Our Email Newsletter
Stay up-to-date on all the latest news from the 3D printing industry and receive information and offers from third party vendors.
Print Services
Upload your 3D Models and get them printed quickly and efficiently.


You May Also Like
Divergent Declares that German 3D Printers are Superior, And Plans Massive LPBF Expansion
Divergent has announced a new version of its Laser Powder Bed Fusion (LPBF) printer and a new site. The company aims to do nothing short of “further accelerating its mission...
Inside Haddy: Jay Rogers Wants 3D Printing to Build Real Products, Not Just Prototypes
A warehouse from the outside, but step inside Haddy and it shifts quickly: finished pieces up front, clean and minimal, furniture you can touch and sit on. Walking through the...
SpaceX IPO Puts a Major 3D Printing Powerhouse on Wall Street
SpaceX officially began trading on the Nasdaq today under the ticker symbol SPCX, marking one of the most anticipated and largest public offerings in Wall Street history. The company priced...
DEEP Manufacturing Collaborating with Fortius Metals to Demonstrate WAAM at Scale
DEEP Manufacturing is trying to build pressure vessels and marine habitats at scale with DED technology. Using commercial robot arms and wire arc additive manufacturing (WAAM), the company is hoping...