German Teen Shares Sleek Arduino-Based Cherry 3D Printer Design, Under $70

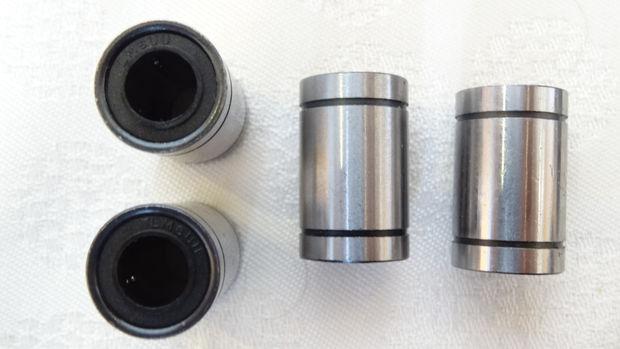
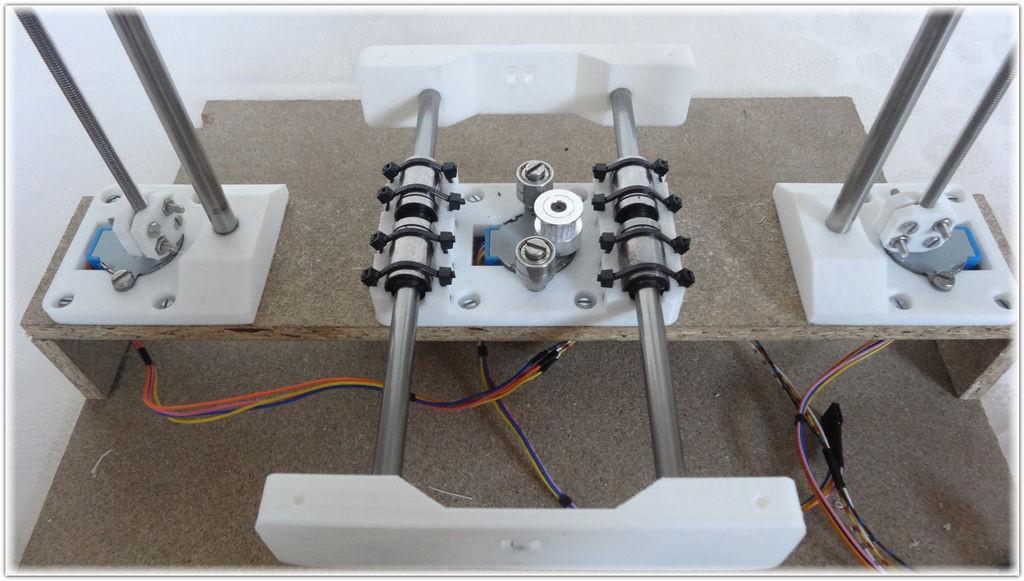
Mechanical parts for the Cherry 3D printer
Discovering the value of money and savings in your youth is, obviously, invaluable, but not always easy to catch on to before you have decades of trial and error in your stead. Motivation to make something you really want even when you don’t have thousands of dollars in your budget can definitely spur learning and added creativity early on though, and it’s certainly encouraging to see the 20-something crowd catching on; now though, we’re looking at a 16-year-old who understands the value of being thrifty as well as creating a quality product, exhibiting his talent for resourcefulness as well as making, hacking, and getting his design out there to the world.
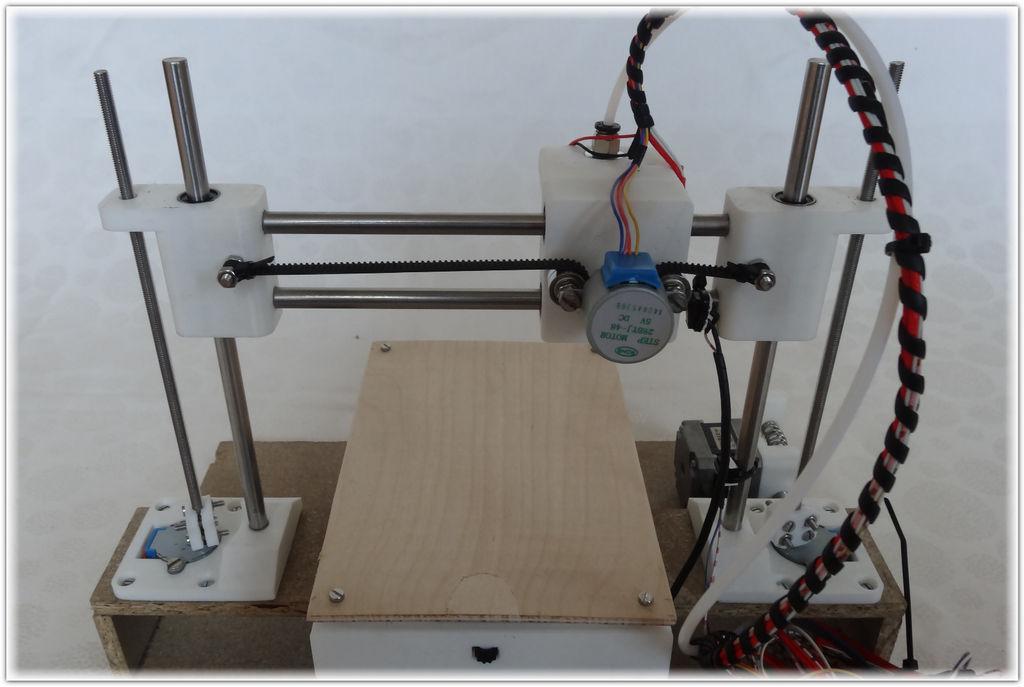
With the €60 Cherry 3D printer, German teen and Instructables member Johannes Rostek (also known as Vulcaman) introduces us to a project encompassing not only great price but also a formidable looking, functional piece of equipment. Entering a contest is also always great motivation, and Rostek invites you to vote for his Instructables design should you enjoy it, as it will be one of the designs posted on the contest page for the Instructables 3D Printing Contest with 3D Hubs. You can vote for this design now, or get more information, by clicking here.
Using “the cheapest motors on the planet,” according to Rostek, he employed the 28Byj-48, with the Ramps 1.4 for electronics, and an all-metal hotend which he spent a total of €5 on.
“It takes me just one weekend to build this printer,” Rostek told 3DPrint.com. “I made this printer for people who are just wanting to start with 3D-printing, because when I started, it was really hard to understand how a 3D-printer works and how to build it up. With all that in mind, the Cherry-3D-Printer is really good for beginners of DIY 3D printing.”
Rostek made a rough plan as to how he wanted to build his inexpensive 3D printer, and then designed it using SketchUp. He purchased required materials online and then was able to get aluminum plates at the scrapyard, which he drilled and cut by hand. Although it was time consuming, he ended up with quite a beautiful design.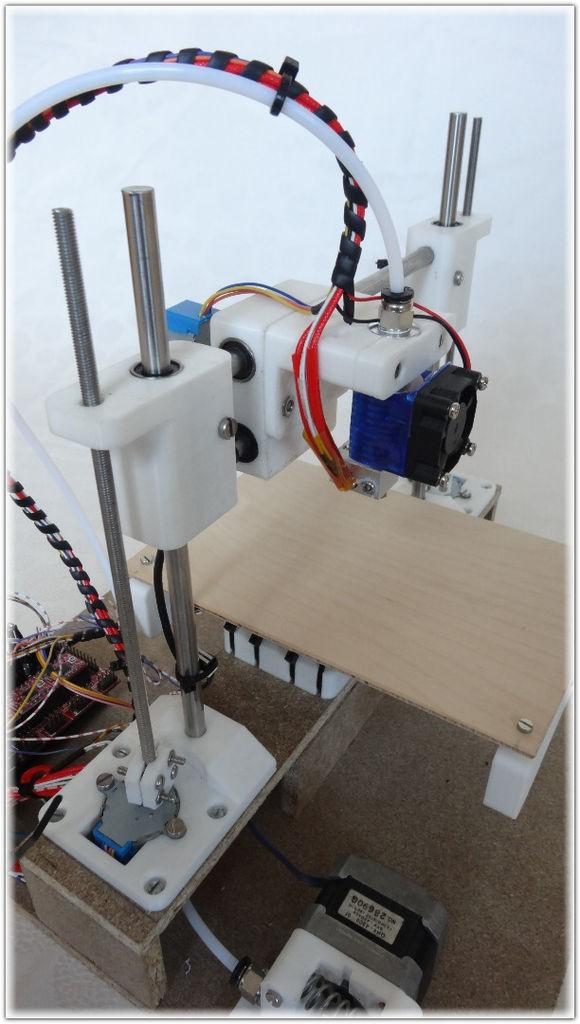
“It works surprisingly well because I gained some experience in building my Repstrap, which I made in 2014. I have learned from ground up how to build and design a 3D-printer,” Rostek also told 3DPrint.com. “Also it helped me to solve problems like warping, layer shifts in the print, and all the Reprap problems. Overall, I can say that it works really well on the first try.”
Specs are as follows:
- Build-volume: 10 x 10 x 10 cm
- Resolution: 0.2mm
- Speed: up to 20mm/s (because of the slow steppermotors)
- Materials: PLA
“My idea was to build up the cheapest 3D-Printer in the world, but also with a ‘big’ build volume of 10x10x10cm,” said Rostek. “This way, you can print parts for a ‘bigger Reprap’ and learn how a 3D-Printer works.
The parts list is very straightforward, which you can check out here for the full list.
The required mechanical parts include various types of:
- MDF-plates
- 8mm smooth rods
- Parts from the local hardware store
The total price for these came to €17, which translates to roughly just under $19 USD.
The electronics list comprises, broadly: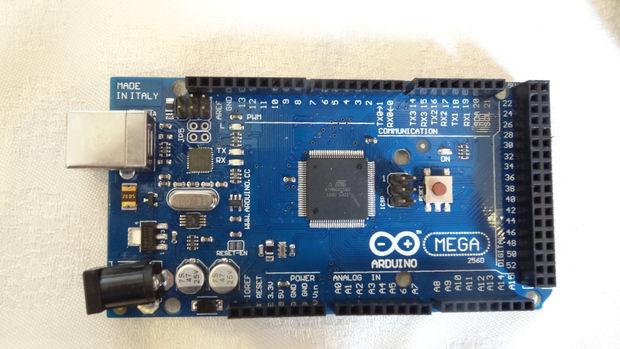
- Electronics
- Arduino Mega
- Stepper motor
- Hotend
These parts totaled €27.63, with the complete parts total coming to €44.63, which (stated as the major attraction of this 3D printer) is roughly $50 USD.
For the printer parts, they can all be downloaded from Thingiverse, where Rostek has included files to print the following several components, including a Z-motor, Y-end, X-end, X-carriage, motor, and hotend and hotend clamp. Additionally, a Bowden Extruder can also be downloaded and printed from Thingiverse.
“I have been searching for some cheap motors, because the motors are the most expensive parts of every 3D-Printer, and I found these little 28BYJ-48 steppermotors,” Rostek told 3DPrint.com. “With a hack, they can work with every RepRap electronic. After that, I am sourcing the other parts, and calculate the complete price of this printer at less than 60€.”
 Once you follow instructions for hacking the stepper motor by rearranging some connections and soldering some wires, you can move on to setting up the Y-axis which involves some gluing and assembly all laid out for you by Rostek, with the final step being to assemble the belt to the “Y-ends” and mount the endstop.
For the X-axis, only four steps are required as you perform some assembly, connections, and then screw in the hotend. The Z-axis assembly is very easily laid out too, as you will need to perform some minor assembly and screw the threaded rod with the motor together.
Again, as simple as can be, for making the printbed you just need to drill the appropriate holes into the wooden plate and then screw it together. Using Rostek’s diagram, you can assemble things from the electronics end and then move on to downloading the configuration file as well as uploading it to Repetier for the full firmware.
Price not withstanding, the sleek aesthetics and complete functionality of this machine may really surprise you. If you like what you see, don’t forget to put in your vote at Instructables.
Is this a design you are interested in building? Do you think you could design something similar for the same price? Discuss in the €60 Cherry 3D Printer forum thread over at 3DPB.com.
Subscribe to Our Email Newsletter
Stay up-to-date on all the latest news from the 3D printing industry and receive information and offers from third party vendors.
Print Services
Upload your 3D Models and get them printed quickly and efficiently.


You May Also Like
China Becomes Latest Space Power to Demonstrate Metal 3D Printing in Orbit
China has demonstrated metal 3D printing in space as part of its plan to develop manufacturing technologies for future space missions, including Moon construction. The experiment took place aboard the Qingzhou...
AMPulse Asia: APAC 3D Printing Market Roundup
Key Takeaways Coverage window: April 27 to May 10, 2026. Roughly 30 additive manufacturing (AM)-relevant announcements were tracked across eight Asia-Pacific countries. Largest disclosures: Farsoon Technologies (688433.SH) filing a RMB...
3D Printing Financials: Stratasys Bets on Defense and Drones as Printer Sales Slow
Stratasys (Nasdaq: SSYS) started 2026 with lower revenue and a larger loss as customers continued to slow down spending on new 3D printers. Still, the company pointed to stable recurring...
3D Printing Financials: Xometry Surges After Record Quarter and Siemens Deal
Shares of Xometry (Nasdaq: XMTR) surged on Thursday, May 7, after the company reported record first-quarter 2026 results and announced a major partnership with Siemens. The stock climbed as much...