How to 3D Print Your MRI Data


 Tyson James is a civil engineering student who is dedicated to teaching people the intricacies of 3D printing at Brigham Young University’s Harold B. Lee Library and encourages students to utilize the technology.
“There is much more meaning and joy found by creating your own items,” James says. “I think it is essential for people to have 3D printing experience.”

Tyson James, the 3D Printing Ninja
James says it all began when his wanderlust led him to leave his job for an internship in Shanghai, China, and following a bit of luck, he found his new job which lets him teach people about 3D printing. Since 2013, he’s spent about 15 hours a week at work–and a good share of his free time–at the library, which allows public access to a 3D printer. James says the printer at the library is busy “almost 24/7,” and he adds that the purchase of a second printer is in the offing.
According to James, he’s assisted in hundreds of projects including printing out blood cells, NASA model rockets, orthodontic retainer molds, architectural pieces, prototypes for businesses, model train parts, and even cookie cutters.
He also writes a blog, 3D Printing Ninja, aimed at promoting the idea of open source software and the free exchange of ideas and knowledge which he hopes will serve as a source of 3D printing information.
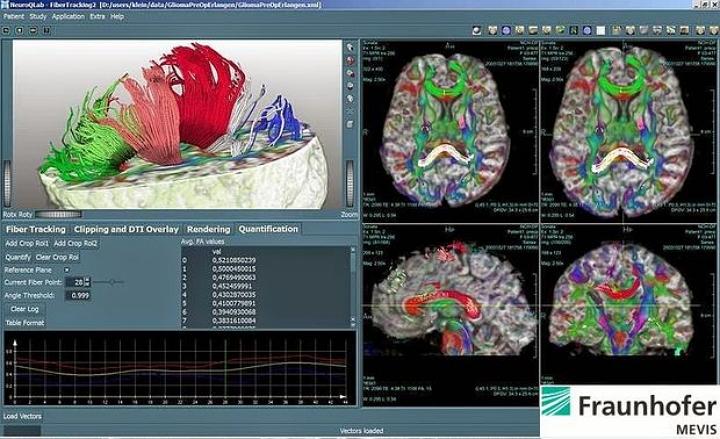
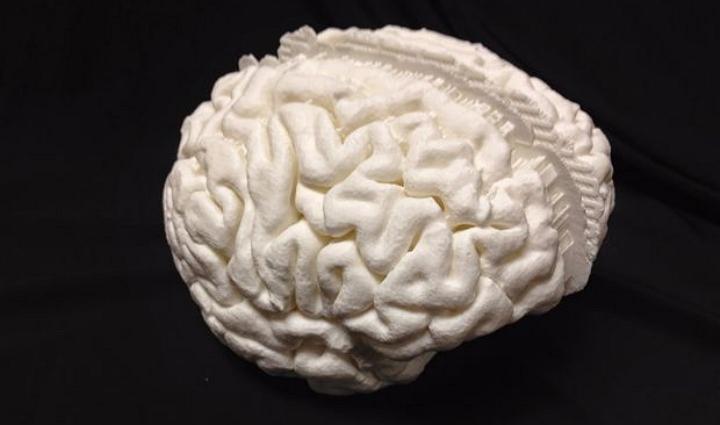
One of his recent projects is an Instructable which demonstrates how users can take MRI data and 3D print it, all with free software like OsiriX, InVesalius, 3D Slicer, Seg3D, and ImageVis3D to work with the MRI data, and MeshLab, Netfabb, and MeshMixer for the 3D modeling.
James says the first step in the process is obtaining the MRI data in the form of a DICOM (.dcm) file from your 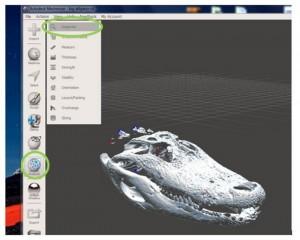 doctor, or failing that, find the data from a free online source such as NBIA.
Next up on the agenda is to open the DICOM file and then use one of the software packages he lists to limit the view to areas to be printed. Once the model view has been selected, James says it must then be converted to the .stl file format. He says that it’s very likely that users will need to spend some time fixing “non-manifold errors” like holes and separate parts. He recommends uploading the model into the netfabb Cloud or using Meshlab.
He then recommends that a user choose a side for which the supports will be printed on, and he says it’s probably a good idea to select the side which is least important to the final appearance of the print. It’s then a matter of orienting, scaling, splitting, and adding a raft before final printing.
“It should be noted that these models are often complex and can take days to print, so make sure you are not on a deadline to have it printed,” James says. “Also note that it may take a couple of hours for this model to slice alone.”
 If you want to check out his project and try printing out a model from MRI data yourself, you can see the whole post on Instructables. Do you think you’ll take on the job of printing a project based on medical imaging data? Let us know in the How to 3D Print from MRI Data forum thread on 3DPB.com.
Subscribe to Our Email Newsletter
Stay up-to-date on all the latest news from the 3D printing industry and receive information and offers from third party vendors.
Print Services
Upload your 3D Models and get them printed quickly and efficiently.











You May Also Like
AM Pulse Asia: Consumer Metal AM, Nuclear Parts and Rockets Push New Ground
The second half of August produced financing milestones, facility openings, and qualification results across Asia-Pacific additive manufacturing. Rongsu Technology closed a CNY 100 million Series A+ and launched a consumer...
HeyGears G1 Passes $14M on Kickstarter with Full-Color 3D Printing
HeyGears was started in 2015 and has been making value-driven Vat Polymerization systems for dental and home use. The company is marketing savvy and very driven. Now the firm has...
One Machine, Three Worlds of Creation: Inside the HeyGears G1 Series
Turning a digital idea into a finished full-color physical product often requires several machines, multiple software tools, manual coloring, repeated positioning, and outsourced production. For creators and small businesses, this...
AMPulse Asia: India’s Orbital Launch Headlines a Busy Second Half of July
The second half of July brought major developments across Asia’s additive manufacturing sector. Highlights included India’s first private orbital launch powered by 3D printed engines, a billion-yuan ownership change at...