
3D Print Portal’s GlaDOS as a Robotic Lamp


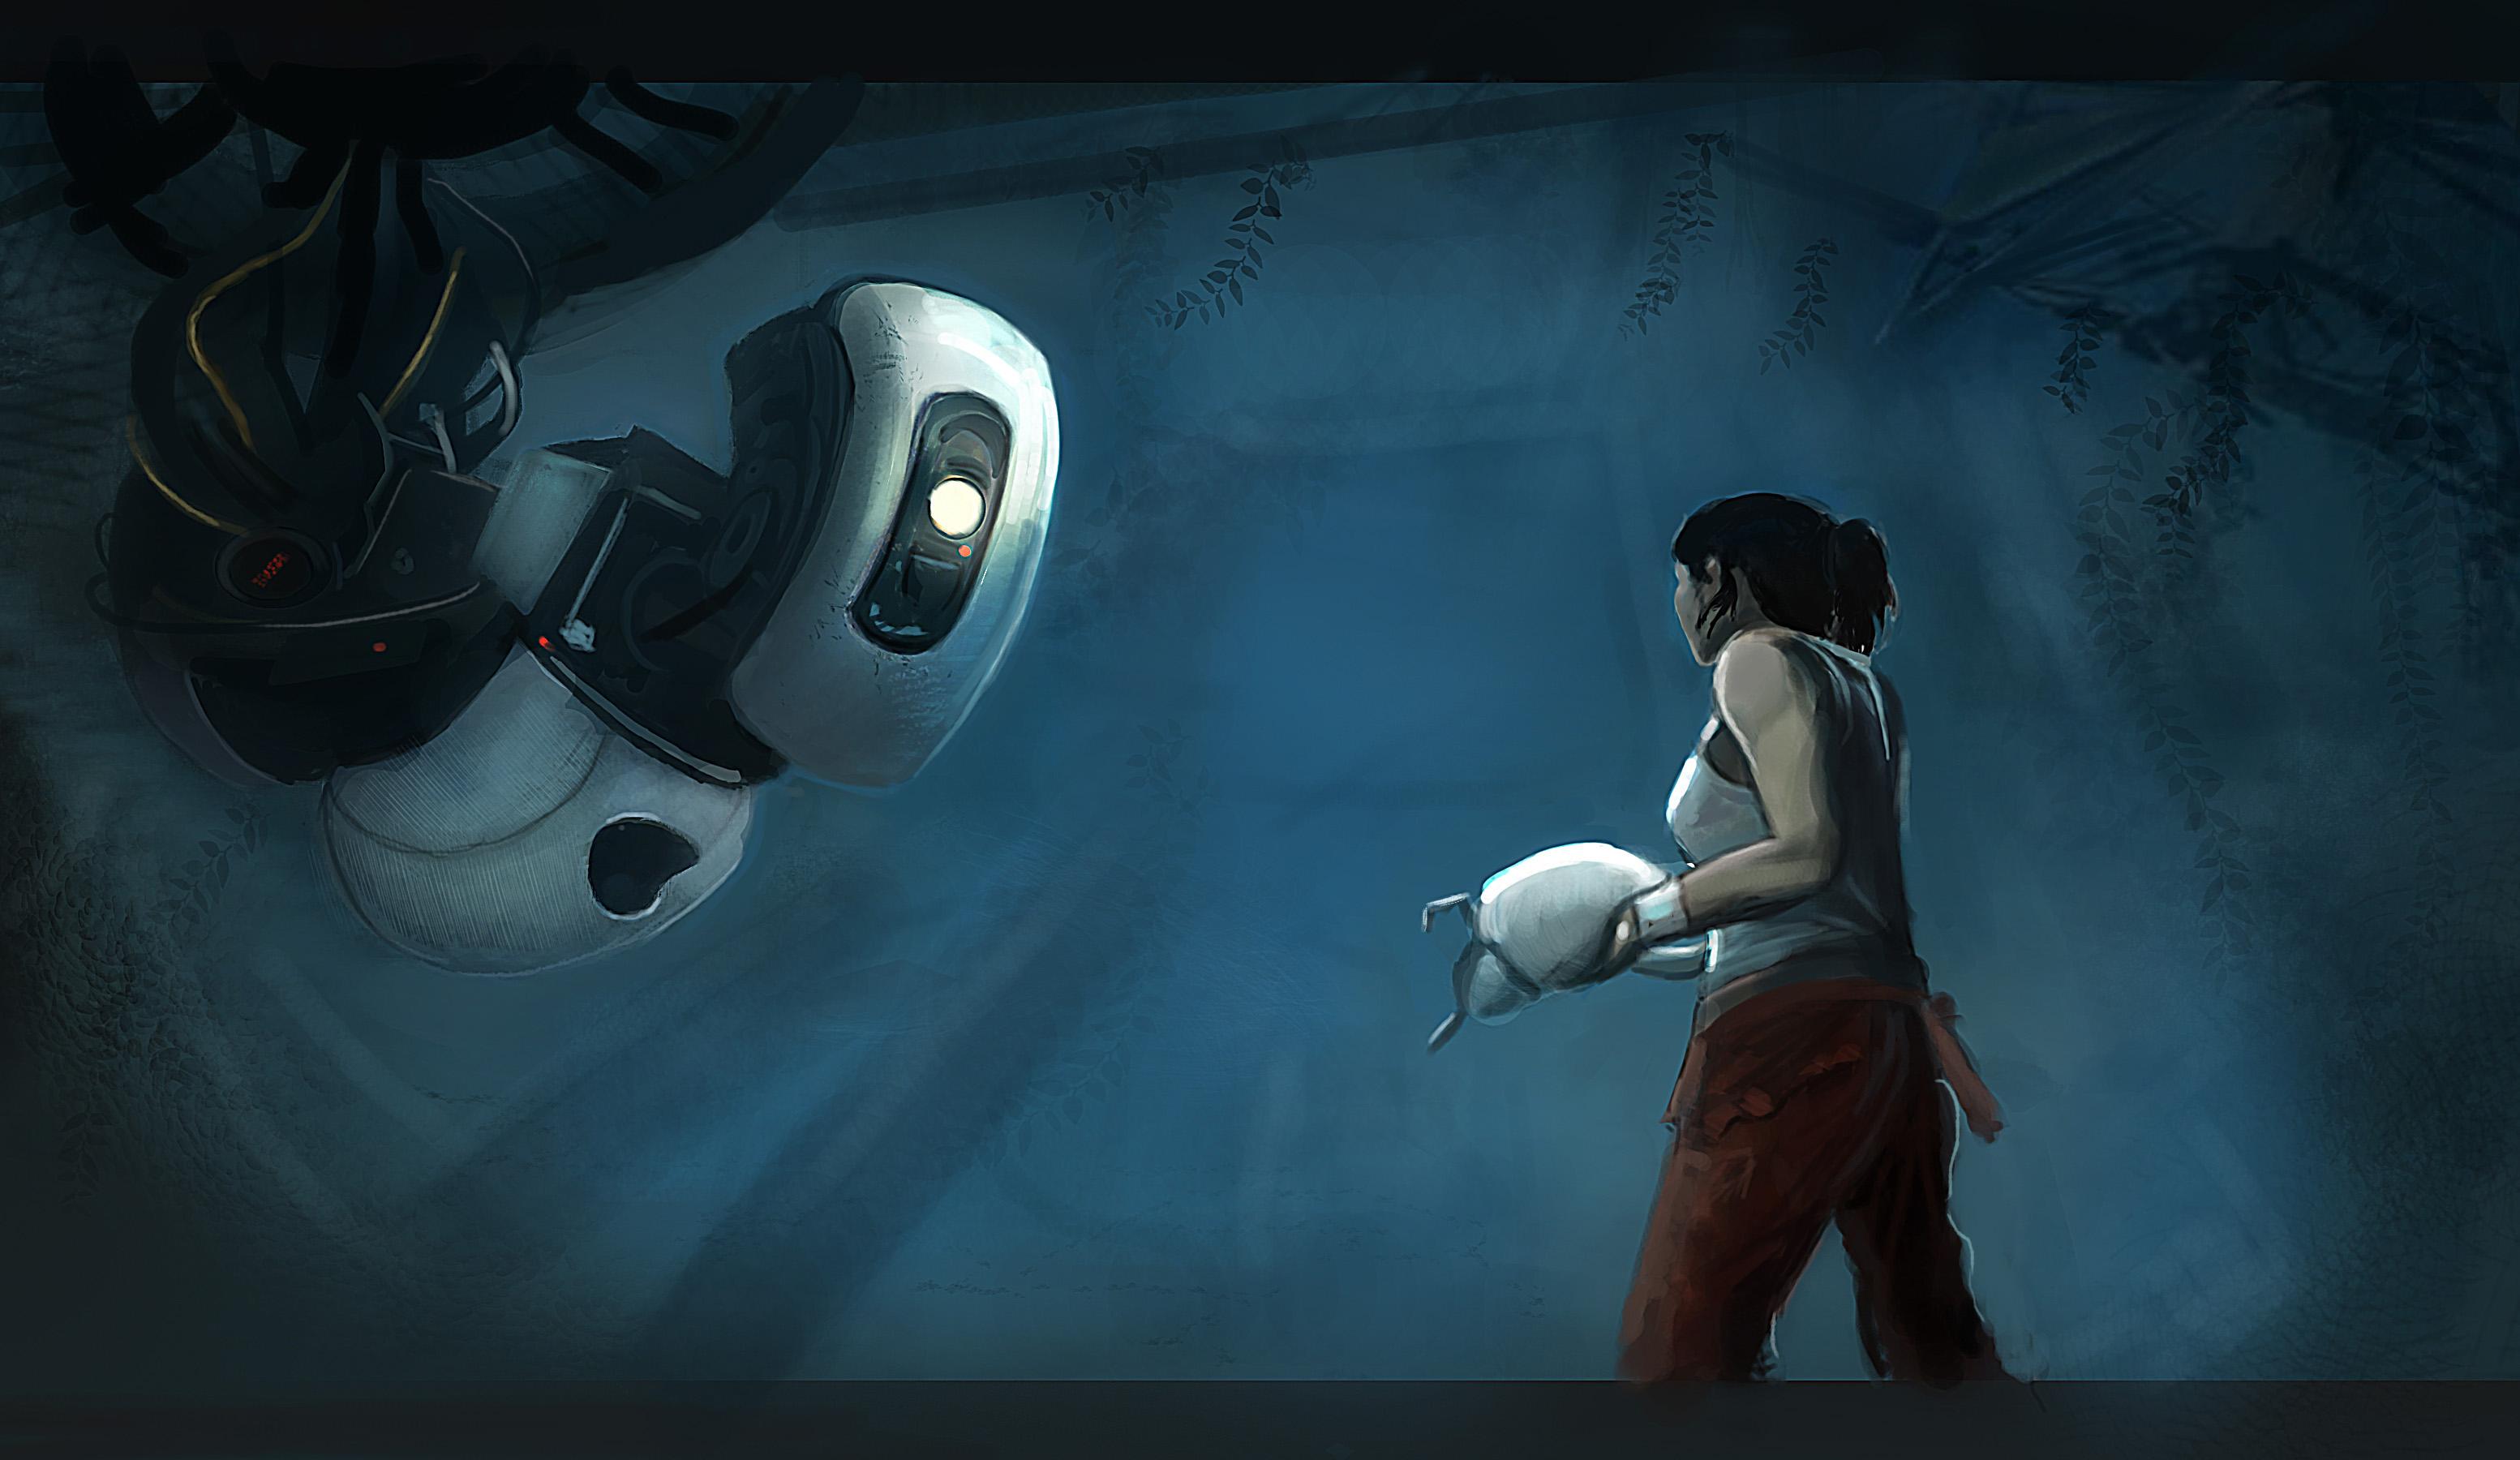 If you are a fan of the video game Portal, then you know who GlaDOS is. She’s a robotic game character, resembling a bound and gagged woman, who is considered to be one of the greatest video game characters of the early 2000’s and credited for providing much of the game’s narrative in her dialogues. Fans of this infamous villain can now pay homage to this popular game character by 3D printing a GlaDOS lamp that can also function as a robotic arm.
Dragonator has provided the Instructable for this project, which can be quite time consuming to print (40 hours to print alone) if you want your GlaDOS to move like a robotic arm. Thankfully, if you choose not to have the lamp move, the project is simplified, and you have either option based on the directions that dragonator makes available: one set of directions omits wiring instructions.

There are many materials needed for this project, including a 3D printer that is comfortable with support material, files and sanding paper, a soldering iron, a power source, servo motors, and basic pliers and screwdrivers. The rest of the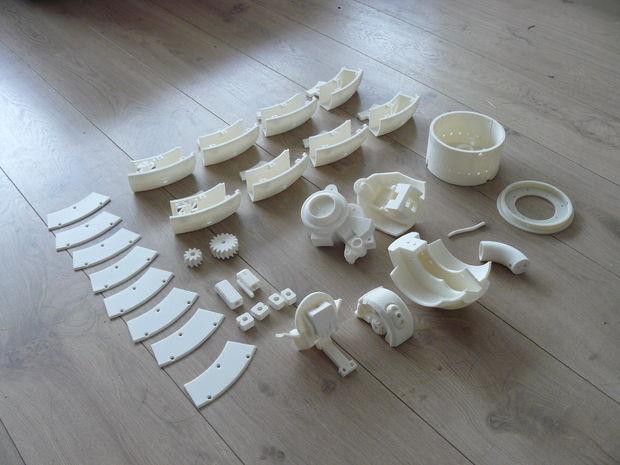 materials list is quite extensive, and after you have acquired the materials, you can download the files from Instructables and begin printing its components. There’s one file for a moving arm and one file for a stationery arm. To print all of the parts will require between 2kg-3kg of filament.
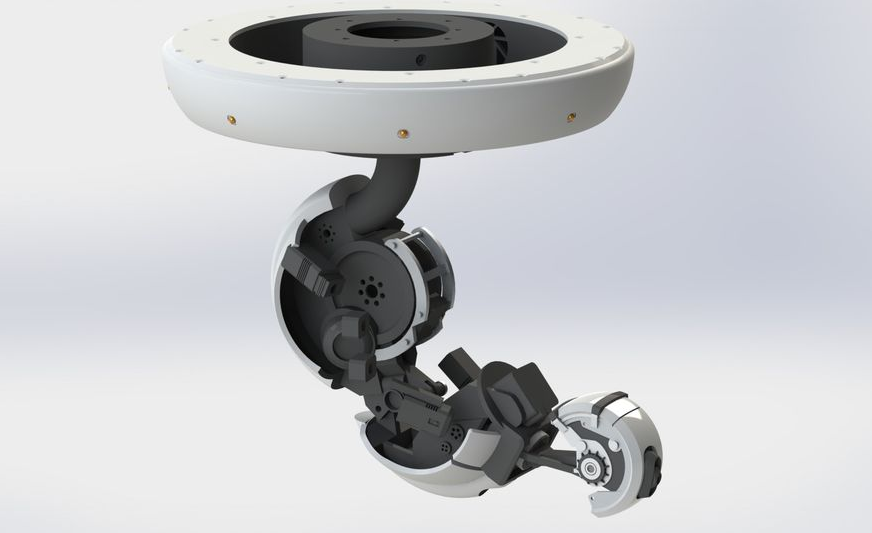
Next, you can sand, prime, and paint the parts if you’d like your GlaDOS lamp to be a certain color. In the game, GlaDOS is a certain color grey and all of the instructions for, sanding, priming and painting to achieve her exact shade can be found here. The next two steps involve intensive assembly. First you assemble the lamp’s base, and then you assemble GlaDOS’ body.
After you have assembled the base and body, Step 7 involves the complicated wiring, which you can skip if you don’t want to move the lamp beyond its  base. Either way, to make GlaDOS look authentic, you will want to run a few wires in the back for appearance sake. To make the lamp arm function, you need to wire from the base, through the internals, through the back and to the moving arm. From there the wires can spread to the eye and the 3 servos. There will be 11 wires running from top to bottom in total.
Step 8 is putting it all together. Once GlaDOS is attached to the mounting plate and it turns on and does what you deigned it to do, you know that you’ve succeded. In final thoughts on the GlaDOS lamp, dragonator reflects that if he hadn’t been rushed to finish the project in a month to enter it into a contest, he could have done a better job assembling it. He recommends setting aside more than one month’s time to do it. Also, he recommends testing the electronics to find out if the components can handle the power. He also states that he could’ve used a 1W LED and gotten the necessary amount of lighting, suggesting that 3W is almost overkill.
Step 11 of the instructable summarizes all of the things that have been modified about the lamp design since the instructions were first posted. The things that dragonator changed are: getting stronger servos and base parts and getting electronics that fit into the base. In fact, it is probably a good idea to read the modifications in Step 11 before you look at all of the other steps to consider how you will avoid the mistakes he had made as you embark on the journey of printing, assembling, wiring, and mounting your very own 3D printed GlaDOS Lamp
Discuss this story in the GlaDOS 3D Print forum thread on 3DPB.com.
Subscribe to Our Email Newsletter
Stay up-to-date on all the latest news from the 3D printing industry and receive information and offers from third party vendors.
Print Services
Upload your 3D Models and get them printed quickly and efficiently.


You May Also Like
3D Printing News Briefs, July 9, 2026: RIMPAC 2026, Software, Housing, & More
In today’s 3D Printing News Briefs, Massivit continues its focus on aerospace and defense manufacturing, and Meltio is collaborating with Phillips Corporation for RIMPAC 2026. Moving on to software, AMIS...
3DPOD 304: Precast Concrete AM with Greg Kerkstra, Mangrove
Greg Kerkstra is part of a family business that leads in the precast concrete industry. They’ve now turned to Progress Group’s large-format binder-jet concrete technology, which we covered here in...
3D Printing News Briefs, June 10, 2026: Grand Opening, Photoresins, Footwear, & More
We’re starting with some exciting news in today’s 3D Printing News Briefs: Stratasys just celebrated the opening of its new North American headquarters in Minnesota. Moving on, Nanoscribe is scaling...
Wells Fargo Backs ICON in Landmark Milestone for 3D Printed Housing
Qualification is an indispensable step on the path to legitimization for any new technology, but it’s still just one step: markets tend to remain unswayed without a co-sign from an...


