Sand Your Way to Smoother 3D Printed Parts by Following These Easy Steps


The completed, polished, printed Rumy
When we speak about 3D printing, we spend much time on the design, modeling, and printing of our objects. But let’s not forget that in order to optimize your print job there’s also the prerequisite finishing of the print. This is no small part of an overall successful print. 3D printed objects are notorious for having stringy surfaces after printing, and fortunately there’s an easy way to handle this problem: sanding. Here’s an account of Arif Iftakher and Thomas Stillwell’s experience finishing a portable sensor controller for smart thermostats (Rumy). There are lessons here for everyone who wants to improve their overall print quality by finishing their prints in a more satisfactory manner.
Iftakher reports that a 1st generation Flashforge Creator he bought off Craigslist was not up for giving him the best print quality money can buy, so he decided that finishing the print well could compensate for any limits in the print job. It took him two hours and $25 (for sandpaper and polishing compound) to finish both of Rumy’s parts, but the results were worth it. All of Rumy’s parts were “sandable” since there were no creases or small angles requiring acetone, so the job was clean and safe.
Original Print
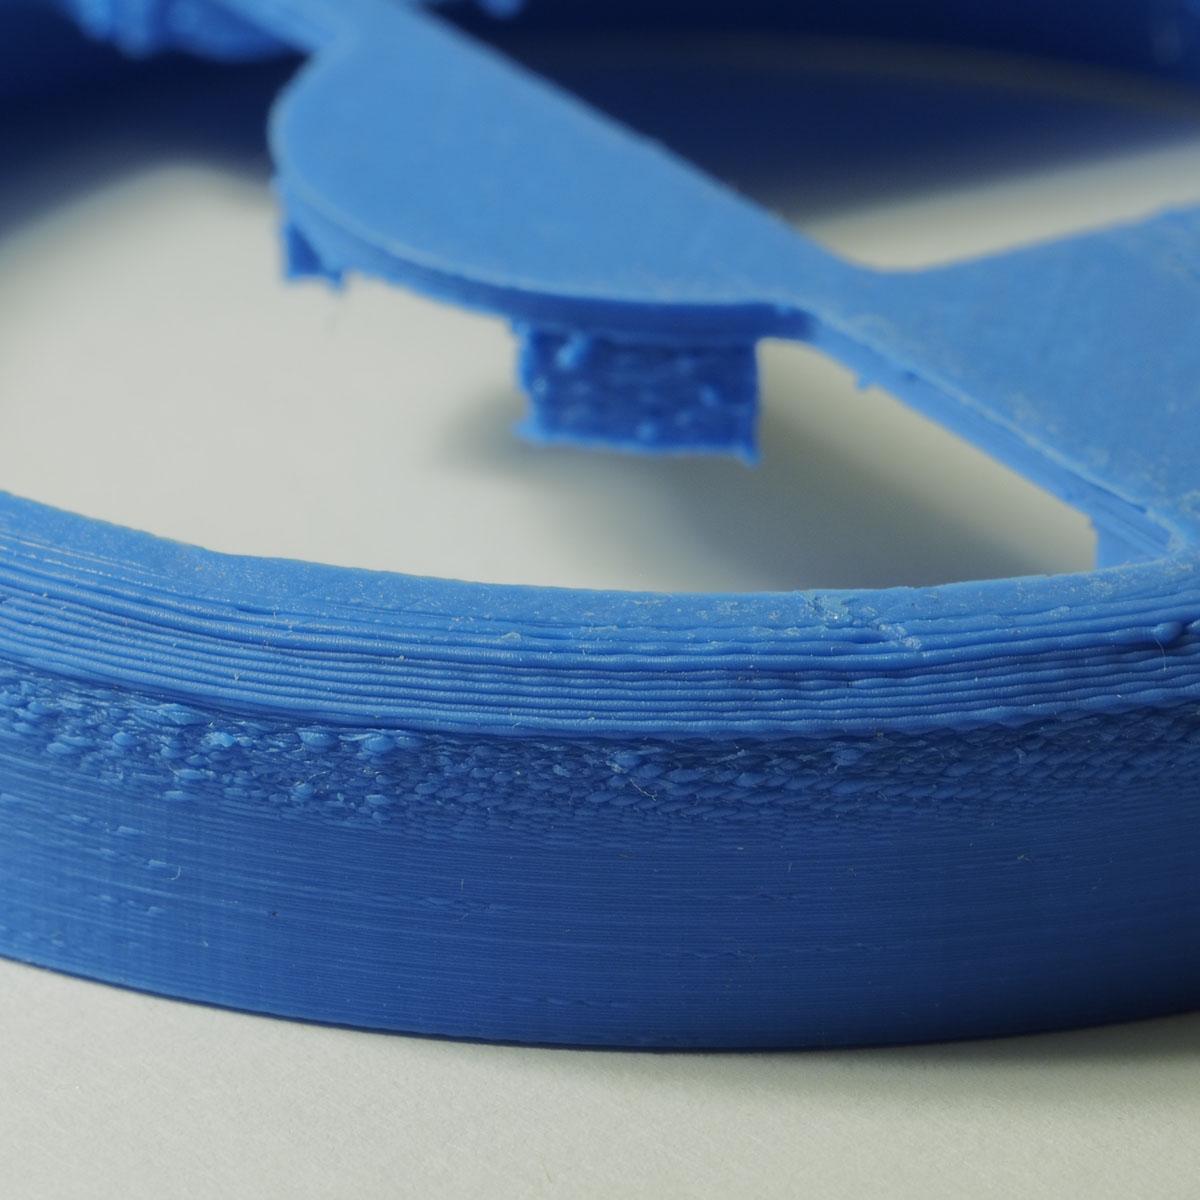
Step One in this process is to begin with a good print. Iftakher gives a few tips here, including using a color of filament close to your print’s desired color to avoid heavy painting later. (The blue filament photos here are for the article, but the original Rumy was printed in black requiring no painting later.) Also, for the highest resolution you want to use the smallest layer height (0.1 mm or less) possible, especially on the first layer. Other tips include: start with the face plate upside down (for best surface finish); for ABS prints, clean the surface of your print bed with Kapton tape and (optional) IPA; always use a slower speed when you can; and print at 100% infill since sanding removes some of the print’s material.
When it comes to sanding your print, Iftakher recommends using about six gradually increasing grades of sandpaper (such as 100, 240, 400, 600, 1500, and 2000) and begin sanding your print with the larger grade paper to remove bumps and scratches. You can wash the print off several times and inspect it for missed scratches; if you miss these you may have to start over again.
Iftakher describes the sanding process as he moved from larger to smaller grit sandpaper:
“Initially the surface looked ashed. However once we started using paper with grit 600 and higher, the surface started to be cleaner and smooth. It was somewhat shiny with the 1500 grade sand paper. If done right, there will be no stringy texture (striations) on the surface at this point.”

Grit 2000
You can see the difference in photos here. If you’ve achieved a level of smoothness that the Grit 2000 photo depicts, you may feel that your finishing work is done. Not quite. Do you want it to be a different color than the original filament? Well, then you have to paint your print, too. Iftakher recommends sanding with a minimal grit of 240 before you paint. Spray cans work great for this, providing you use proper priming and painting techniques, which can be found here.
Polishing is the last step in this finishing process, and you can do this simply by using a plastic finishing compound that will give your print a nice shine at the end. These steps should help you go from acceptable to spectacular when it comes to getting the most out of your 3D print jobs. Happy sanding! Discuss this technique in the Sanding 3D Printed Parts forum on 3DPB.com.
Subscribe to Our Email Newsletter
Stay up-to-date on all the latest news from the 3D printing industry and receive information and offers from third party vendors.
Print Services
Upload your 3D Models and get them printed quickly and efficiently.


You May Also Like
The Stories nScrypt Can’t Tell; and Why That Matters
This article is Part 3 of a three-part series based on 3DPrint.com’s visit to nScrypt’s Orlando headquarters and conversations with Ken Church. There’s an interesting dynamic inside nScrypt’s Orlando headquarters. The...
amsight & toolcraft Improve AM Quality Control for the Semicap Market
As it is in the habit of doing at least once per generation, the semiconductor capital equipment (semicap) market is currently in the process of reinventing itself. This is too...
3D Printing Financials: XTPL Adds New Semiconductor and Defense Customers in Q1 2026
Polish microprinting company XTPL (WSE: XTP) reported first-quarter 2026 revenue of PLN 1.6 million (roughly $441,000) as the company expands into the semiconductor and advanced electronics markets, while also launching...
Creality Marks 12 Years with KliTek and AI-Powered Ecosystem Expansion
For 12 years, Creality has advanced accessible 3D printing technologies, enabling global users to turn ideas into tangible creations. What began as a desktop 3D printer manufacturer has evolved into...