

3D Print Your Own Custom Rubber Bands with NinjaFlex


File this latest contribution to Instructables on the list of 3D printed objects that were realized not necessarily because there was a specific, critical need but because yet another material was added to the ever expanding store of possibilities where 3D printing is concerned. And, speaking of expanding, that’s precisely what NinjaFlex flexible filament does.
Instructables contributor “icecats”–who also designed a clever, multi-material mini-plunger–discovered the flexible filament and immediately realized how useful it could be in terms of customizing one of the most basic tools of organization: The rubber band.
“Often when working on projects,” explained icecats (we’re going with “IC” for the sake of simplicity), “I am forced to use a close match of a part instead of the right sized part for the job.” However, IC continued, “The beautiful thing about 3D printing is the ability to customize an object to exactly how you need it. With some 3D modeling skills, you can create a part to your desired specs and have it printed before a commercial company could have even received your order.”
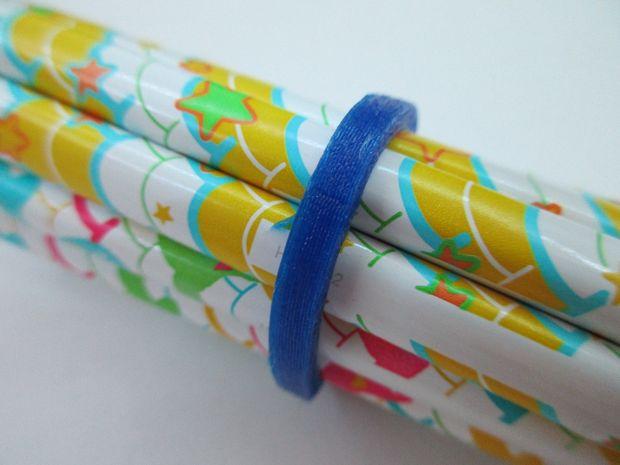
Settling for “almost right” wasn’t necessary after IC discovered NinjaFlex flexible filament, so it was on to the drawing board, or at least the digital drawing board via Autodesk Inventor, to create a 3D model of the perfect rubber band, ideal for holding together an otherwise unruly bunch of colorful pencils.
 IC’s project feels a bit like a spoof of a bona fide Instructable, but that’s just because most of us are knocked off our feet by the big epiphanies when, in reality, it’s probably the small ones–like the invention of the snap or the paper clip or the rubber band–that make life infinitely more bearable. In any case, if you are up to the challenge, you should begin this project by collecting the necessary equipment and supplies:
- A 3D printer that is capable of printing using NinjaFlex flexible filament. In this regard, IC remarked, “I printed an add-on [adapter, see Thingiverse for details] for my Printrbot Simple that allowed me to use flexible filament.”
- NinjaFlex flexible filament. Sample packs are available and then you can print rubber bands in a variety of colors!
- 3D modeling software.
- Calipers (you’ll be measuring the things you want to contain with your custom rubber band).
Follow the instructions provided by IC via the Instructables page, including getting started by getting the dimensions of the objects you’re binding together as a whole. This is, of course, the part of the step-by-step instructions that feels like a no-brainer, but it’s best to be thorough so you don’t have to repeat a step much less begin from scratch when you discover your rubber band is too darn small.
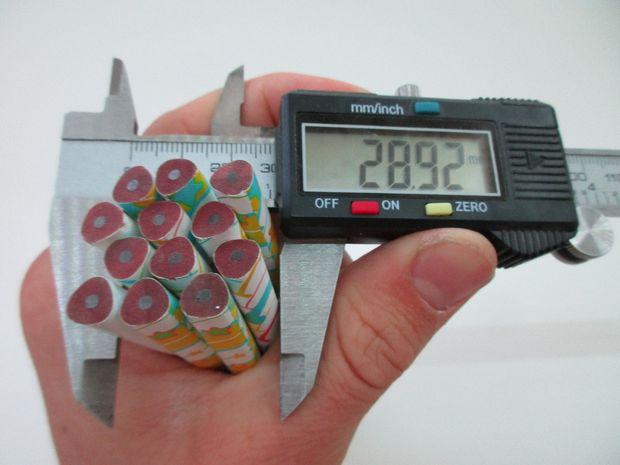
One crucial step in the process before you begin 3D modeling: Measure whatever it is you wish to organize/group.
If you aren’t familiar with 3D modeling, this is probably a great project to begin with as it isn’t especially complicated and if you don’t get it right the first time, it’s probably not going to be a big deal (for instance, you might have to take one pencil out of the stack to make them fit in the rubber band that you didn’t get quite as expansive as you should have). Follow IC’s instructions for creating the 3D model or go out on a limb and see if you can figure it out for yourself.
Either way, check out IC’s parameters for printing, which really are very helpful: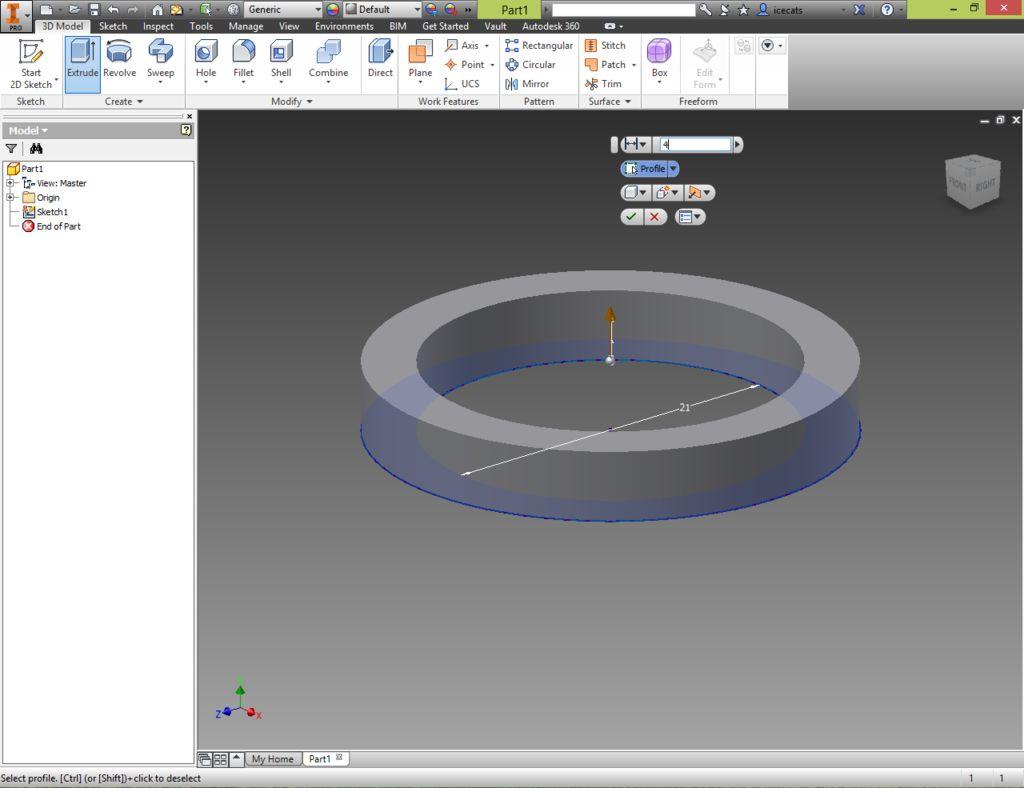
- Use the NinjaFlex Filament
- Print at .3 layer height
- Print with 100% infill density
- Go with 30 mm/s speeds
Aside from those parameters, you’ve got a great deal of freedom–or flexibility, more aptly–with this project. Go crazy with the multiple color sample pack of NinjaFlex filament and get organized!
Let us know if this is a project you’ll be trying in the Make Your Own Rubber Bands forum thread over at 3DPB.com.
Subscribe to Our Email Newsletter
Stay up-to-date on all the latest news from the 3D printing industry and receive information and offers from third party vendors.
Print Services
Upload your 3D Models and get them printed quickly and efficiently.


You May Also Like
3D Printing News Briefs, July 1, 2026: Prosthetics, Drug Delivery, & More
We’re focused on healthcare and research in today’s 3D Printing News Briefs, including 3D printed prosthetics, patient-specific implants, drug delivery, and more. Read on for all the details! Students from...
3D Printing News Briefs, June 18, 2026: Reseller, Relocation, Metal Space Powder, & More
We’ll start with business news in today’s 3D Printing News Briefs, as XJet appointed a value-added reseller in Germany, BIO INX is expanding its presence in the Italian market, and...
CEO Yoav Zeif on Why Stratasys’ Markforged Acquisition Is Really a Bet on Industrialization
When Stratasys announced plans to acquire Markforged, the immediate focus was on the deal. Markforged is one of the most recognizable names in additive manufacturing (AM), known for its continuous...
Stratasys Acquires Markforged, Analysis of AM’s Latest Consolidation Move
A very long time ago, in 2023, the additive manufacturing (AM) industry was enraptured over the attempts by a large chunk of its publicly traded original equipment manufacturers (OEMs) to...


