
Make a 3D Printed Christmas Tree That Twinkles and Plays Music!


It’s that time of year again when you need to make some last minute 3D printed gifts, and this might be the project just for you. I have always enjoyed giving homemade gifts because it lets people know you care enough to spend some time making something for them. Giving decorative Christmas items is a common practice during the Holiday Season, but how many of these items are 3D printed? EmmaSong has posted a Christmas Tree Instructable which includes lights and music, and guess what? Christmas is only two days away, so you still have time to make this. Right?
First things first: let’s talk a little bit more about the designer. EmmaSong is no stranger to 3D printing. We’ve seen her 3D printed beetle bot before, and I recently covered one of her incredible designs, a Pet Interactive Device that entertains your pet at home so you don’t always have to. It’s an amazing device, but truth be told, I think it would take more time than trying to make her 3D printed Christmas tree, and time is of the essence right now, isn’t it?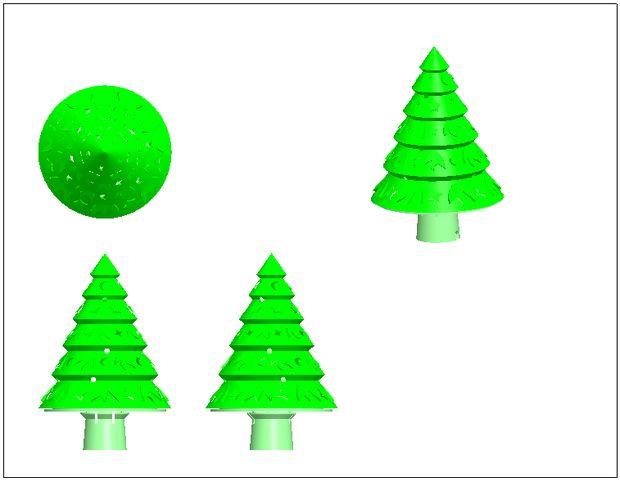
So let’s get started. For electronic components you’ll need self-trapping screws, self-locking nylon warps, a mainboard, analog sound sensor, splitter, waterproof LED light strip, 3-pin Doupont wire cable, and a USB cable. For the 3D model, EmmaSong states it is easy and you can download it from the Internet. Next you import the models into Cura and set all of your printing parameters such as printing temperature, fill density, and printing speed. Then you export your GCode files for the project.
In Step Four, you will save your GCode files onto an SD card and insert this into the Overlord 3D printer SD card slot. But make sure you don’t start assembling the parts immediately after they are printed. First you have to build the twinkling part of the tree. (In Step 5 EmmaSong has included a diagram for this part of the project.)
 Here you will be building up the electric part and making sure it plays the music before you go ahead and build it onto the tree. You will weave the LED light strip in between the holes in your tree layers so it is evenly sparkly throughout. Next you will tighten the Sound cable splitter module with the Analog Sound Sensor module using your M3*8 self trapping screws. Then you will use self-locking nylon wrap to fix the main board to the mount, and use your schematic diagram to connect your circuit. Finally, in order to fix the mount’s trunk part, you can spin it and then wrap it up by putting the leaves on the tree.
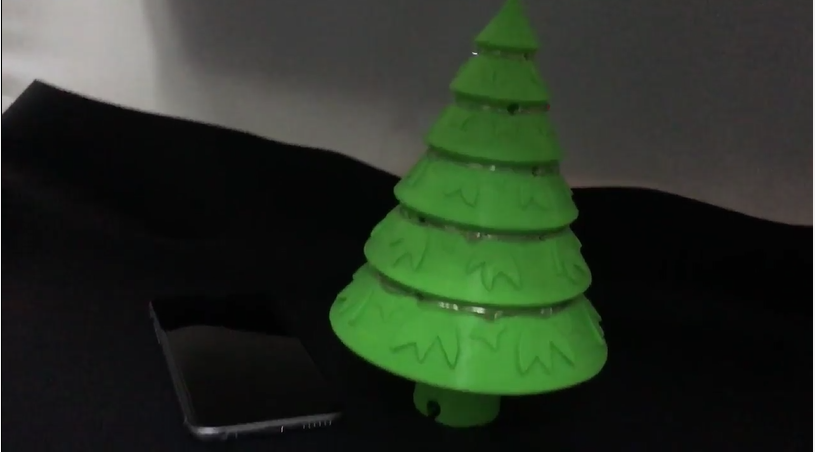
And there you have it! Your very own decorative Christmas Tree that plays music and twinkles for all to enjoy this Holiday Season! (See video below to watch the tree in action!) Discuss this design in the 3D Printed Christmas Tree forum thread on 3DPB.com.
Subscribe to Our Email Newsletter
Stay up-to-date on all the latest news from the 3D printing industry and receive information and offers from third party vendors.
Print Services
Upload your 3D Models and get them printed quickly and efficiently.


You May Also Like
How One Artist Is Using 3D Printing to Tell Stories About the Ocean
Artist Kimberly Callas sees something different when she looks at a 3D printer. Where others see a machine for making parts, she sees a way to tell stories about the...
Bambu Lab Wants Home 3D Printing to Feel Less Like a Workshop with PLA Pure
As desktop 3D printers become increasingly common in homes, Bambu Lab is focusing attention on something beyond print speed and hardware features. This week, the company launched a new filament,...
AM Asia Watch: China Exported 2.46 Million 3D Printers in Four Months
China’s consumer 3D printer industry seems to be reaching a new level of global dominance. According to Chinese state media outlet China Global Television Network (CGTN), China exported 2.46 million...
Bambu Launches A2L: What the New Printer Reveals About Its Strategy
Bambu Lab continues its relentless march for 3D printing domination with the launch of the A2L. The 330 × 320 × 325 mm printer will have a nozzle temperature of...


