


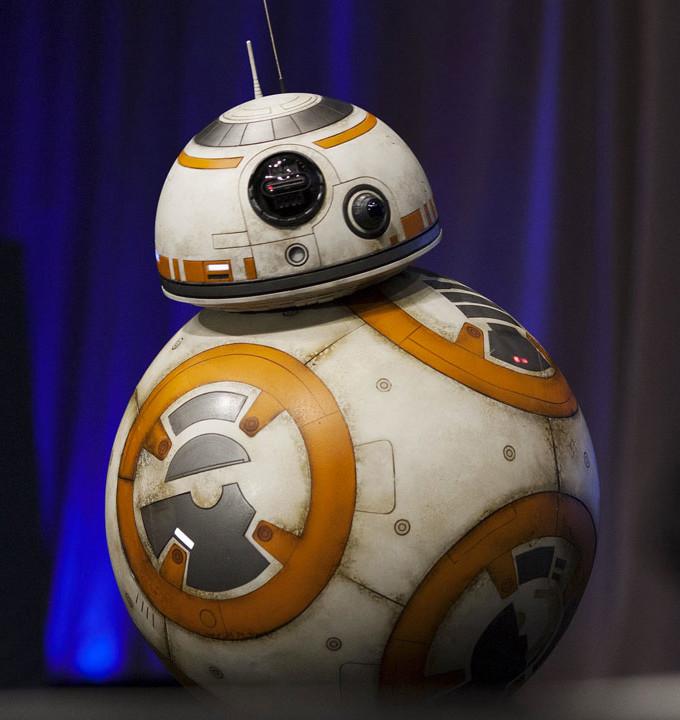
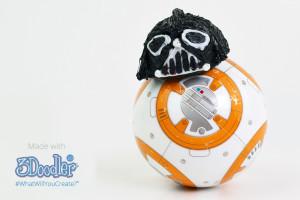
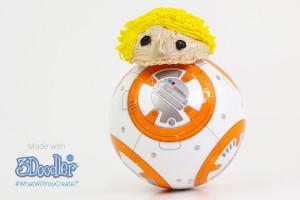
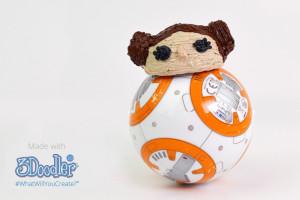
Since the head isn’t actually connected to the ball portion of the BB-8 droid, it’s pretty easy to remove and won’t damage the rest of the droid. And the 3Doodler team wasted no time in using their handheld 3D printing pen to give BB-8 some new duds. Well, some new heads at least, in the form of some famous Star Wars faces. BB-8 was dressed up as Luke Skywalker, Darth Vader, R2D2 and the most adorable Princess Leia that you’ve probably ever seen. He also got to dress up as a mustache-wearing pirate, eye patch and all.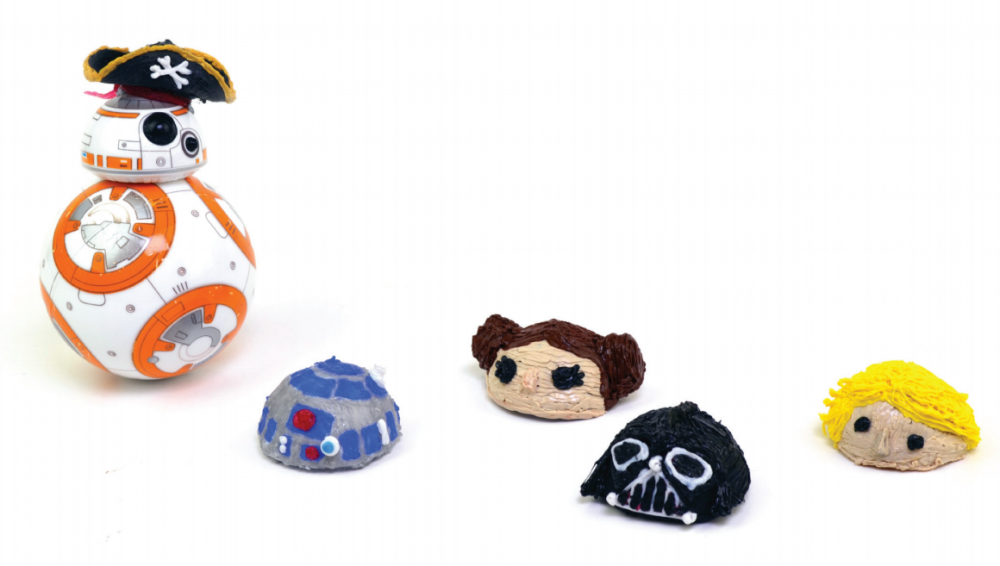
And don’t worry, if you want to make some new heads for your own BB-8 RC droid you don’t have to ruin it by 3D printing plastic directly on tip of it. Because the head is completely removable, all you need to do is build entirely new heads using the 3Doodler. 3Doodler was kind enough to include an easy to follow step by step guide for 3Doodling your own Princess Leia replacement head.
“Once our crack Jedi 3Doodler team had BB-8 sufficiently styled, we kicked him into hyperdrive, navigating a menacing gauntlet of 3Doodled obstacles, including Storm Troopers, mountains, monsters, and yes, even our office dog, Ophelia (filling in as a furry adaptation of an Imperial AT-AT). This is literally cuteness porn, so please proceed with caution. As you can see the results were varied, but the fun was in full Force. Which leads us to one (undeniably self-serving) conclusion… Only with a little bit of 3Doodler love is this circle truly complete,” said 3Doodle’s Ryan on their official blog.

Here is some video of BB-8 wreaking havoc at the 3Doodler offices:

Just start by taking a regular golf ball and completely covering half of it with some masking tape. Use the 3Doodler to completely fill in the half of the golf ball covered with tape, and then simply start drawing on the replacement head’s details. It may be smart to remove the head halfway through building the new 3Doodled head. This will make it easier to remove from the golf ball after the head is completed without inadvertently damaging any small, delicate details that were printed onto the new head.

Once the top dome of the head is completed, use the 3Doodler to create a base for the head to sit on with the original BB-8 head as a reference. Put the magnet onto the base and 3Doodle it into place. Then just use stick both parts together and use more plastic from the 3Doodler to hold everything together. The new head should stay on top of the BB-8 ball just as easily as its original head does no matter where you drive him. And don’t worry, if you have a 3Doodler but no BB-8 droid their blog has plenty of other great projects that you can build like Action Figures, and some we’ve taken a look at before, like Barbie clothing, some fun lampshades and even a launchable Rocket Ship.
Let us know if you will be 3Dooling any of these in the BB-8 Droid forum thread on 3DPB.com.