
Instructables member bravoechonovember brings you the Icing 3D Printer–now all you have to do is find something to adorn with sugary delight. Bravoechonovember does say that while this is a tool that allows you to do something fun and easy, creating the printer was anything but.
“This was one of the hardest projects I have built,” said bravoechonovember. “Throughout the project I broke two arduinos, 2 stepper motors, and I lost the plunger for the eyedropper, so if you see something different it probably is different.”
Following the Instructable and learning from the mistakes of the original builder should lead to much greater success with this 3D printer that’s a little on the alternative side (as is much in the making tinkering community).
“I know everyone is going to say that isn’t a 3D printer if it doesn’t have a Z axis!” states bravoechonovember. “But there is enough space to build up something three quarters of an inch.”
The parts list is fairly simple and doesn’t appear to be terribly expensive, as follows from the designer:
- Arduino Uno LINK
- Motor/stepper/servo shield LINK
- Two DVD readers
- Electrical wire
- Sheet metal (I used aluminum)
- Icing
- Something to ice
- Superglue
- Eyedropper (the plastic kind)
- Pop rivets (or any other fastener)
- Plastic feet
- Tools
- Soldering iron
- Solder
- Wire Cutters
- Screwdriver
- Pop rivet gun–only if choosing to use pop rivets
- Drill
- Drill bit–to be the size of your pop rivets or fastener
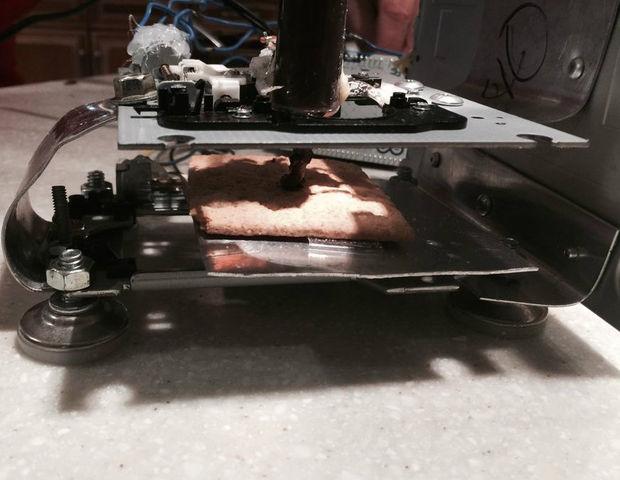
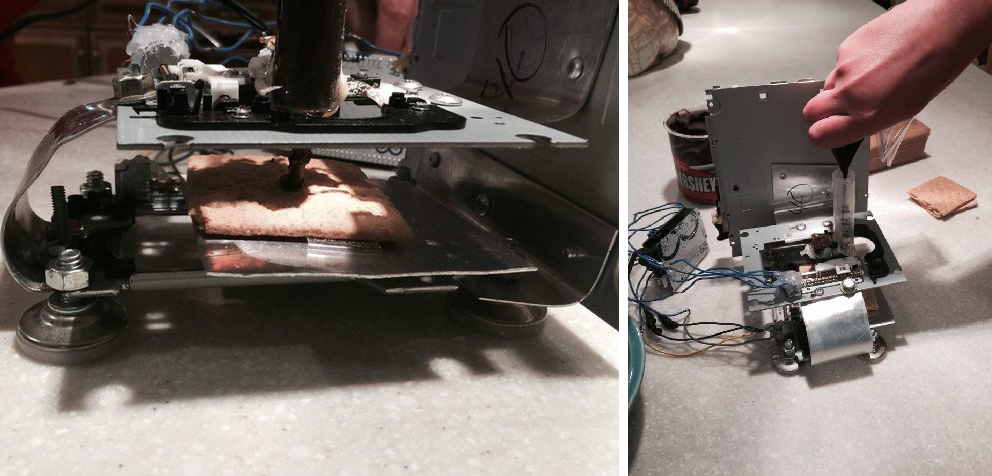
The frame is ready to go after bending a small piece of sheet metal and installing it to the top of the DVD reader in several easy steps to include some use of the drill and subsequent fastening. The sledge holders are attached to the top and the bottom, and may require extra stability with an extra U-shaped piece.
Once the printing plate and the eyedropper nozzle are glued on, electronics and code come next. You’ll need to solder wires on and attach them to the Arduino, 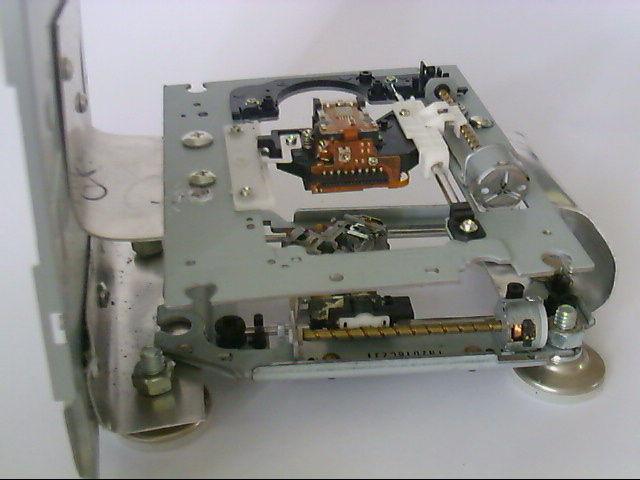

“This was my first Arduino project so I didn’t code very much,” explained bravoechonovember. “I just edited the speed of some example code.”
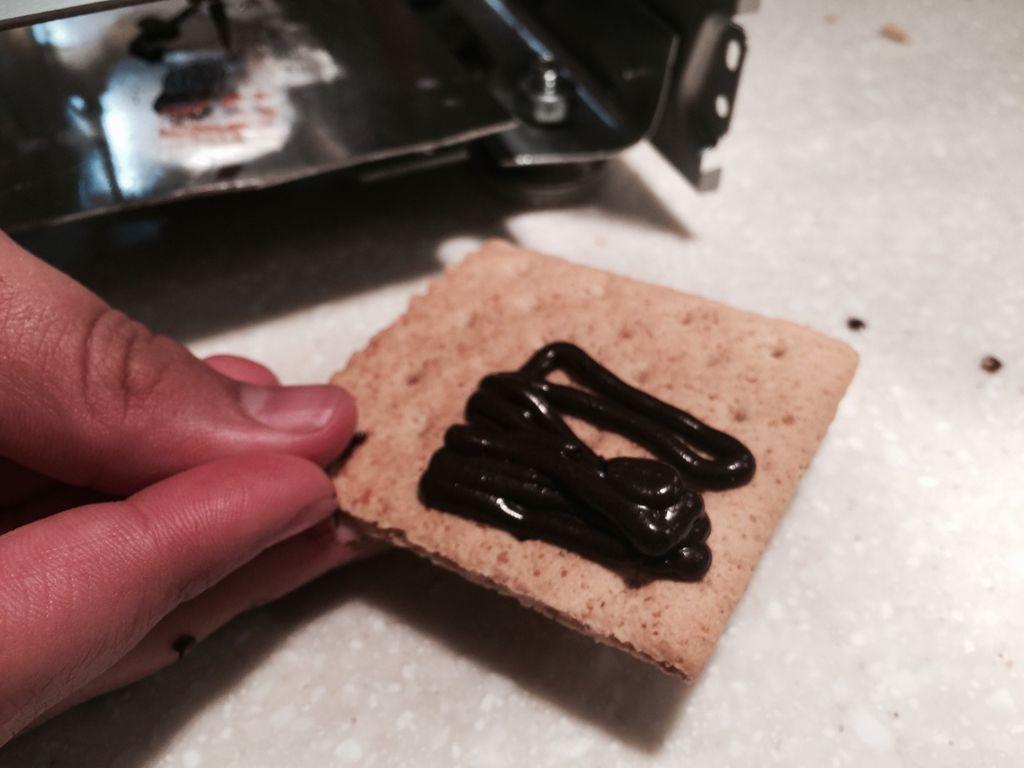
And finally–the next step is what we’ve all been waiting for: prepare to get down with some 3D printed icing. Using a small amount of heated icing to fit into the eyedropper, fill it to capacity and push the plunger down and start the Arduino.
“I found that putting the microwaved icing in a plastic bag with a hole cut in the end and squirting it into the eyedropper doesn’t make a big mess,” adds bravoechonovember.
And with that, you can enjoy both your new 3D printer and a new hobby that includes icing everything in sight. Both the DIY 3D printer and what it extrudes should make not only for great dessert, but an excellent conversation piece as well.
Are you considering making this 3D icing printer, and if so, did you encounter any of the same initial assembly challenges as bravoechonovember? Discuss in the 3D Icing Printer forum thread over at 3DPB.com.
