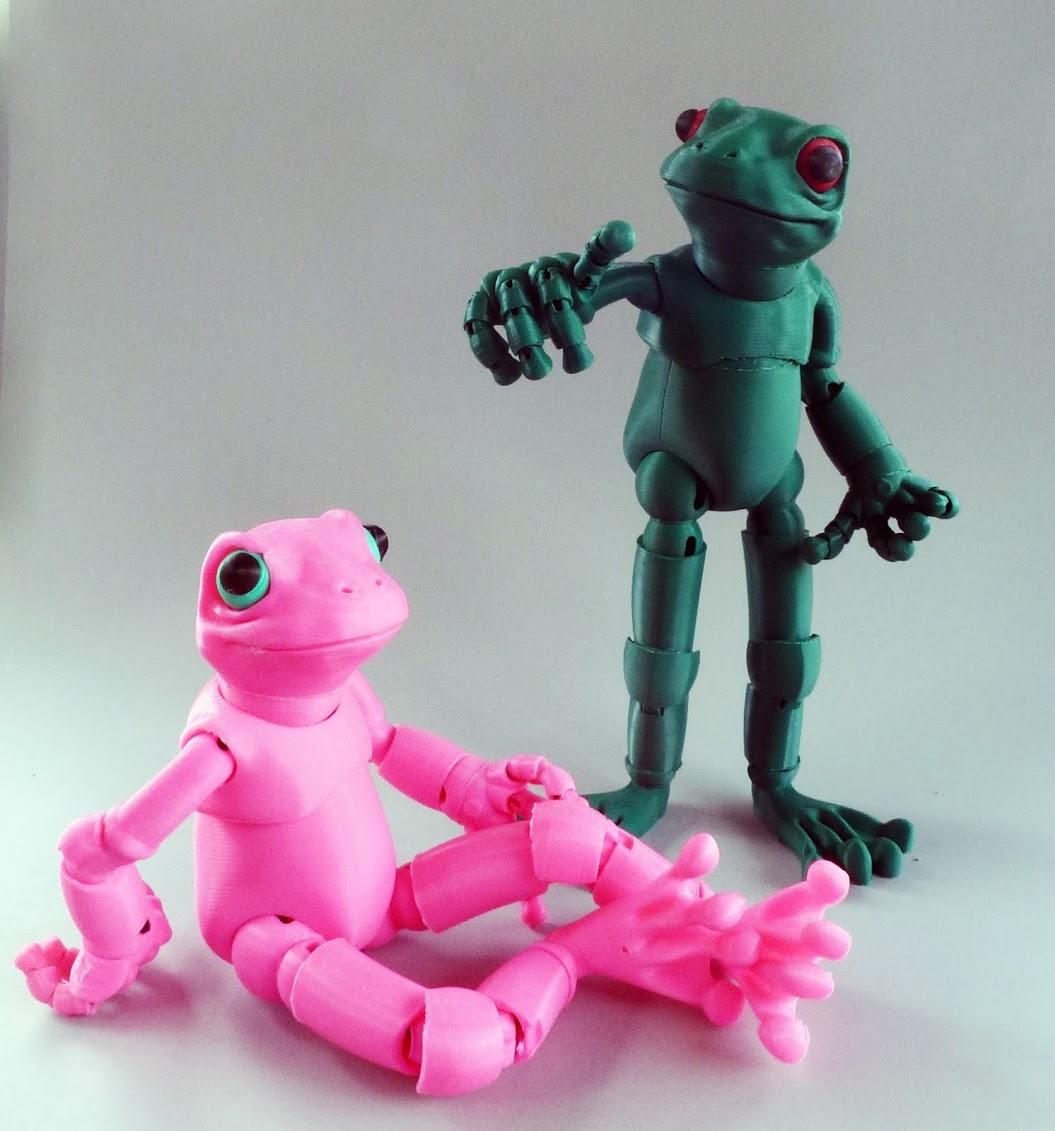
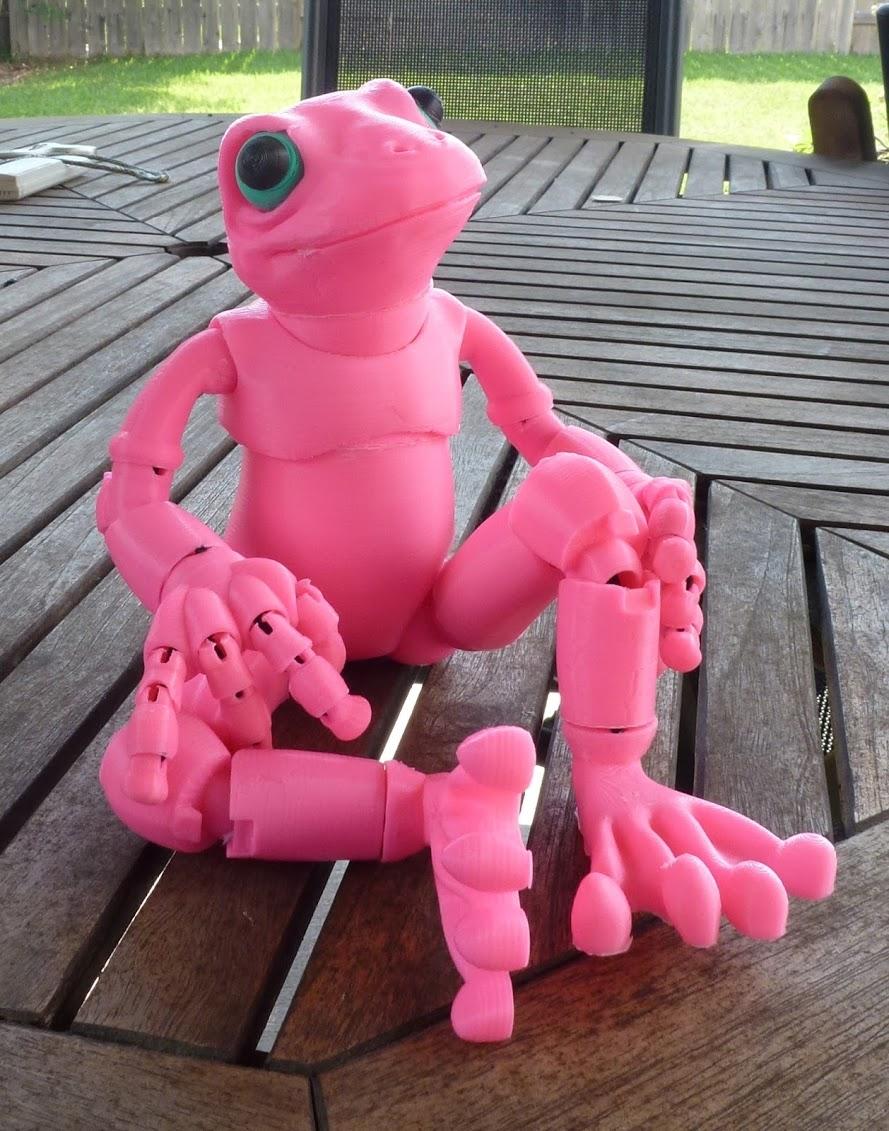
Driggers’ latest design though, may just take the cake. It is for a fully articulated ball-jointed doll that she calls ‘Froggy‘. Froggy is made up of an astounding 42 separate 3D printed parts, many of which print without the need of support.
“[Froggy] is my first ball-jointed doll,” Driggers explains. “I have always been fascinated by these but shocked at the prices they command. When the excellent Sonia Verdu uploaded her beautiful Robotica, it inspired me to make my own doll for 3D printing. Whilst Froggy is not a derivation of any of her work, I should give Sonia credit, because if I hadn’t had her work to refer to, it would have taken much longer to design this frog.”
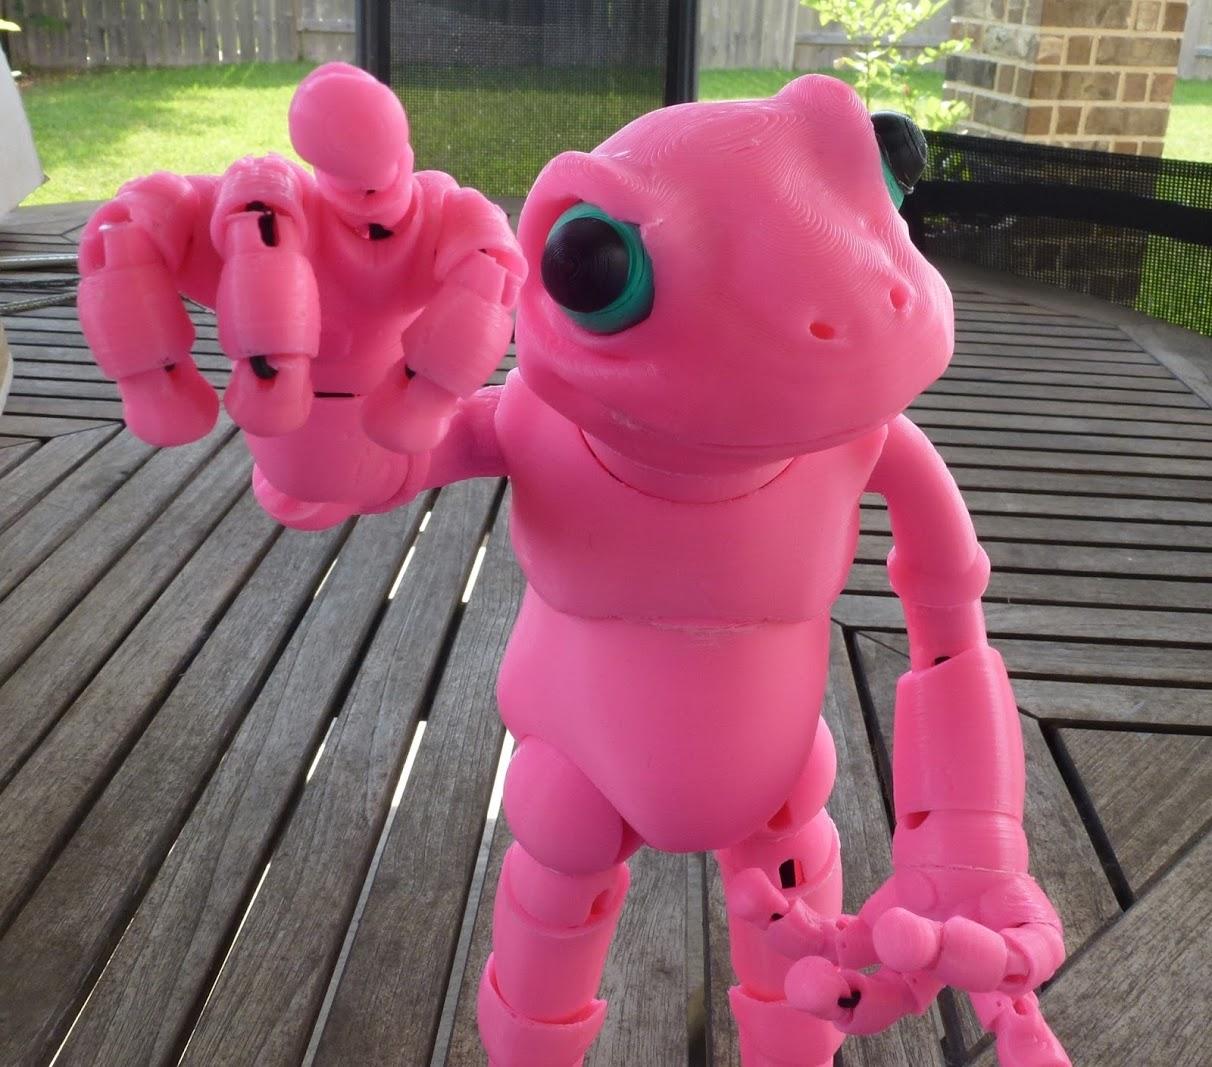
When we say fully articulate, we mean it! Froggy has joints that are movable, which even includes his fingers. Even the eye balls are able to be moved, thanks to a challenge presented to Driggers by her mother.

Driggers recommends printing all of the parts with a layer height of .2mm and an infill of 5%. She suggests using a cold print bed with a little Elmer’s glue applied to help the parts stick. Once all of the parts are printed out, they need to be assembled via a process that can take a little bit of time. This process includes stringing the doll so that he can more easily be moved and posed.
“How you string this doll will depend on what you want to do with him,” Driggers explains. “If you want the frog to hold a pose and not be ‘floppy’, then the tighter you will need to string him. Bear in mind though, if you string him too tight, he’ll simply ‘kick’ and won’t be able to hold his limbs straight. It boils down to practice and you may end up restringing your doll a number of times before you reach a point where you are happy. I’m not an experienced doll maker, so this is the best advice I can offer.”
More details on the stringing process can be found on Driggers’ website, where she also includes some diagrams for better understanding.