The RepRap project began as a British initiative aimed at developing a 3D printer capable of printing most of its own components. RepRap – which is short for replicating rapid prototyper – is an open design and all the versions produced by the project and by collaborators and designers around the world are released under a free software license, the GNU General Public License.
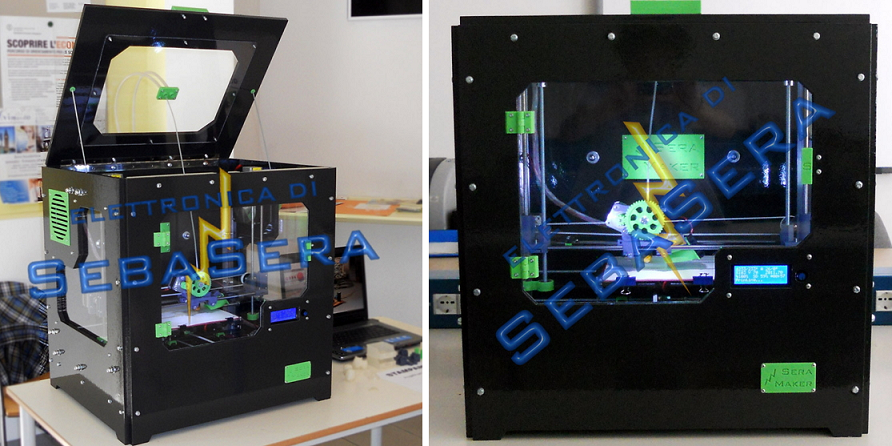
Now SebaSera94, an Italian electronics hobbyist, has built what he calls the “SeraMaker,” a 3D printer build project undertaken for a thesis required for the state exam in “Electrical, Automation and Safety at Work” at the Istituto D’Istruzione Superiore Giacomo Floriani, and it carries on the RepRap tradition.
The SeraMaker is an FDM machine, and the inspiration for the project was taken from the RepRap, open source 3D printer model.
The SeraMaker is housed in half a dozen pieces of MDF of thicknesses ranging from 12mm pieces for the outer case to a 5mm piece which the designer used for the base which separates the build area from the electronics housed in the lower portion. The control unit is an Arduino Mega 2560 equipped with Ramps 1.4 to control the power loading.
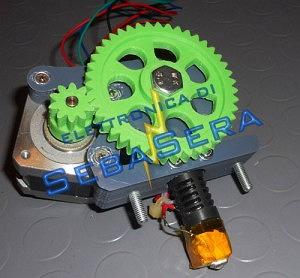
The SeraMaker uses stepper motors to generate the motion axes with extreme precision, and a total of five motors – including two used to actuate the two horizontal axes, two used for the vertical axis- with the last used to drive the filament through the extruder.
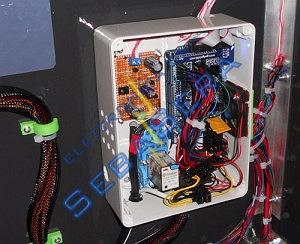
All the electronic components of the SeraMaker such as an ATX power supply in a junction box, are located in the lower part of the structure. The lower portion of the machine also holds the Arduino Mega 2560, control motors, a relay to separate the power circuit of the heating plate, a card used to control LEDs and a small 50mm fan for ventilating the interior of the printer.
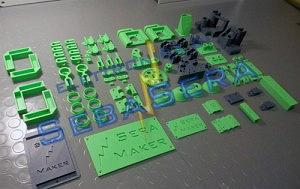
Except for the structural and mechanical components such as stepper motors, axles, bogies and pulleys, the MDF and plexiglass housing, the rest of the parts can be printed in ABS, and you can find the necessary models here on Thingiverse .
You can also check out Sebasera94’s electronics projects and tutorials on his YouTube channel. What do you think of the SeraMaker? Will you take on the task of building one for yourself? Let us know in the SeraMaker forum thread on 3DPB.com.
