In this age of X-Stations and Play-Boxes, video games have become a decidedly solitary pastime. And while that seems like it’s how it has always been, back in the ’70s and ’80s the only way for most of us to play video games was to visit the local arcade. It was there in those loud, dark, neon-lit caves where an entire generation of kids became the gamers that built a multi-billion dollar industry.
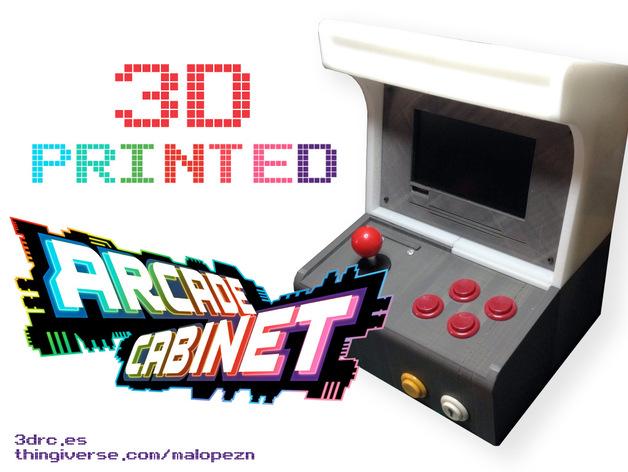
Like many an aging nerd, part of me still longs to have a house full of full-size arcade cabinets, just like the annoying rich kid down the road used to have. And while the wet blanket of practicality and maturity has put the lid on those childhood fantasies, a little part of that nerdy little dream will never really die. But thanks to 3D printing and an industrious Spanish maker it’s possible for us to have a small piece of that fantasy.
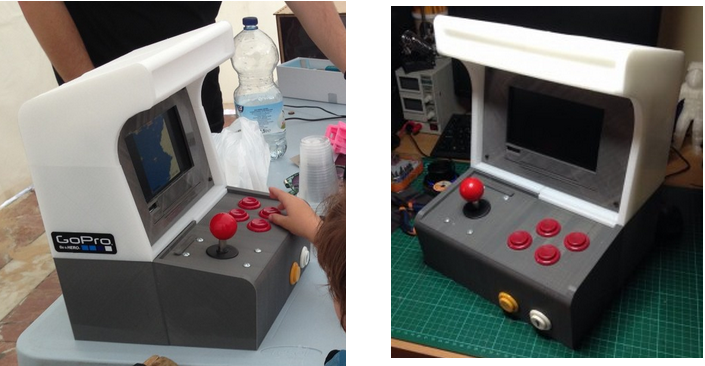
Thingiverse user Miguel Angel Lopez — who made the WatsonBot — has the same longing for the days of visiting local arcades and dreaming of having his own machines. And now that he has a child of his own, he wanted to share a little bit of that arcade magic with him. Only he did it in a practical, mature, and manageable size.

“The idea to create this is something I [had] since I was a boy, having my own Arcade Machine. Now i have a small child i wanted to share this with him. First I had the idea of designing it for wood, but later, i put my eyes on the 3d printer and said ‘Why not?’ and started this design,” Lopez explained to us via email.
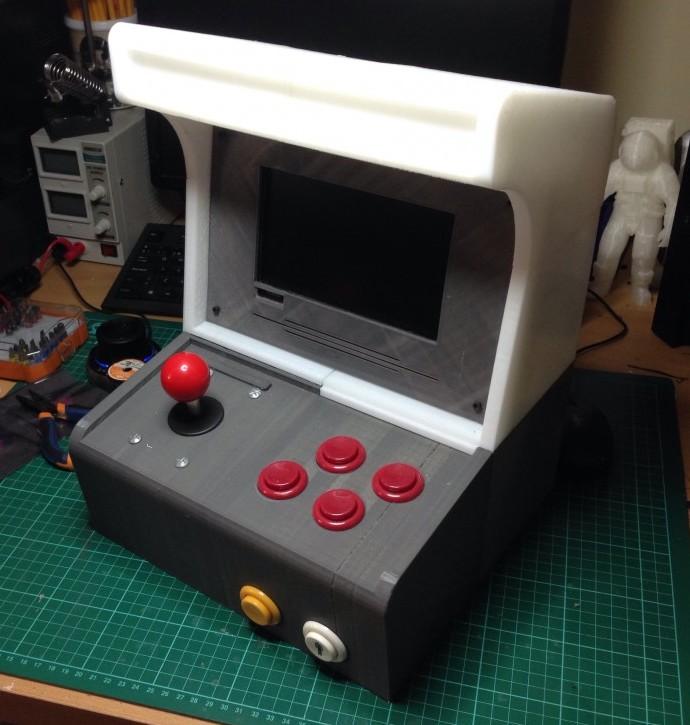
The brains of the arcade cabinet is a Raspberry Pi programmed to run a video game emulator attached to an inexpensive 7-inch LCD screen. He used some software from Adafruit to link the buttons and joystick to the Raspberry Pi and ran the whole thing with PiPlay.

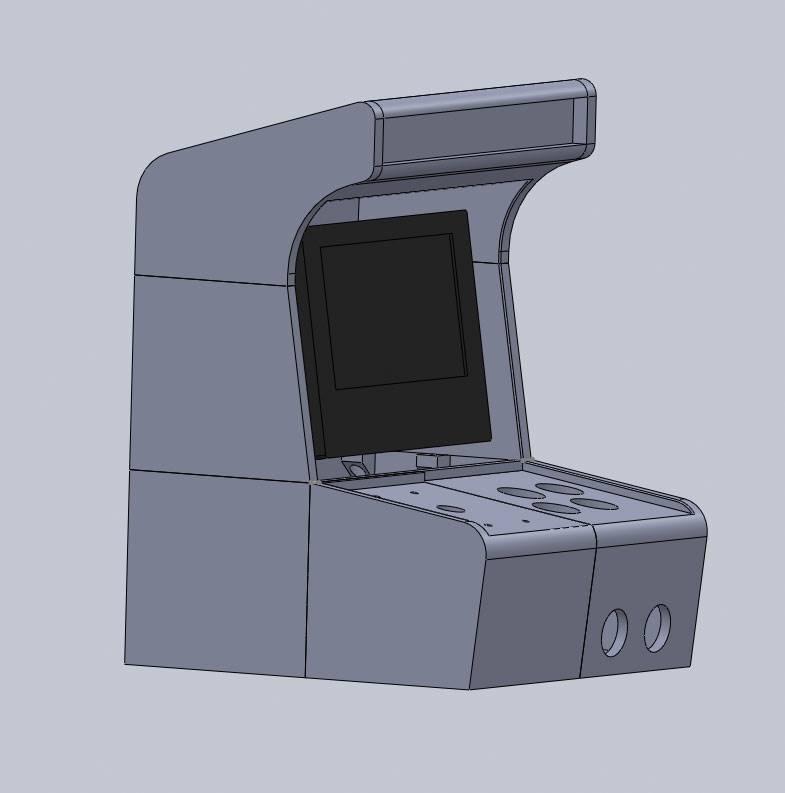
You can get all of the STL files over on Thingiverse, and Lopez was kind enough to include a list of parts and components and some basic assembly instructions. He posted more in depth printing and assembly instuctions on his blog. The post is in Spanish but if you’re using Chrome, the Google translations are clear enough to figure out.
What classic arcade video games would you load onto your own personal arcade cabinet? Tell us about them and your favorite arcade memories over on the 3D Printable Retro Arcade Cabinet forum thread at 3DPB.com.