If you are at all interested in intricate 3D printed designs, then you may have heard of the Orlando, Florida-based artist Mark Leonard who works with Aztec Scenic Design. He has helped design 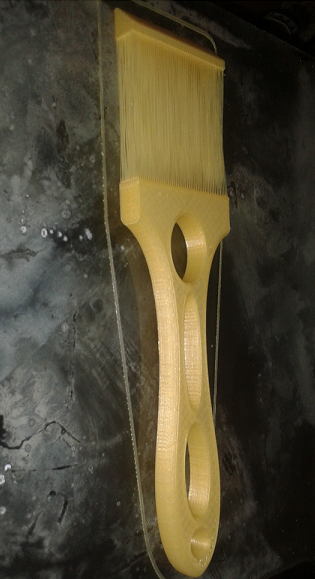
Leonard has a knack for using 3D printers to create works of art that many individuals would never have imagined possible. He does more than just create. Leonard uses his knowledge of 3D printing to change the way the machines actually function, better suiting his end goals for a particular project.
This last week, Spyder 3D World teamed up with Leonard to launch a new tech section to their community offering 3D printing/designing tips, fixes, and techniques in an educational format.
One such technique has been refined by Leonard is a process called “fiber bridging.” What fiber bridging does is allow the 3D printer to print over air, using single filament stands to produce prints that are unlike anything you’ve likely seen in the past. With Leonard’s technique, which is described in further detail here, you can bridge across entire 3D printer beds. As you can see by the several examples below — most notably the paintbrush, which is 100% 3D printed, handle, brush and all — the bridging process will permit an infinite number of new designs to be 3D printed.
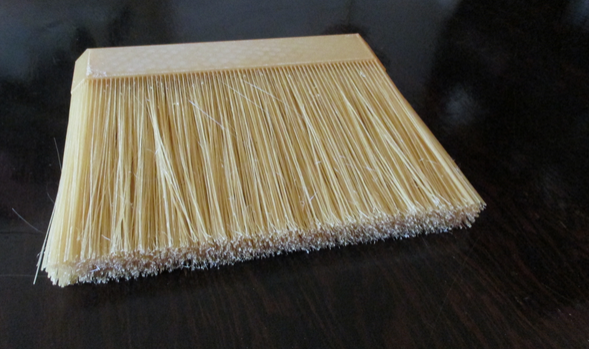
3D Printed Paintbrush
Staggering the fiber columns located at the top of the printed handle of the brush allows for a fuller look to the brush. Each strand of the brush is a single strand of extruded filament. The thicker your layer heights are, the thicker each brush strand will be. When the print is complete, you can simply remove the top part of the print where the brush strands each lead to, and you have a 3D printed paintbrush that actually works.
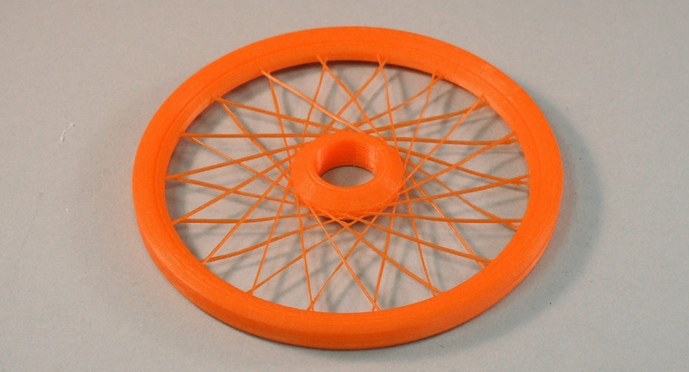
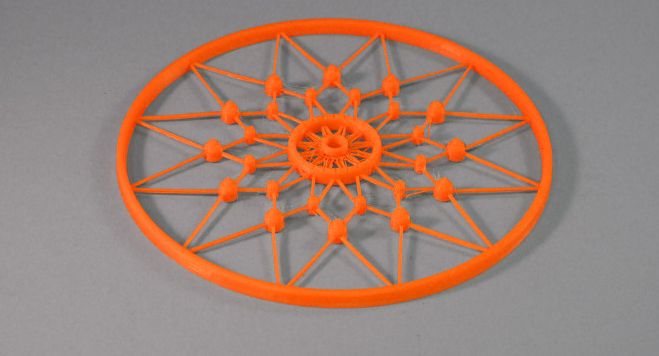
3D Printed Spoked Wheel
Using the correct Z-heights, and a clever bridging technique, this woven spoked wheel was able to be fabricated. The most important variable in producing this piece, according to Spyder 3D World, is to carefully manage the hotend temperatures during the bridging process.
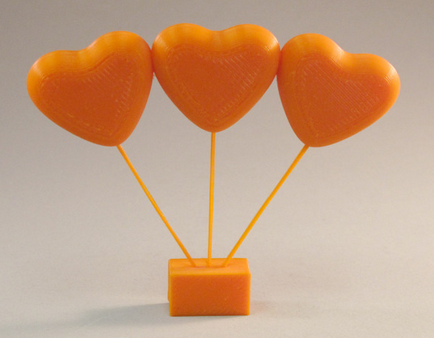
This is another awesome use for Leonard’s bridging technique. Each balloon string has been bridged from the printed box to each of the heart shaped balloons. Because of the thin layer of plastic making up the bridge, the balloons wobble as if they are really attached to a string, giving them an even more realistic look.
3D Printed Dream Catcher
This is quite an intricate piece, which certainly could not have been printed using traditional methods. Inside the hoop are several raised shapes, which act as platforms, enabling the bridging process to take shape. Here they use bridging to create the net, which makes up the Dream Catcher, and the various shapes within the hoop act as the base for each net strand.
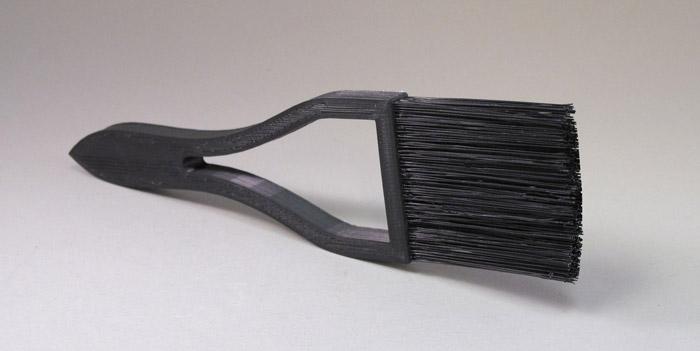
As you can see, this isn’t exactly an easy process to master. With that said, thanks to Spyder 3D World, and Mark Leonard, the tutorial they have provided certainly makes things easier for those of you wishing to give this technique a spin. Let us know if you have used fiber bridging on any of your 3D prints. Feel free to post the results in the Fiber Bridging 3D Printing forum thread on 3DPB.com. Check out some additional fiber bridge 3D prints below, starting with a 3D printed broom:

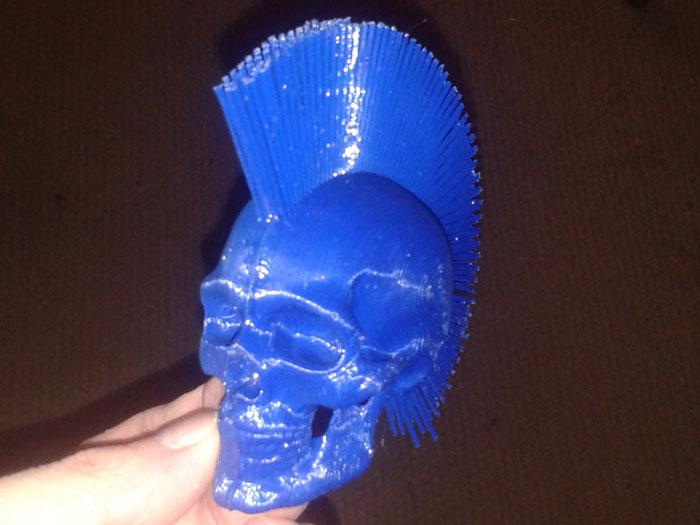

Broom