
![]()
Castro’s goal was to make an affordable modular system, and all of the pieces and components are open source and open hardware, so others can give “this kind of synthesis a try without spending a lot of money.”
“All the modules are all identical: if you have three units, you can program any combination of the available programs, via the Arduino IDE,” Castro told 3DPrint.com. “I have already programmed all the (in my opinion) basic synthesis blocks, and I’m actively developing new ones.”

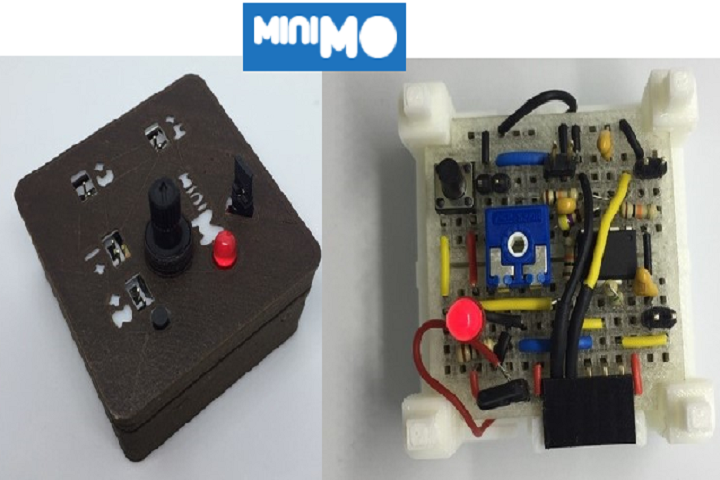
PCB and 3D printed miniMO versions
He explained that 3D printing technology was vitally important to the development of his miniMO model, and not just a “fancy afterthought.” He went through multiple 3D printed prototypes before he considered designing a PCB, and said that he would not have been able to turn the miniMO into reality without the use of 3D printing.
Castro told us, “Throughout all this process, being able to design and print parts at home was fundamental to advancing the project. Even when I had a breadboarded model and an idea of the shape I wanted to give the module, without home printing I don’t think I would have progressed much further, considering how many parts and tests I made before I even thought of designing a PCB. Also, it was thanks to having a working printed prototype that I took that step with a clear idea of what I wanted to achieve. I designed this latest 3D printed version after I already have the PCB models partly because I thought I owed it to 3D printing to refine the prototype and bring it in line with the PCB, sort of coming full circle.”

2009: Early sketches of what was then the LMS, or Little Modular Synth.
miniMO got its start back in 2009, before Castro learned about electronics and thought that the modules could be connected using cables with magnets at the ends. The project stalled until 2012, when one of Castro’s friends suggested that he could generate tones using an Atmel ATtiny and a DAC. By late 2013, he and a friend began developing the Hypercubes – electronic musical instruments that generate sound material by themselves. He began working on the breadboard-based models in 2014, eventually taking the ‘Caffelatte’ version to a Bleeps&Chips workshop in Madrid, but it still wasn’t as portable as he was hoping.

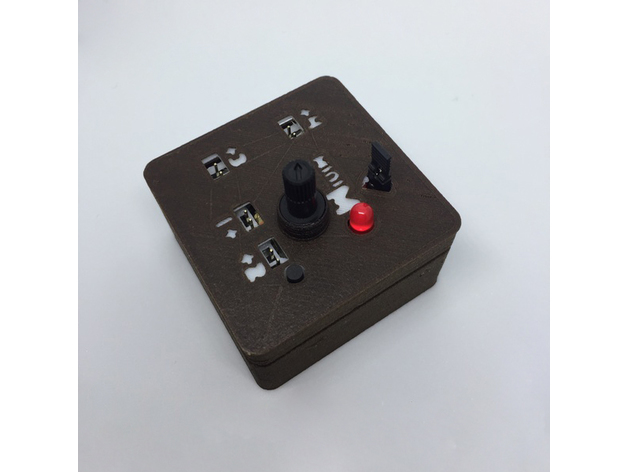
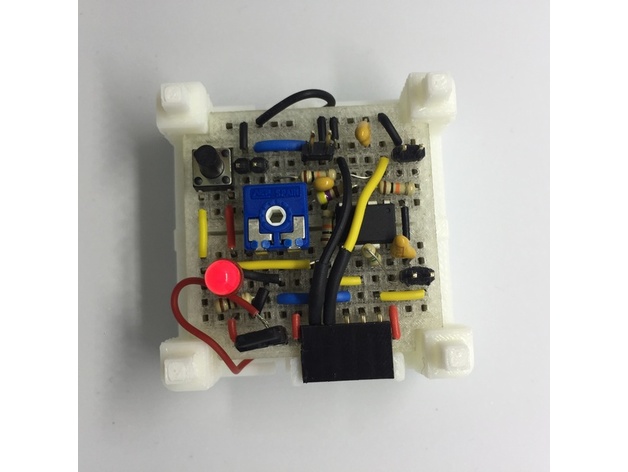
This year, Castro updated the breadboard version, re-designing it with the same constraints that the PCB model has, and no soldering is required. He calls this 3D printed 5 x 5 x 4.5 cm model the ‘Noisette,’ and wrote an extensive step-by-step guide on how to build and program the miniMO, which includes a bill of materials, a link to the Github repository, and a schematic of the PCB version. He began the project as open source, and gradually moved to open hardware as well.
“I’m a musician and sound designer by trade, and I’ve wanted to have a synthesizer since I was a child. By that time (mid-80s), I had very limited access to information on synthesizers, and the shops in my area had only a handful of expensive models. To me, modular synthesizers were the stuff of legends, something almost impossible to find, mesmerizing, and, more than anything, absolutely unaffordable. Nowadays modular synthesizers are having a spectacular comeback and most music shops have all kinds of modules and systems to choose from, but I think there are still two entry barriers to newcomers and passers-by: the learning curve, and the price. Fortunately there are software synthesizers that allow people to understand modular synthesis on a budget, but there’s something to say for actually patching signals with cables, and that experience, I believe, is still quite out of reach of the casual fan,” Castro told 3DPrint.com. “This said, it’s not like I woke up one day thinking ‘I’m going to make an affordable modular synthesizer.’ I’ve always had an idea that I would like to build my own synth, and that idea has slowly materialized over the years as I acquired the skills I needed to make it happen: 3D modeling, 3D printing, programming, electronics, soldering, designing a PCB… over time I narrowed in on two goals: make a modular system using one block -a programmable module-, and, since I was already using a tiny chip, make it as cheap as possible. I think that’s where this project resonated with my inner child, so in the end I’m working on a compact modular system that I would have afforded back then, a system you can build for very little, useful on its own, and a good introduction to modular synthesis.”

To get a better idea of how the miniMO works, take a look at Castro’s video demo below, or check out one of the other demos on the miniMO website:

Share your thoughts in the miniMO forum at 3DPB.com.