So as Halloween nears, you crazy kids are trying to think up some fun ideas for party favors and food, right?
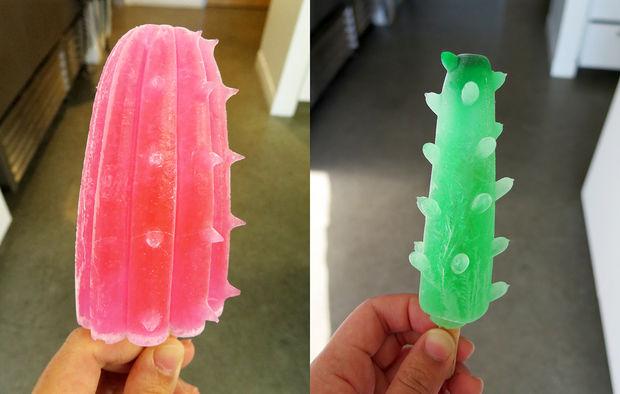
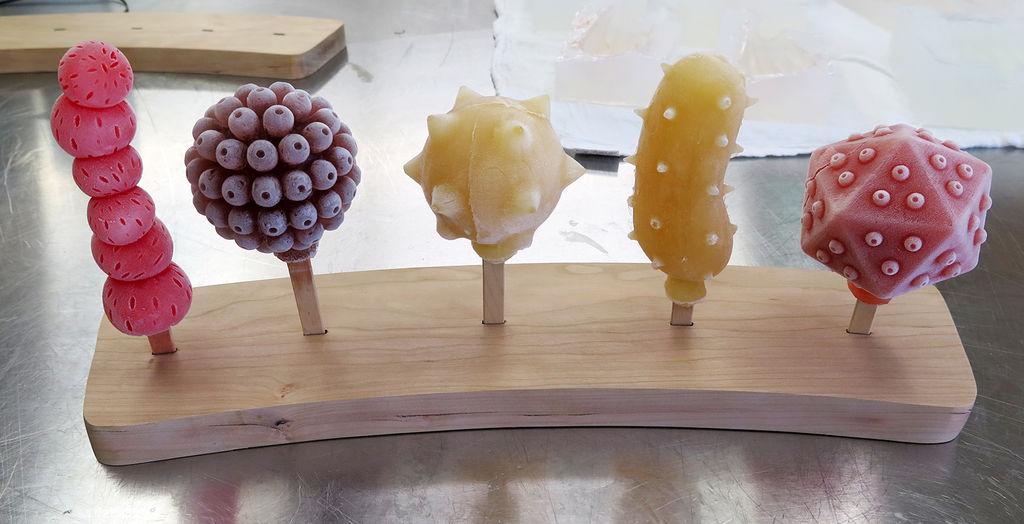
Dangerous Popsicles!
Instructables user, wei wei, shares her design and instructions for ‘Dangerous Popsicles‘—which she made in a variety of shapes, including spiky cacti and a whole family of different ideas for molds you may or may not dare to try! Using an Instructable that is beginner-friendly, San Francisco-based wei wei shares her process, which is a combination of basic 3D design, 3D printing, and both one-part and two-part mold making techniques, with silicone casting.
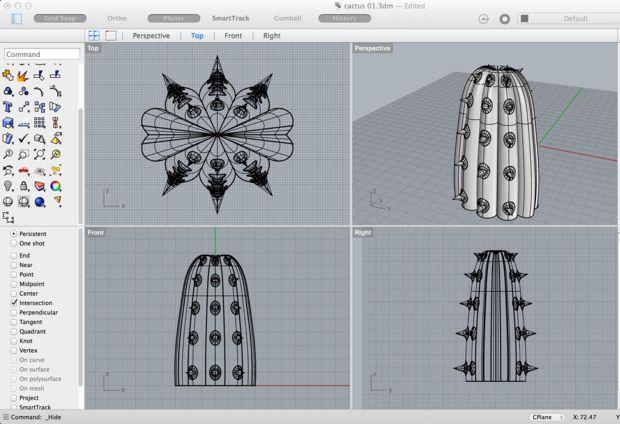
Instructable for Spiky Cactus Popsicles, designed in Rhino.
Wei wei points out that even if you don’t own a 3D printer yourself, you can easily have your model printed at a third-party 3D printing company like Shapeways or Materialise, where you can upload your design and have the mold prototype printed out for you to take to the next step. Wei Wei outsourced her design to an a Stratasys Objet 3d printer. First though, you need your design. Wei wei designed her’s in Rhino, but there are plenty of free 3D modeling tools out there that are available, which offer a lot of opportunity to explore and practice design.
Wei wei points out that the shape of the model is “very symmetrical, with a clear front and back, where the spikes are.” Since this is for a two-part mold, you will need to consider where the parting line is, with this one having a center line between the front and the back. Once that’s done, you’ll need to either use your 3D printer to print out the original, or arrange to have that done for you.
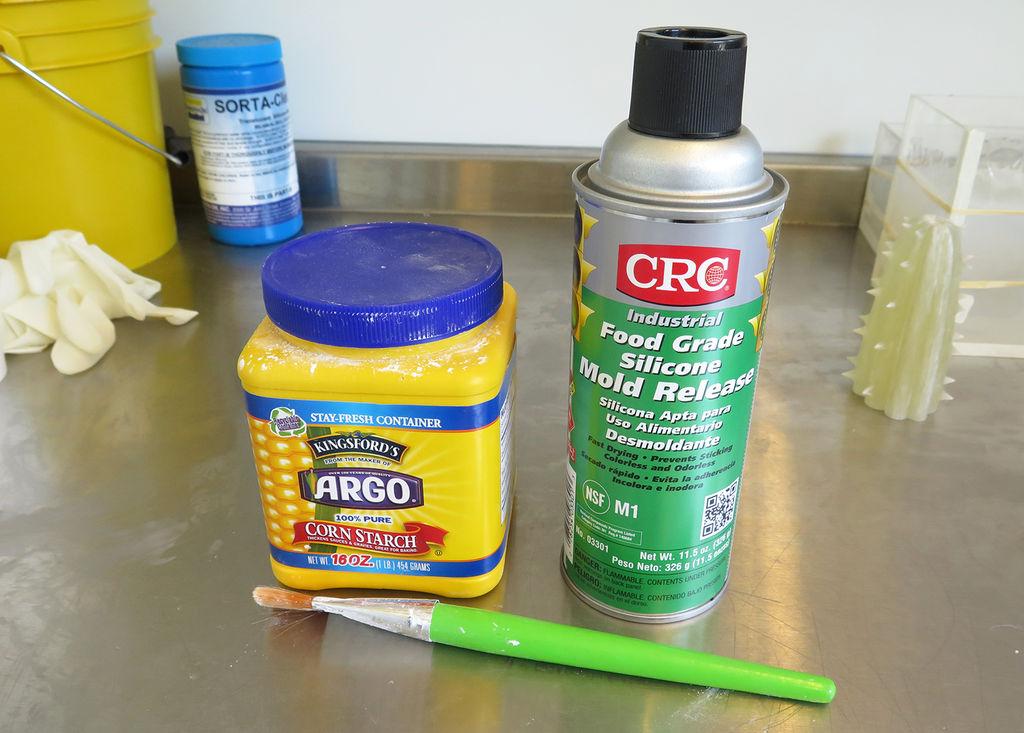
For creating the mold, you’ll need silicone casting materials and tools:
- Silicone (for this project, wei wei used Sorta Clear 40, which is good for food-safe applications)
- Mixing tools
- Mold release
- Molding clay
- Vacuum chamber
- Gloves and protection for work surface
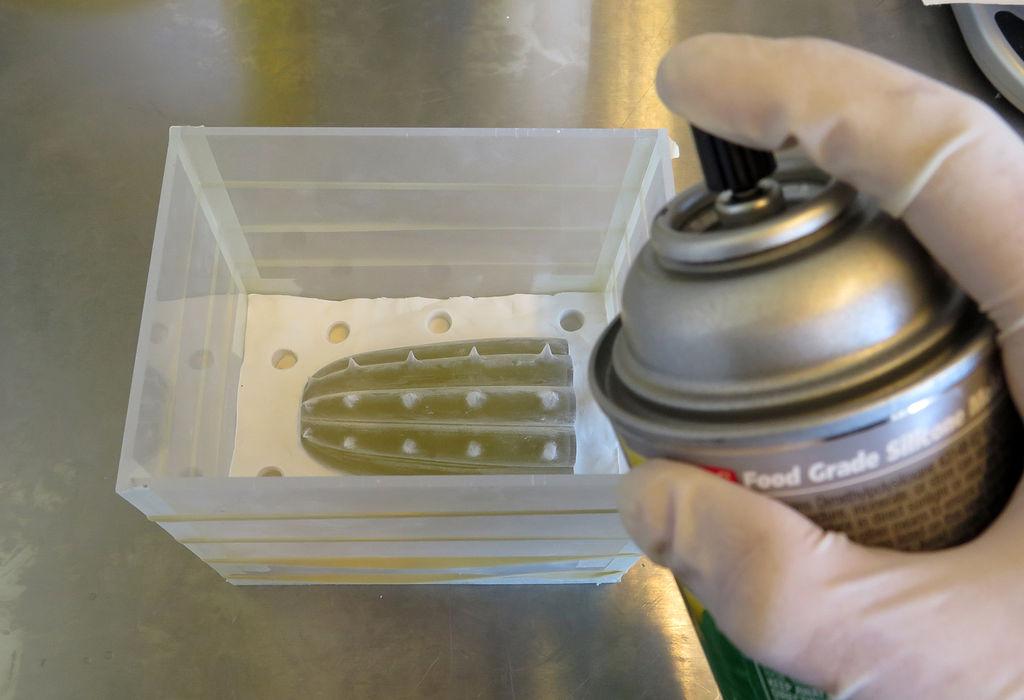
- Prepare the original for casting.
- Embed the registration keys so that the two parts of the mold fit together just right.
- Perform silicone mixing and degassing.
- Pour the first half of the mold, and then the second.
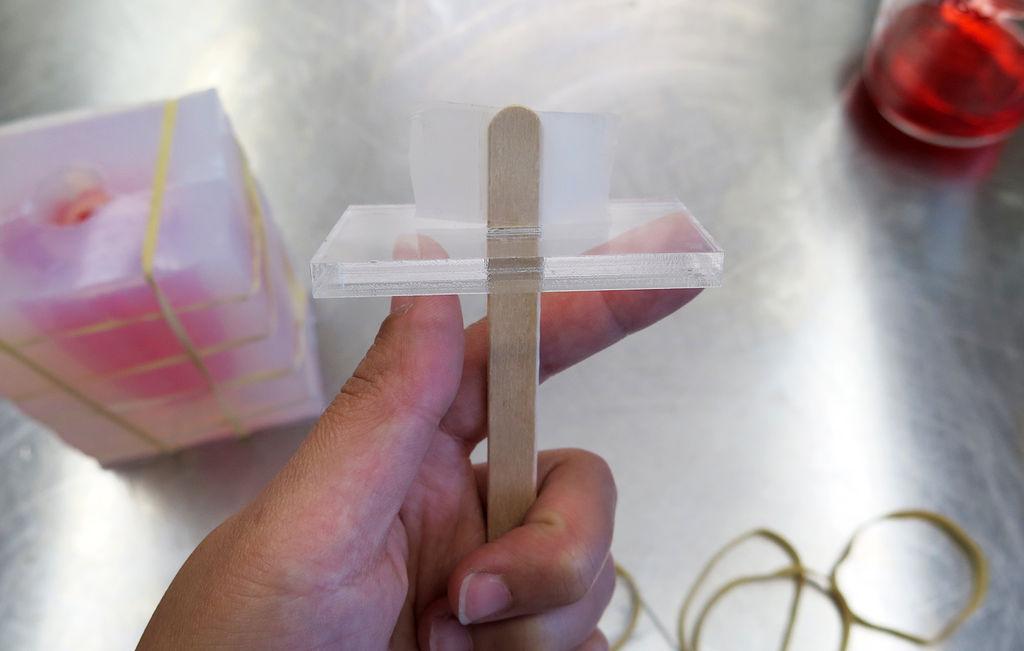
And last, after cleaning the mold thoroughly and wiping it dry, align the two parts and stick them together, securing the mold with rubber bands. Get ready to cast your popsicles with whichever popsicle recipe you like, put everything in the freezer and wait 24 hours. Wei wei also included information on dealing with air bubbles during the casting process, as well as how she customized a plastic piece to hold the stick in place.
Current thinking is that with the advent of 3D printing and so many creative ideas for molds, one day it will be more normal for consumers to run to their 3D printers than to a store downtown. Making your own popsicle molds definitely falls in line with that concept—and what better time to start trying something so simple and fun than right before Halloween when arts and crafts abound, and “dangerous popsicles” sound perfect for your little ghosts and ghouls to gobble up at a party.
Have you tried making any food-safe 3D-printed molds, or have you made any Instructables of your own? Tell us about your experiences in the 3D printed Dangerous Popsicle forum thread at 3DPB.com.