

What makes his Custom Mechanical Clock so unique is that it was made with a ZMorph Hybrid 3D printer that has an interchangeable toolhead system. This system allows one printer to perform multiple functions with just a simple switch of the toolheads, saving space and cost along the way. Olczyk’s choice to use the ZMorph, which combines CNC milling, laser cutting, and 3D printing, demonstrates some of a hybrid 3D printer’s advantages for projects requiring more than just 3D printing technology.
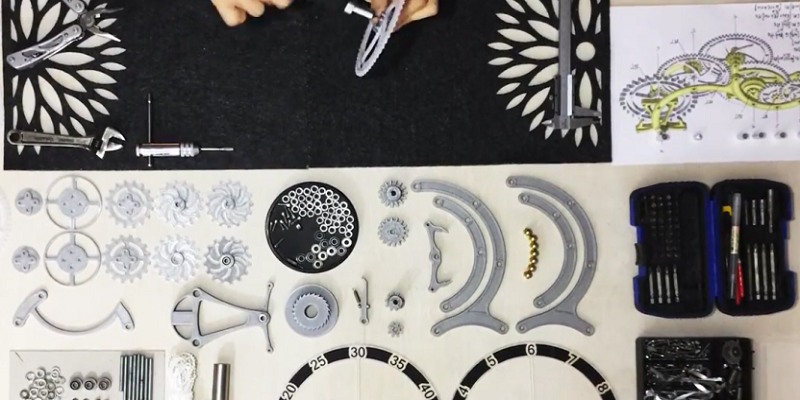
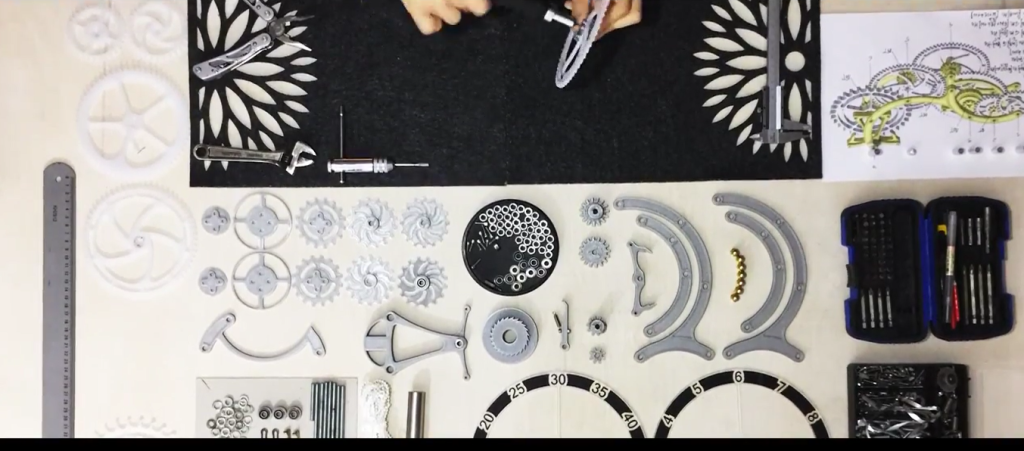
Olczyk’s clock was assembled using about 80 different parts, almost all of which consist of gears, that were made using the ZMorph 2.0 S Hybrid 3D Printer. The results are pretty spectacular. Olczyk’s clock looks a bit like an antique, although it is made with the latest cutting edge technologies. And from viewing this project we also learn the strengths and weaknesses of the different kinds of machines available to designers today. For example, 3D printing works best to make small and medium sized objects with complex structures, it works well where there’s mechanical wearing, and it allows the parts to be fabricated in one piece. Olczyk chose to use the CNC milling toolhead to make sturdy gears. These milled parts are made of translucent Plexiglas, which makes the clock look more refined, as it also retains its lightweight appearance. Finally, the laser cutter toolhead cut the clock’s numbers from black adhesive foil, instead of having to manually cut and place each number on the face of the clock. You have to admit: the results are quite impressive!

In its completed form you can see how the clock, which is quite elaborately designed, benefits from the use of all three of the ZMorph’s different toolheads. Here, 3D printing was not capable of realizing Olczyk’s design on its own, mainly because 3D printing offered only limited materials for making the clock. CNC milling and laser cutting were able to step in where 3D printing didn’t work for Olczyk, and the ability to simply switch out toolheads made all of the difference for the overall appearance and functioning of his clock.

In general, Olczyk’s clock shows how several different machines are not only captured in one, but that using a hybrid 3D printer can yield some stunning results. The clock’s appearance is as original as all of the ways he chose to create this exceptional object. (You can also view a video of the making of the clock below.)