And it was the very iconic nature of the movie’s Flux Capacitor that inspired Thingiverse user and host of YouTube’s Chaos Core Tech to create his own 3D printable version. By trade, Chaos Core Tech’s Garrett Kearney is a programmer but he’s always found himself interested in electronics and how they work. While trying to create his own electronic projects he became frustrated with the lack of options available to build attractive and usable cases and boxes. Usually there is an option between plain black plastic box or plain wooden box, and neither was especially attractive or what Garrett was looking for. But all of that changed when he managed to save up some cash and get himself his own Robo3D 3D printer.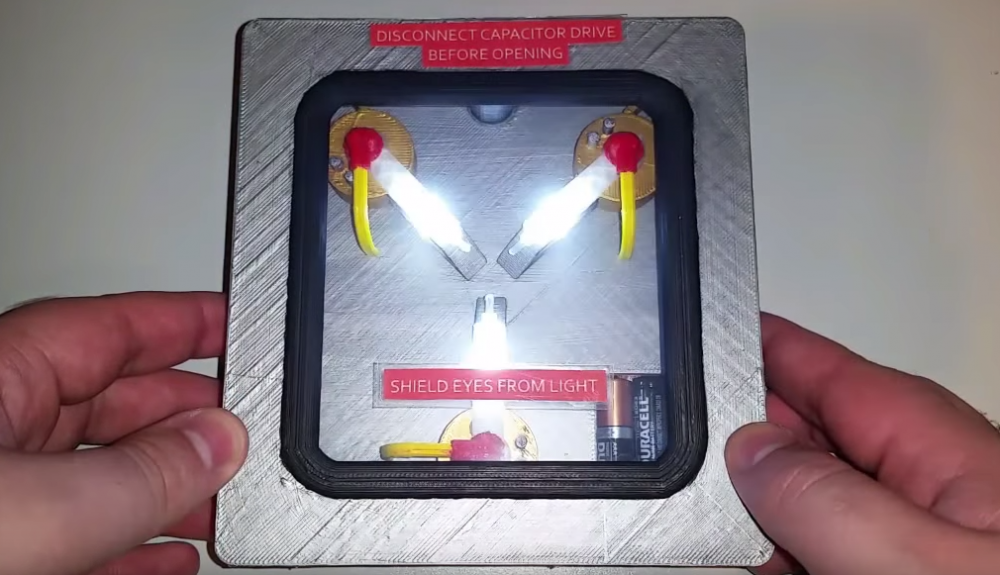
After breaking his new Robo3D in with a few test prints, Garrett got right to work on his first project, a light-up Flux Capacitor replica. He turned to Google for some high-quality reference photos, which he found in abundance, and turned to Tinkercad to start designing. Garrett considered both accuracy and ease of printing while designing, so none of the parts will require support material or rafting and should fit together quite snugly. He did do a few test prints to make sure that he had sized the battery slots correctly, and he performed some clear filament tests to make sure that he could print something that would diffuse the light properly.

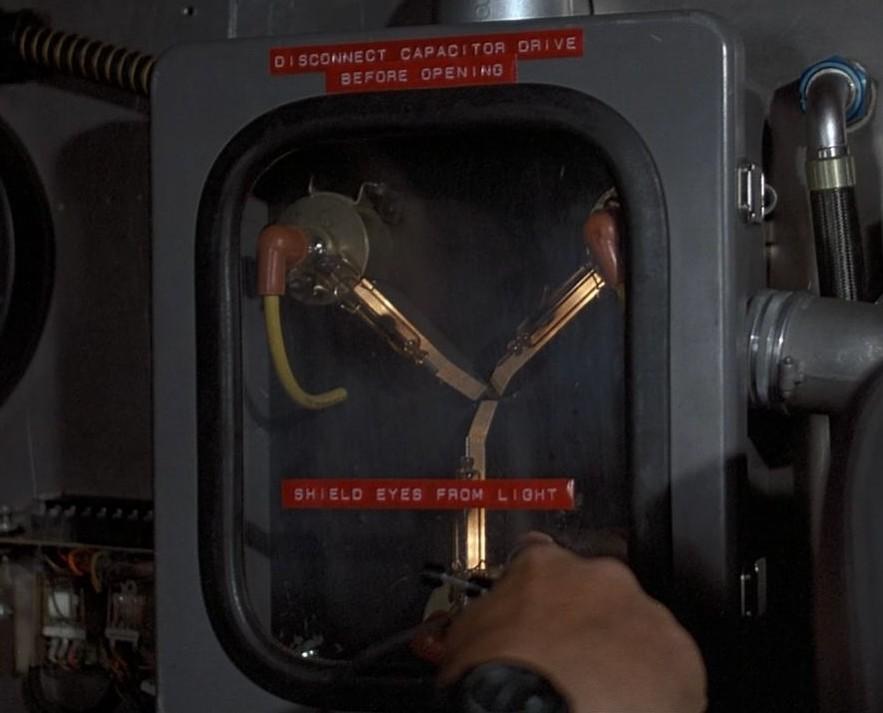
The 3D printed replica even includes the Dymo-tape labels from the movie
Despite the amount of 3D printing involved, this is actually a pretty quick 3D printing project. The main body contains four parts taking about six hours to print with a 0.3mm layer height. He also printed the inside cover and the capacitor’s lid with a 0.3mm layer height, each taking about an hour. He finished his design off with three clear parts and three smaller inside details that took him between twenty and thirty minutes to print each. He printed the smaller parts with a layer resolution of 0.1mm because they were so small and needed to have a definable curve on them. All of the Flux Capacitors parts are completely 3D printed, with the only exception being the electronic components.
“I created a slot for 3 AAA batteries to be inserted, a rocker switch (to turn the device on and off), and 3 LEDs. The LEDs shine really nicely through the clear PLA. And I left the battery slot uncovered so the batteries can be easily replaced. And there’s plenty of room underneath the electronics cover for people to add to it if they build their own. It’d be very easy to add a timer chip and make the LEDs flash in different patterns,” Garrett told us via email.
While there are some tricky parts of this build because of the electronics, overall the 3D Printed Flux Capacitor is a great project for beginners, and a no brainer for fans of the Back to the Future movies. Not only are the parts pretty straightforward, but Garrett has documented his build and walks anyone who wants to create their own Flux Capacitor through the entire process with a series of YouTube tutorials.
Let us know what you think of this project over on our 3D Printed Flux Capacitor forum at 3DPB.com. Here is part one of the 3D Printed Flux Capacitor YouTube tutorials:
