He’s also developing a 3D printing technique called “co-processing,” a technique he says will be documented and defined in a series of weekly posts on his blog.

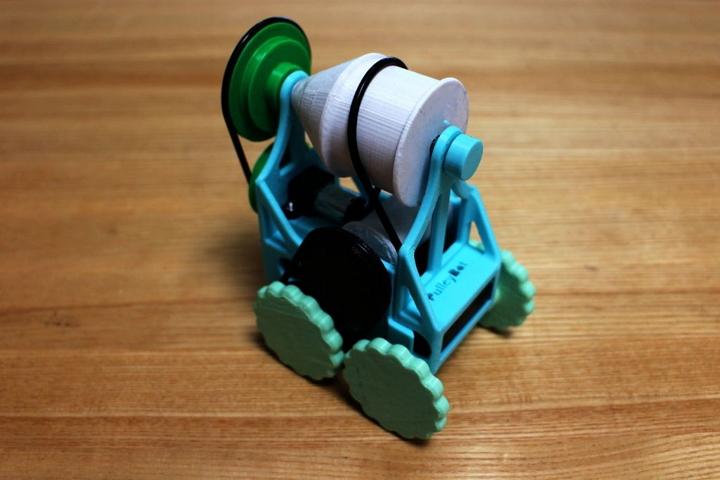
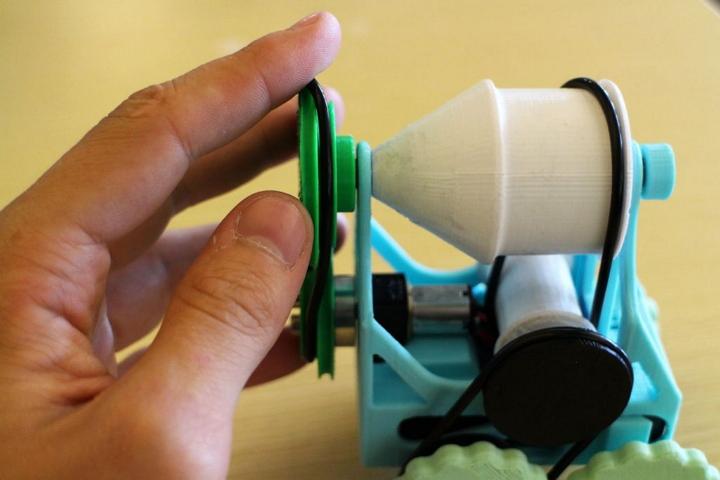
The PulleyBot is driven by a system of belts and pulleys in a mechanical transmission. The belt is looped around sets of pulleys and driven via friction.
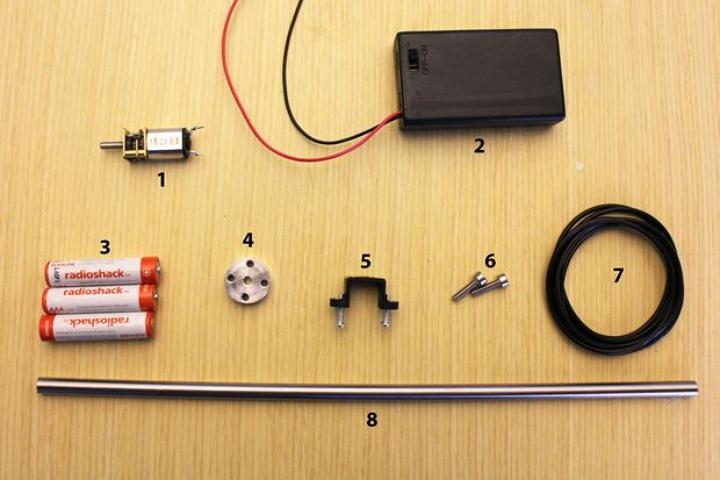
As for your toolbox, you’ll need a small screwdriver, wire strippers, a .05″ hex wrench, a 3/32 Hex wrench, some solder and a soldering iron, Superglue, a file, a hack saw or band saw, a 3D printer of course and some grease.
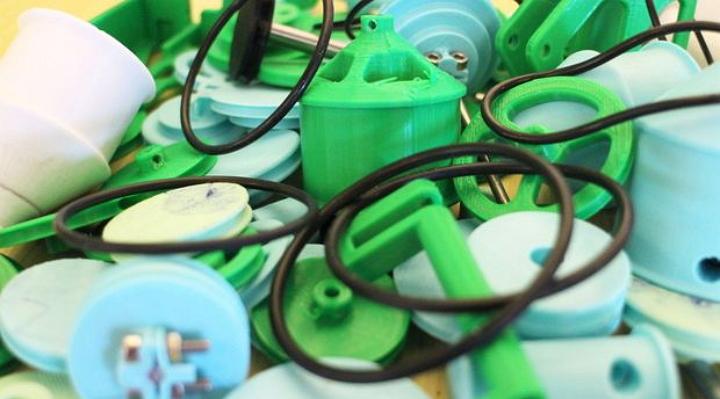
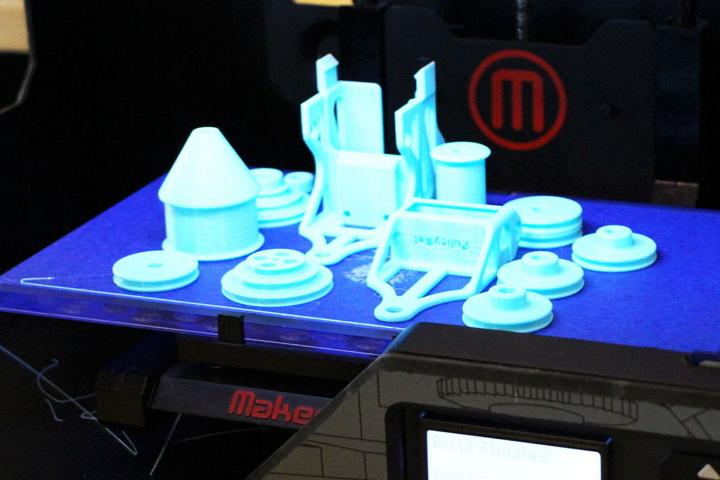
Crease began by 3D printing all the necessary components on a MakerBot Replicator 2 at standard resolution, and they were all designed to avoid the need for support material. The parts were all printed in a single job which took some 5 hours and 45 minutes. For the final version, Crease printed out the parts in different colors to show the method of construction and how the pulleys were looped together.
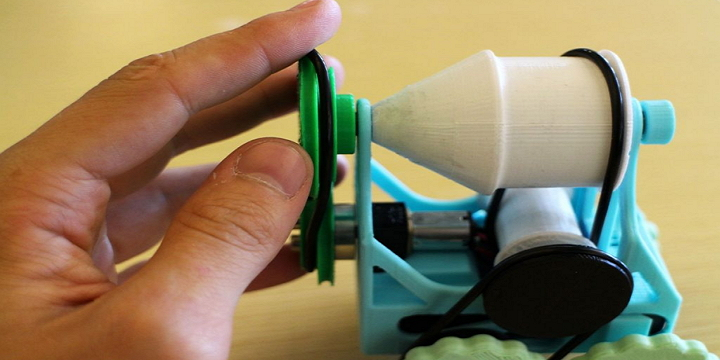
As far as tips are concerned, Crease says it’s a good idea to take some grease and spray or rub it onto the axles and holes for the axles in the chassis pieces. He says he also sprayed the axles and fed them through their respective holes and slid and rotated them a bit to spread the grease around.
To determine which direction you want the PulleyBot to move, turn on the motor and see which way it turns. The axle with the part called the Large_Drum will spin the same way as the motor and the part called Small_Drum will spin toward the front of the bot.
If you’re a contrarian and you want the PulleyBot to travel backward, twist one side of the O-ring 180 degrees before placing it in the pulley groove. Crease says this will make the top pulley spin in the opposite direction of the bottom one, and you get it backward.
You can check out all the documentation and a full series of steps to construct your own PulleyBot here on Instructables.
Will you build your own version of this 3D printed PulleyBot by engineering student Alex Crease? Let us know in the PulleyBot forum thread on 3DPB.com.