
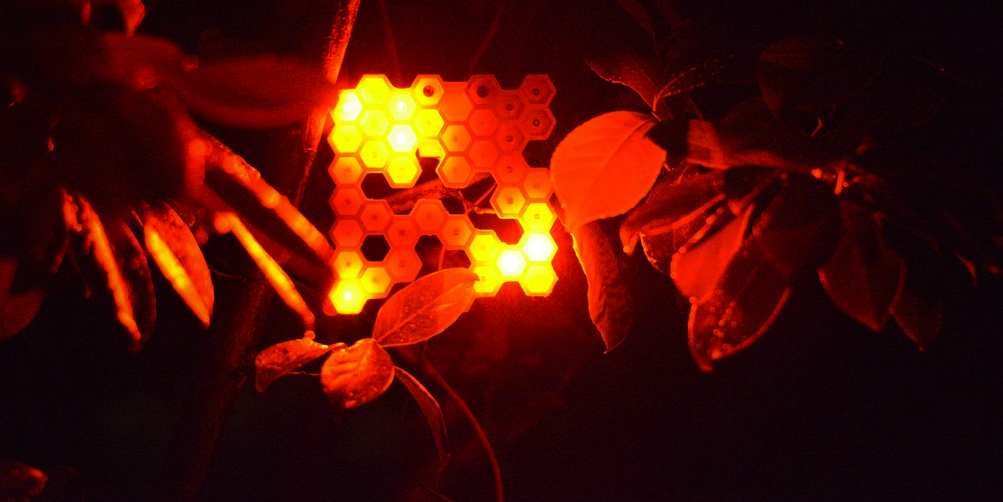

Basically Queck’s creation is a unique beehive looking solar powered parametric LED lamp, which costs about $25 to create, and could easily turn your yard into the talk of the town. All of the beehive’s body parts are 3D printed, and the parameters may be changed using either OpenSCAD or the Thingiverse Customizer in order to completely customize one’s own version.
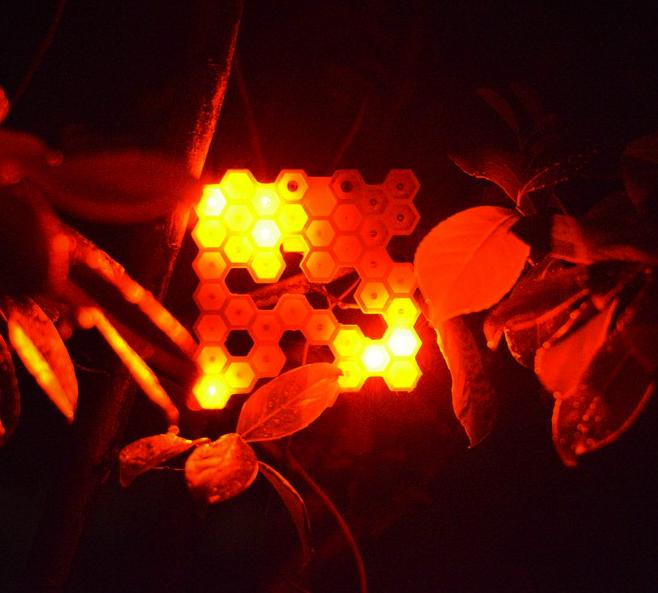
“The idea was to create a lamp dedicated to the beauty of randomness, so the shape and the glowing pattern are randomized,” Queck explains.
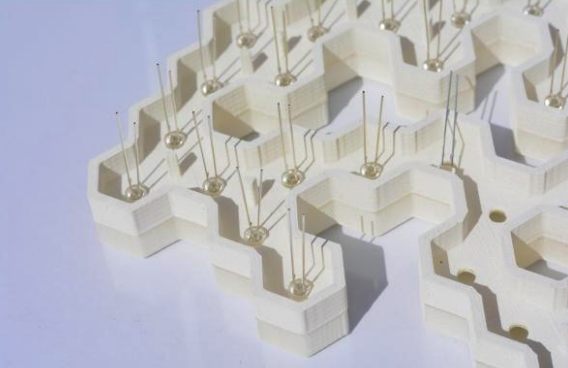
Other than the 3D printable body, the Solar Hive requires a laundry list of electronics and other parts which can not be 3D printed. This list includes things like the solar cell (if you wish to make your’s solar powered), 4 rechargeable NiMh cell batteries, an Arduino Mini, 20-40 LEDs, a diode, 2 resistors and a ton of wires, screws, and nuts. The parts are held together by solder and water resistant glue/silicone.
The backside of the hive is where all of the LEDs and wires are housed, and the LEDs illuminate the front plate when powered on. Where the fun really begins, however, is when it comes to customizing your own Solar Hive.
“You can adjust all the parameters to your likings,” says Queck. “Adjust the ‘Varamount’ Variable, [as] it determines how many of the
cells are rendered. ‘Cell Diameter’ determines the diameter of each cell, [and] ‘Wall Strength’ changes the thickness of the walls around the cells.”
In addition to this, other variables can be changed as well, including the “Seed” parameter which allows you to generate a new random pattern; the “LED Hole Diameter” which changes the size of the hole in the middle of each cell; and many more options, all of which are explained in better detail, here.
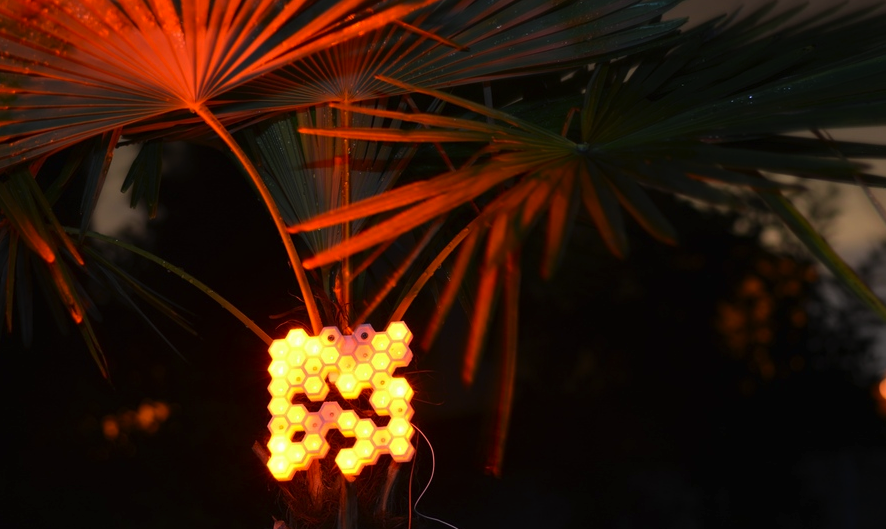
The assembly of the Solar Hive will be a bit tricky and certainly a little time consuming, but if it is all done correctly you will be left with the astonishing LED light source you see depicted here on this page. Queck recommends directing the solar panel on the light in the southern direction in order to collect the most energy. If it is powered off during the day, the batteries will charge.
“If you turn it on during daytime it will continue to collect energy until the solar cell can’t provide any more energy. Then a countdown starts, if it stays mostly dark during the next 25 minutes the lights will start their randomized play.”
All of the 3D printable files and instructions for this unique beehive-like lighting system can be downloaded for free from Thingiverse. What do you think about this unique creation? Will you be attempting to create your own Solar Hive? Discuss in the Solar Hive forum thread on 3DPB.com. Check out the video below.