DIY game systems are all the rage these days, and 14 year old maker and coder Rasmus Hauschild built something even better, and he has shared the love on Thingiverse.
“Pretty much my entire life, I’ve been interested in inventing and building stuff,” explained Hauschild to 3DPrint.com. “Another thing that I’ve always loved is video games, and especially the older ones. Last year (2014) I once again watched my favorite episode of The Ben Heck Show on Youtube, where he builds a portable arcade emulator using the Raspberry Pi and a 3d printer.. that was basically where I decided, that I would make a unit like his.”
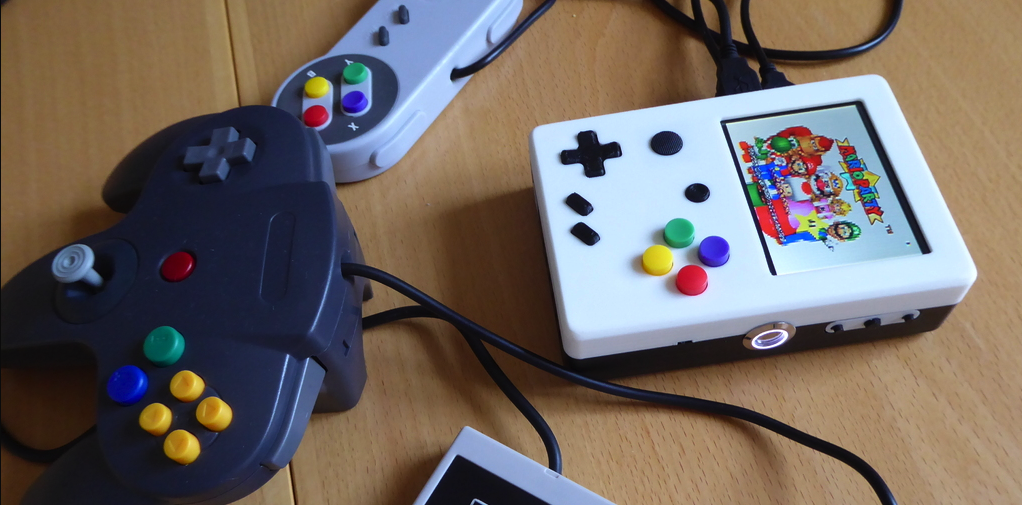
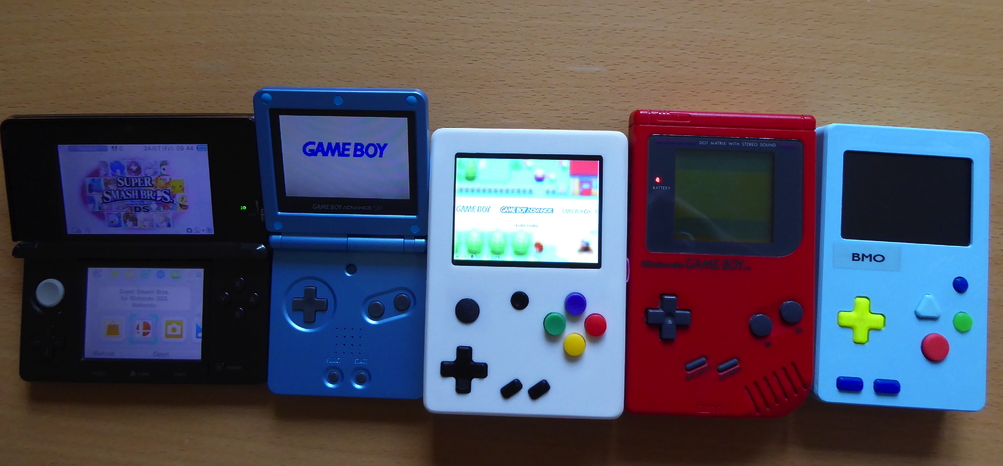
With the help of his Ultimaker 2 and Autodesk’s 123 Design, Rasmus 3D printed an amazing, portable DIY multi-purpose gaming and entertainment system that others can customize and enjoy at home. He said the 3d printing took about 209 hours, and cost 320 meters of filament, and his system can emulate games dating back to 1977 as well as newer games through 2003.
How important were 3D modeling skills for Rasmus to make his console? Here is what he had to say:
“I would not recommend any non-3d modeler to build this project, since a few of the parts will be hard to get, so you would have to do some modifications. This is 100% possible since I’ve included the 123D Design file. The first time I saw 123D Design was in The Ben Heck Show too, and after I had seen it there I started recognising it in Adafruit’s videos too!”
So what’s inside his system? The chip melodies and sound that gamers love Rasmus brought to life with tiny speakers, which he borrowed from a Nintendo DS Lite.(If you don’t feel like breaking a perfectly good DS Lite though, 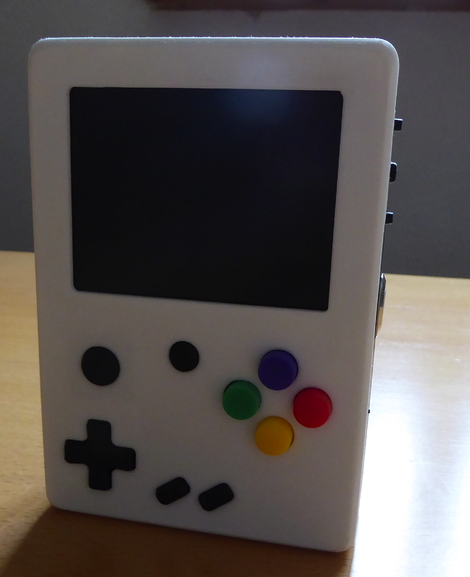
Rasmus used a cheap composite backup camera screen. “It has a resolution of 480×320 which might not sound as much, but it’s no problem at all when playing retro games,” he said. “Because the screen is made to work in your car it does need 12V to run out of the box. This however can be fixed easily, so that it runs of 5V.”
So how did he power up his invention? He used a 6000mAh rechargeable Lithium ion battery, which buys him 4-5 hours play-time — perfect for Minecrafting. The Adafruit PowerBoost 1000C (shown left, center) charges the battery in roughly 5-6 hours.
Need to turn up the decibels while getting your game on? Rasmus pulled out an an analog volume slider from his old headphones which he tossed into his homebrew console. For Rasmus, it was the controller system that was the most challenging part of the project.
“The built in controller was the hardest part of this project, or more specifically the ANALOG thumb stick. The built in controller I made myself, it’s a breadboard PCB with tactile switches, and an analog thumb stick on it. The tact-switches were pretty easy to connect, but I had a lot of trouble with the thumb stick,” said Rasmus.
He used a Teensy (a miniature Arduino) to convert controls from the gamepad to digital format because he said Rasberry Pi can’t understand analog right away, and Teensy took care of the analog issue. He said the control system did not require a lot of coding, but he made the code that he did need to write available on Thingiverse.
“I’m happy as long as I have my computer, my 3d printer and a big slice of Raspberry Pi,” Rasmus explained to us.
Let us know your thoughts on this uniquely designed portable gaming console. Discuss in the the Portable 3D Printed Gaming System forum thread on 3DPB.com. Check out the videos below: