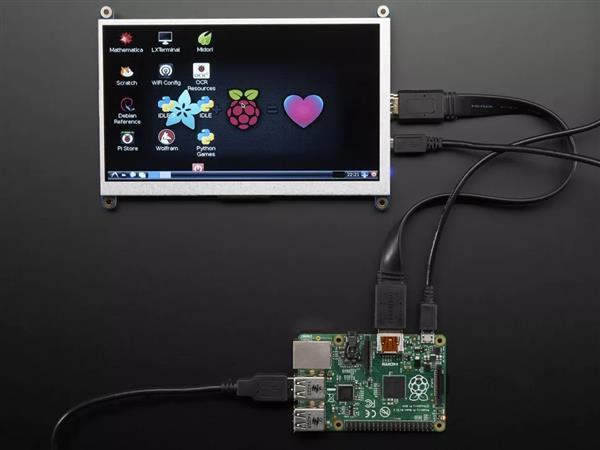

In fact, this monitor works well not only as a backup for work projects, but you can connect it to a Raspberry Pi, or use it as a preview monitor on a camera… there are many uses. The project relies on Adafruit’s HDMI 7 ” display backpack which has TFP401 for decoding video, with a satisfactory screen resolution of 800 x 480. (There’s also a touch screen feature available if you use AR1100 USB resistive touch screen driver.) Adafruit’s webpage lists the other parts you need: 2 x SPBD Slide Switch; UBEC DC/DC Step-down; a JST extension; a camcorder battery holder; 1/4 ” to 3/8 ” convert screw adapter for tripod; 1/4 ” mount adapter to video camcorder hot shoe; and a Phillip flathead #4 – 40 x 3/8.
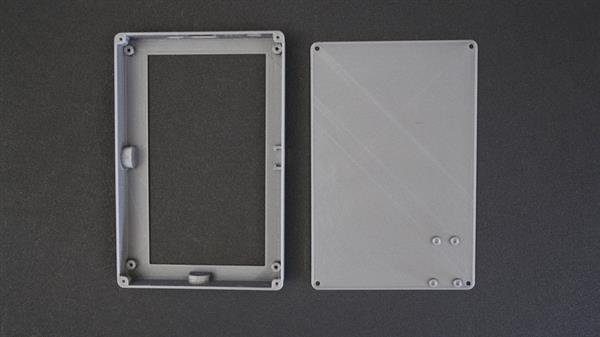
The 3D printed case consists of two 3D printed parts available as STL files here from Adafruit on the Thingiverse website. Both parts can be printed using any filament (ABS or PLA) without support at 10% infill; the printing takes about four and a half hours. These two parts are held together with machine screws. The original solids can be modified in the CAD files if you want to customize this project. Of course, you can also print any color and use other filament types too, like Nylon, copperFill, bambooFill, Semiflex, or PET. The only place where tolerances matter here is for the mounting holes and the port cutouts. Also, you should test fit the parts by placing the top enclosure over the Raspberry Pi and see if the cutouts fit over the USB and ethernet ports. A filing tool can also be used if the cutout turns out not to fit correctly.
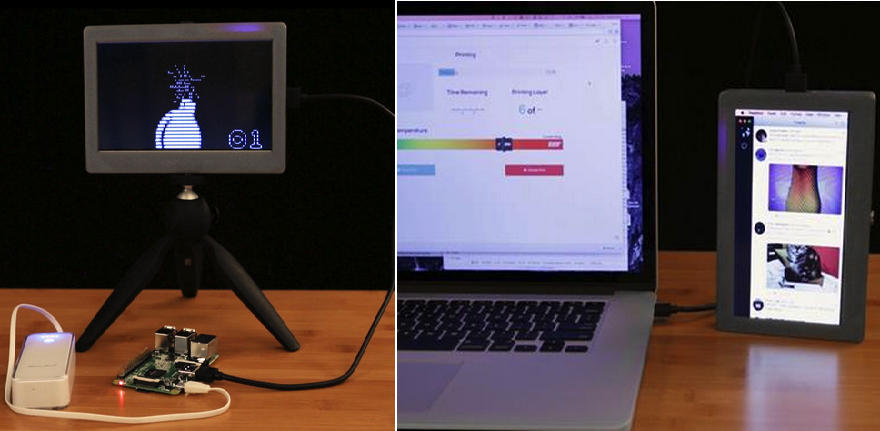
For the rest of the project, the assembly instructions are pretty straightforward. You basically make sure everything fits together after you’ve printed your case and assembled all parts, while adjusting to fit any kinks. Voila! You have successfully made your own portable HDMI display monitor in a short amount of time for under $100. How can you beat that, right? Let us know if you take on this project in the 3D Printed HDMI Monitor forum thread on 3DPB.com.