

Brockett, an engineer in New Zealand, is always working to expand his skill set, so took this project as an opportunity to broaden his design experience, as well as bringing safety to a design that typically does not include much in that area.
The project is special not only because it is an entry in the Light It Up contest (functioning technically as a specialized form of light-emitting diode due to the laser), but also because it’s made out of recycled DVD drives and cost a total of $20 to make.
“Optical media drives are actually pretty amazing, they have linear rails, stepper motors, lead screws and even end stops inside them,” said Brockett. “They’re pretty much an entire axis of a CNC machine ready to go! I even used the laser from one of the drives for this project.”
Familiar with SOLIDWORKS, Brockett used the program because he has experienced it as good avenue for customization and accuracy. In this case, he knew it would allow him to fit everything together succinctly, along with allowing for customized mounts to fit the oddly-shaped ‘internals’ of the DVD drive.
“I’ve seen a few micro laser engravers around but I felt that they were all a little rough around the edges and didn’t have any safety features built into them,” said Brockett. “I decided it would be a good project for me to broaden my design skills. I set about designing a more professional looking engraver that incorporated features like coarse and fine laser adjust while addressing the safety concerns of other DIY engravers I’d seen.”
In getting started, this was the list of items Brockett gathered together:
- Safety glasses
- Two DVD drives with write ability which you will need to take apart
- Two linear axes with everything stripped off the sled
- One red laser diode from the sled (keep both in case you break one)
- Four magnets from the lens assembly on the sled
- Two springs
- One metal rectangle cut from drive case (100 x 80 mm)
To modify the DVD axes, Brockett recommends unscrewing the hub ends to expose the circuit board. After that, you will need to solder wires to the two terminals on the far right, as they connect to the end stop micro switch. Afterward, reassemble, and then solder four wires to the stepper motor.
For electronics, he made a separate list:
- One prototype board 120 x 80 mm
- One Arduino Nano
- Two easydrivers
- One laser housing for 5.6mm TO18 Diode (I’d recommend a glass lens)
- Two 4l0mm fans
- One 2N2222 NPN Transistor (or equivalent)
- One 10 OHM resistor
- One 4.7 OHM resistor 1W
- One 22 OHM resistor 1W
- One 100 OHM Trim pot 0.5W
- One Diode
- One DC jack
- One micro switch (20 x 9.5 mm 9.8mm hole spacing)
- One power switch (suit 19 x 13 mm hole)
- Female headers
- Male headers
- Wire
“This project is surprisingly plug and play,” says Brockett. “The Arduino is all ready to go, the stepper drivers are pre-packaged, and the only thing you need to build is the laser driver, which is a simple driver design with only 3 resistors and a diode.”
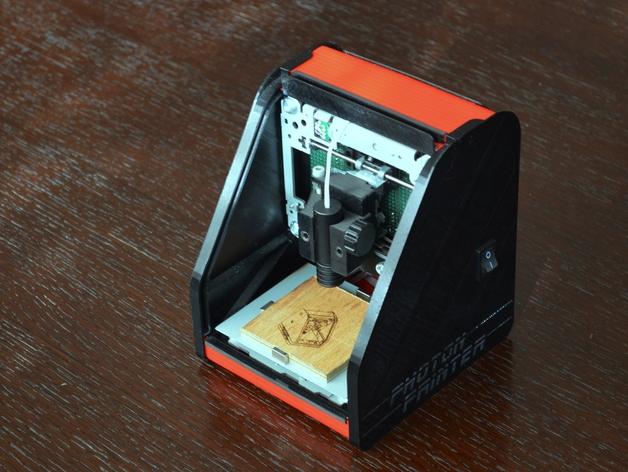
Safety was a big concern for Brockett in the design of his photon printer, adding numerous elements, such as:
- Enclosure to block reflected laser light
- Roller door access
- Safety cut off switch on door
- Angled ventilation to prevent light leakage
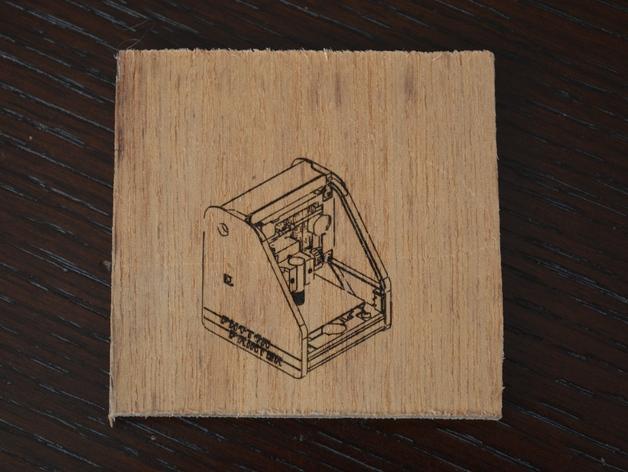
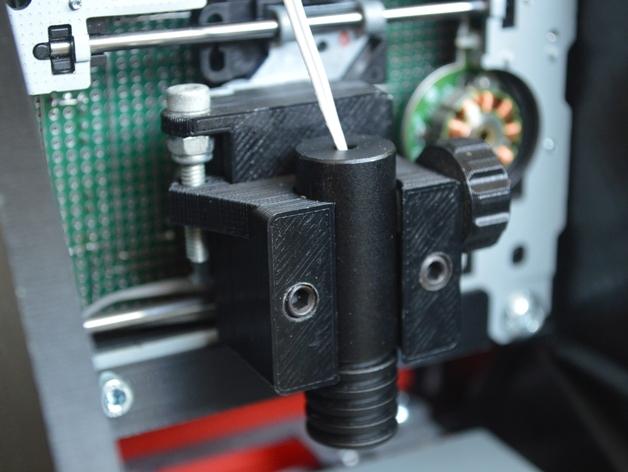
Because of the used DVD parts and the affordability offered by 3D printing, Brockett was able to make this on a very small budget. Yielding a great functional design, Brockett points out that often projects like this offer him a greater learning experience than his day to day work tasks as an engineer. The photon printer shows off a streamlined design with minimal parts, a fine laser adjust for focus, spring tension to eliminate vibration, as well as an optional mount with no adjustment.
Is this a design you are interested in taking on? Discuss in the 3D Printed Photon Printer forum over at 3DPB.com. Check out the laser engraver in action below.