Have you ever had a job that was so boring, or that you disliked so much, that all you did was watch the clock move toward that time when you could finally leave? That’s the idea behind the term “clockwatcher.” It’s a person who simply watches the clock and waits for time to pass. What if I told you that there’ s an open source fully 3D printable clock that is so unique, it will give you a whole different reason for watching the clock?
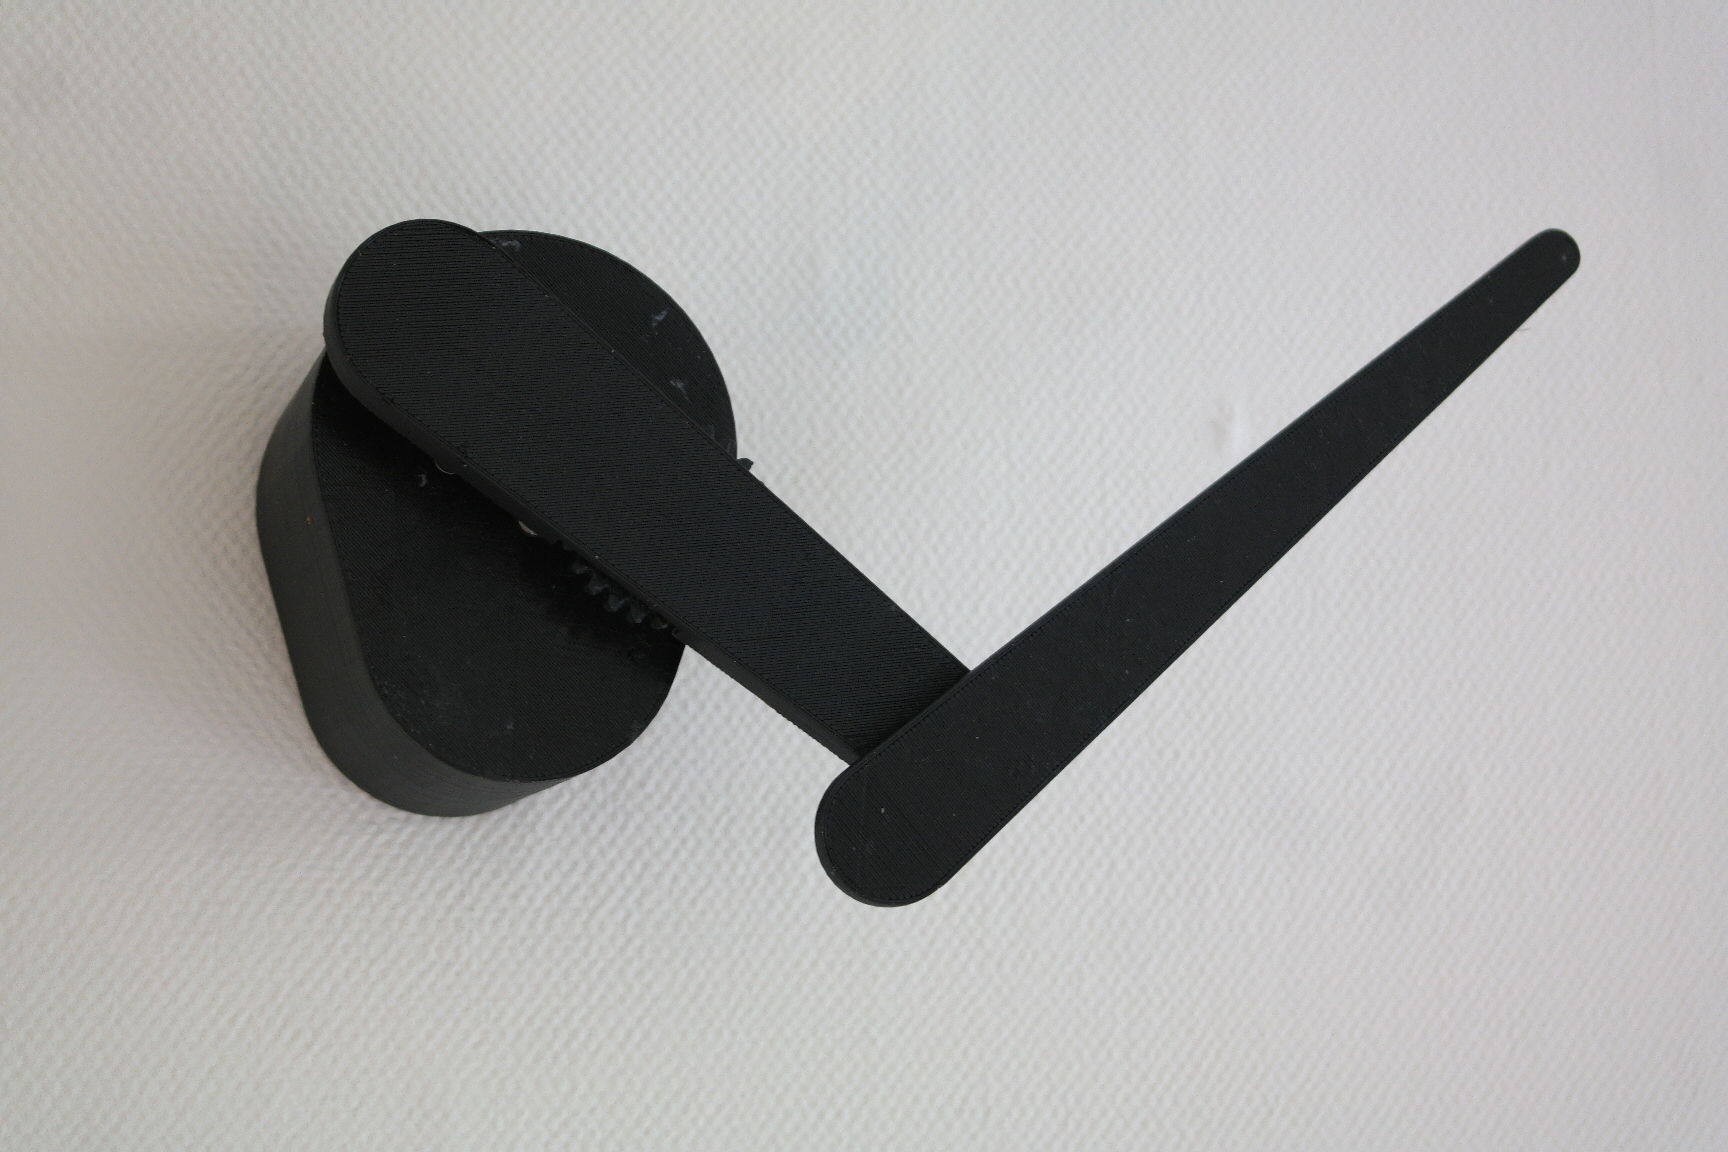
Ytec3d.com’s “dragonator” brings us this clock making and watching experience you won’t forget. It’s called a “hand in hand” clock because the minutes hand is attached to the end of the hours hand. And that’s it. No bells, whistles, or numbers, just a funky and minimalist design that is eye-catching — redefining how we tell time.
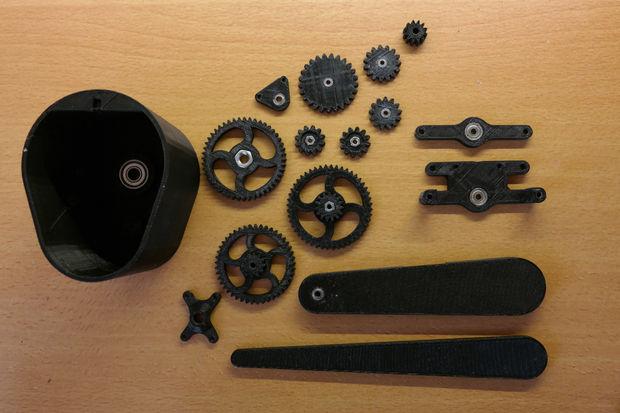
To make the hand in hand clock yourself, you need to print the parts which you can download here. The clock is fully 3D printable, requiring no support material, and it can be printed on most 3D printers. The minute hand needs a 200×200 printbed size, but the other parts can also be printed on smaller machines. Overall print time is around 10 hours using 200-300g of plastic.
Step 1 is to make sure you have the long list of parts, which you can find here, and the tools, which include: a 3D printer; a drill with 2mm, 2.5mm, 3mm, 4mm and 4.5mm metal drill bits; Super glue; Locktite; basic screwdivers; pliers and wrenches. Step 2 is the “most laborious” task– the printing. dragonator printed the parts with 40% infill at a .4 mm layer thickness.
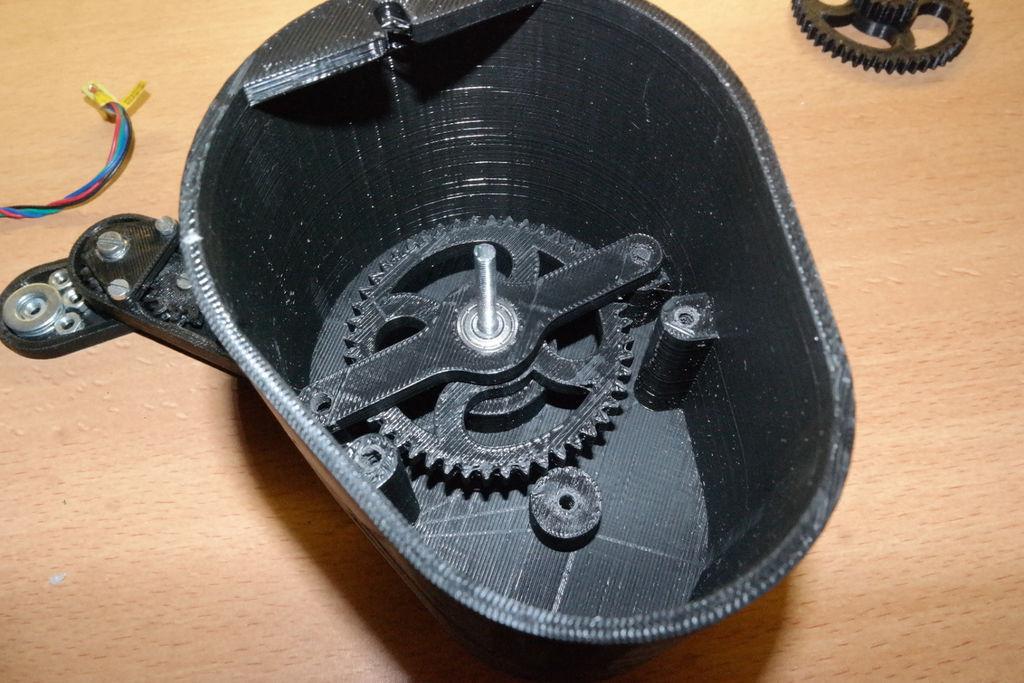
Now that your printing is done it is time for assembly. Step 3 requires you to assemble your printed parts — words 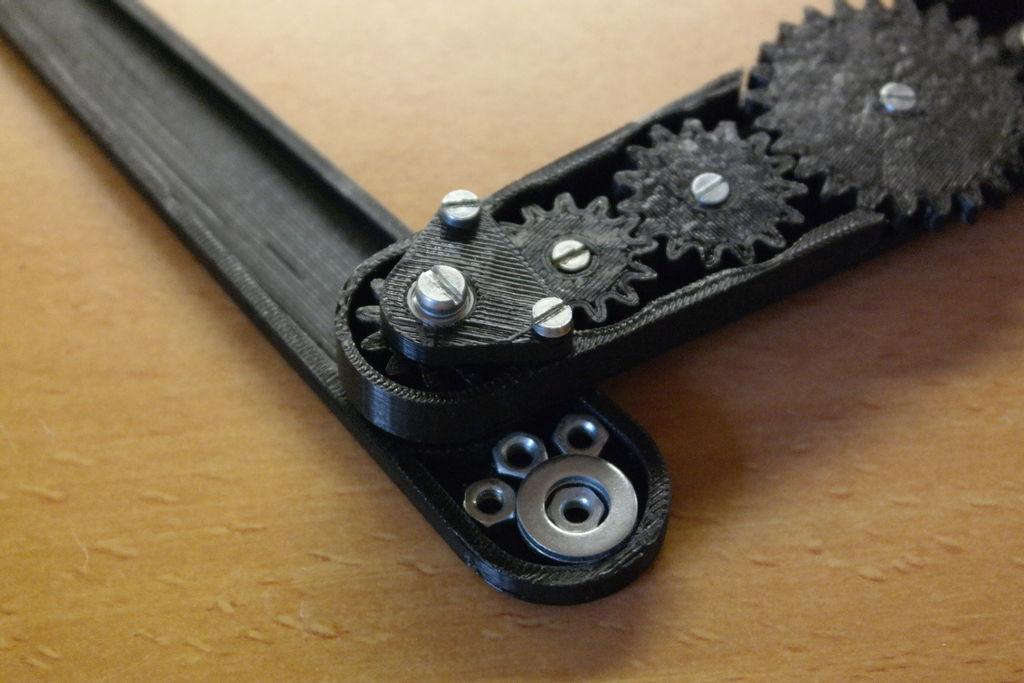
Now it’s time for the electronics in Step 5. For the clock’s microcontroller you need something with 5 I/O’s and a built in power regulator. To run the stepper motor, dragonator used a stepstick A4988 stepper motor driver. There are 2 buttons on the clock to make the time go up and down. The circuit for this clock was made on a piece 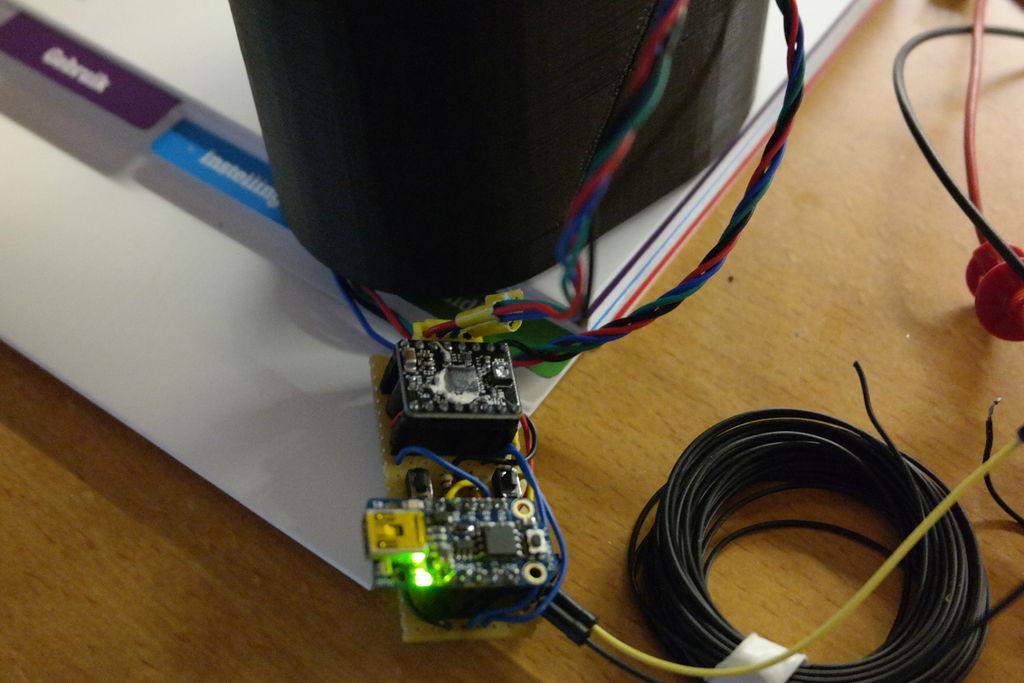
Finally, to power the clock you have two options. First, you can simply hide the fact that there are wires running to the clock, or you can “make it pretty”. dragonator hid the wires by feeding the clock with thin white wires. There’s only around a 50mA current to these wires so there should be no problems in doing this, he reports.
This clock is rigged to trigger a step on a constant interval of 1.125 seconds, which works to keep the time. In Step 6, ‘Firmware,’ you get to download and handle the code that actually makes the clock keep time. The code is universal and will work with any Arduino compatible microcontroller– just simply change the pin numbers.

Congratulations! You’ve reached Step 7: ‘Final Thoughts on building a hand in hand clock’. On his wish list for a future version of the clock, dragonator considers making it battery operated instead of using wired power; designing a functional seconds hand; reducing the clock’s noise; balancing the hands for a smoother and lighter effect; reducing friction in the 3d printed gears.
But given that this clock in so interesting to look at, we can overlook these tiny details in favor of a clock that makes “clock watching” into something enjoyable and stimulating — instead of the same old dull routine! Let’s hear your thoughts on this incredible 3D printable design. Will you be taking on this project yourself? Discuss in the 3D Printed Clock forum thread on 3DPB.com.