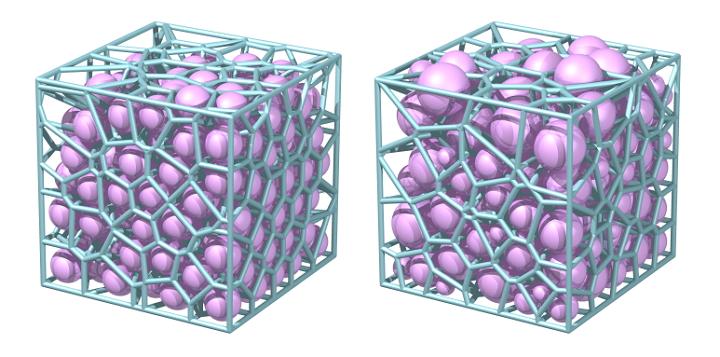
The Voronoi diagram itself is a representation of a set of points made by taking pairs of points that are close together and drawing a line that is both equidistant between them and perpendicular to the line connecting them. What you end up with is a form in which all points on the lines in the diagram are equidistant to the nearest pair of source points.
The diagrams are sometimes referred to as Voronoi tessellation or Voronoi decompositions, and they’ve been used in practical and theoretical applications in science, technology and the visual arts.
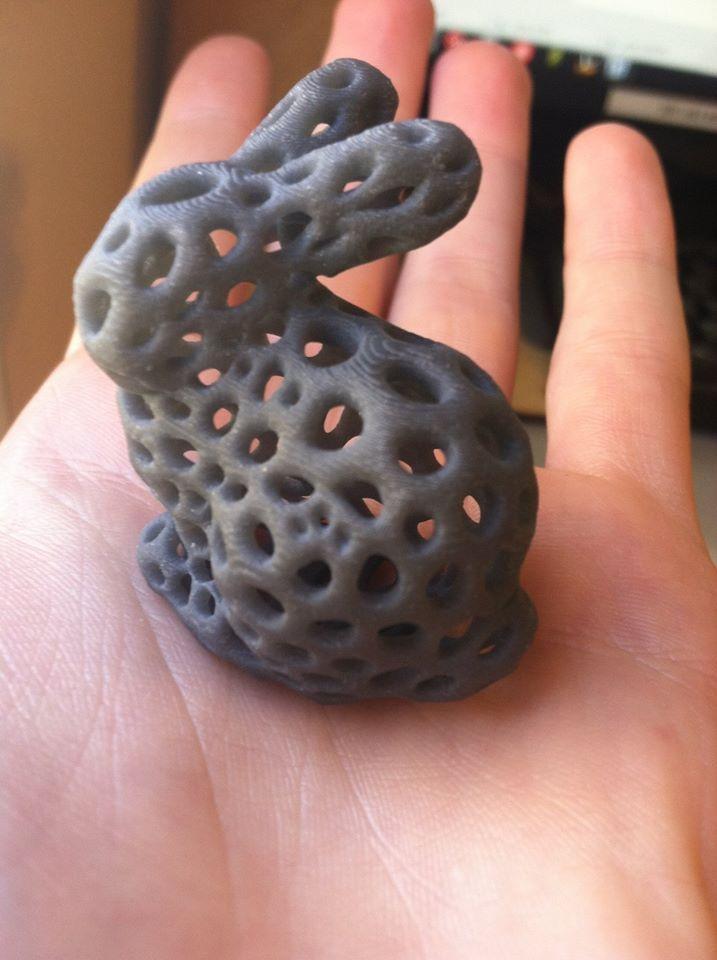
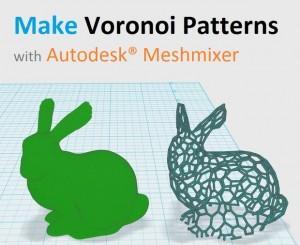
Marshall Peck of ProtoBuilds used Voronoi patterns to make some organic-looking models by adding the pattern to his STL files and the resultant 3D models by importing them into Autodesk Meshmixer. Peck operates a design and printing hub service out of Austin, TX, and he’s a networking and technical support professional during the day.

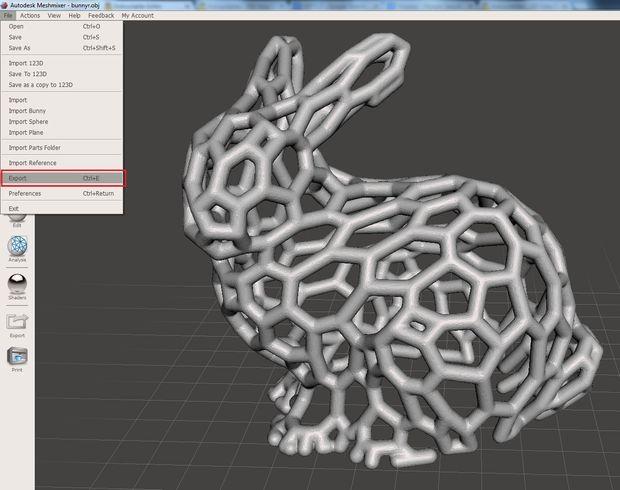
Peck begins the process by importing a model into Meshmixer, selecting the entire model and then using the Reduce tool to drop down to a lower triangle or polygon count. He says fewer polygons will ultimately result in larger openings in the final model.
The models he used were the Brown Bear and Pink Panther Woman Voronoi Style downloaded from Thingiverse and the Bunny model which comes pre-loaded in Meshmixer.
He adds that adjusting certain pattern settings might gobble up a lot of resources on your CPU and that you may wish to reduce the new mesh polygons for easier 3D printing or to make the files smaller for importation into other design programs.
You can check out his tutorial on how to apply the Voronoi effects to your 3D models on his site, as well as further details in an Instructable he wrote on the subject.
Have you ever built objects with your 3D printer that feature the Voronoi technique? If you have, please let us see your work in the Voronoi Patterns forum thread on 3DPB.com.

A Voronoi diagram of weather stations around the world