
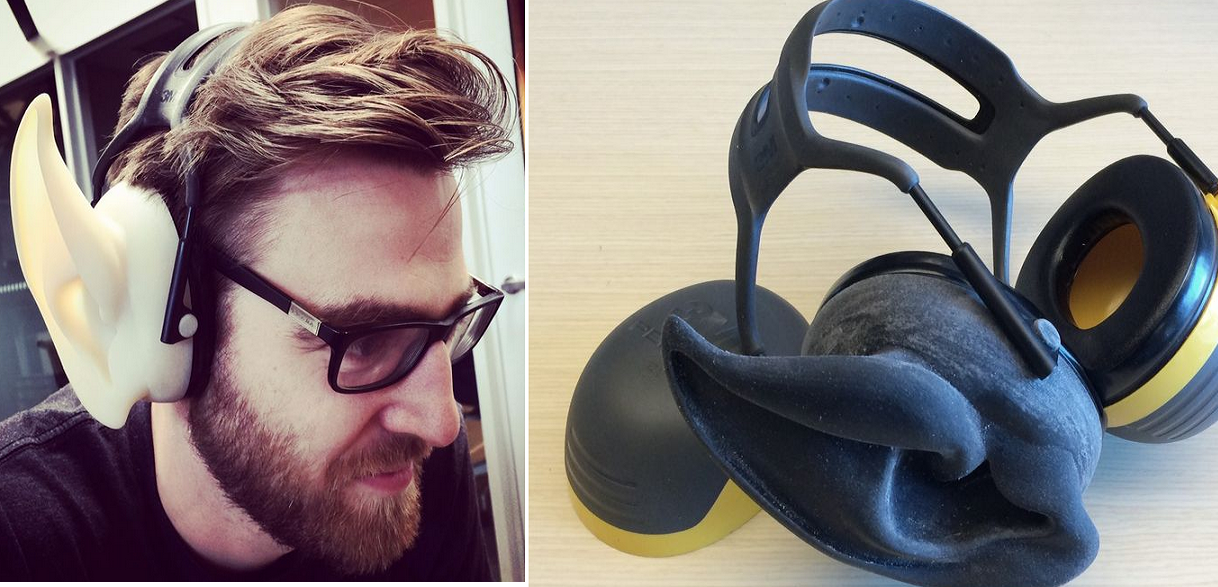
San Francisco-based designer and Instructables contributor, “vknt,” created the Spock Ears to dress up his 3M Peltor earmuffs. His instructions, photos and STL files are available on his Instructables page. If you don’t have comparable earmuffs, you might want to adapt the design to headphones, which would be equally as cool.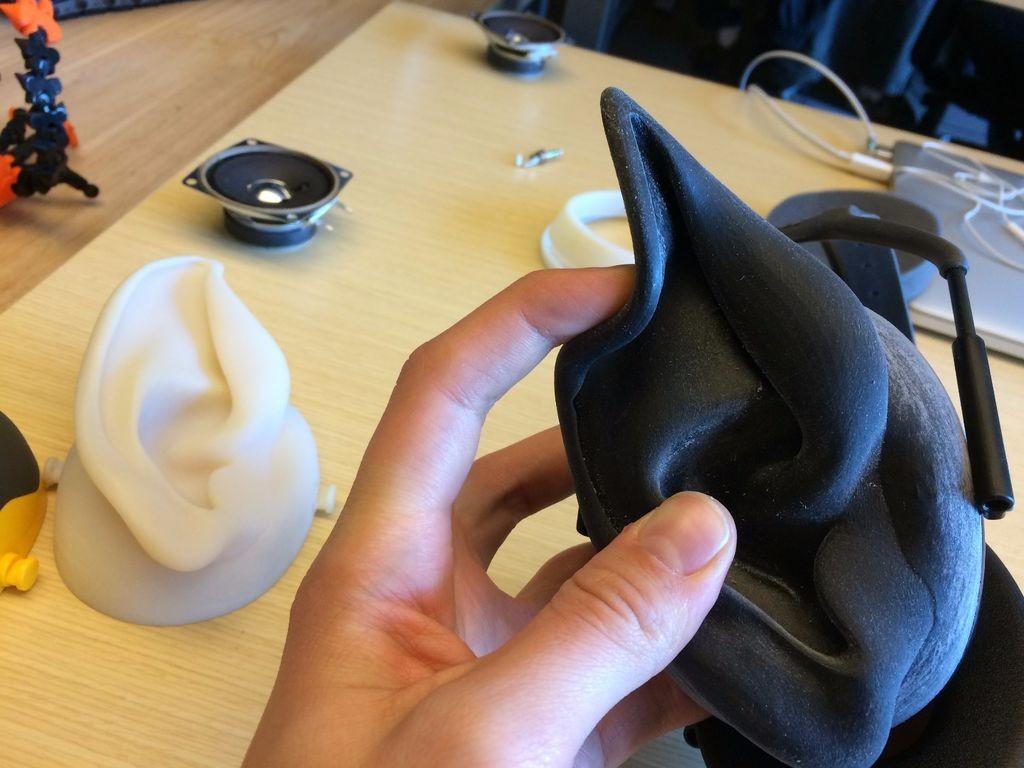

The first step involves taking apart the earmuffs to get some basic measurements. You’ll need to measure the cups because you’ll be fitting your Spock Ears over them eventually. Pay particular attention to the curvature of the cups so that your 3D-printed ears fit snugly over them. Follow the designer’s instructions and get precise measurements before you start modeling.
This tech-savvy Trekkie used Fusion 360 to create the replacement cup over which he planned to fit the ears. It wasn’t a quick process, he recalled, “It took me a few hours of pushing and pulling vertices to arrive at a shape that I was happy with.” Evidently, he had no experience using Fusion 360 and this project was a great way to get acquainted with the software.
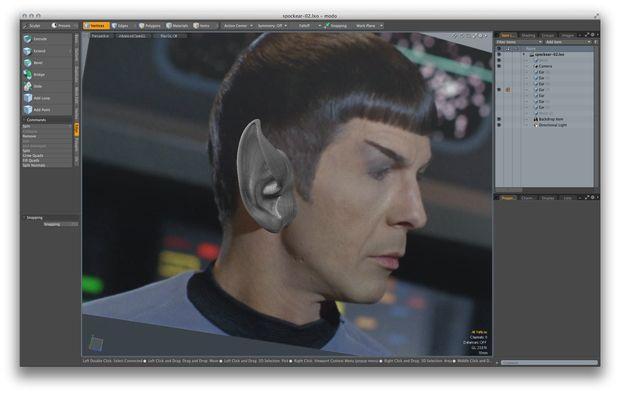
Modeling of the ear took place in Modo afterwards. He based his design on a regular human ear and then adjusted it by looking at a photo of Mr. Spock’s ear he found on the internet. Next he needed to combine the two models so he could print the cup-ear design as a single piece (one for each ear, of course). Therefore, you’ll need to merge the two models. “The ear goes deep inside the cup, so I exported the ear and imported it into Fusion 360. Based on that,” he explained, “I cut out a part of the cup, which made it easier to merge the two.”
If you don’t have Modo, try using Meshmixer instead, which is also ideal for merging two separate models–and it’s free!
After merging the models, he printed a prototype using an Objet 3D Printer, although he intends to experiment using consumer grade 3D printers as well. The Objet 3D Printer can print two materials at once, so he experimented by printing the ear in soft rubber and the cup in a harder material. Since the colors of the materials were different, he had to spray paint them to make them look more uniform. The end results were pretty fantastic and inspire us to consider other possibilities, from animal ears to antlers. Get creative and let us know how your project turns out! May the maker spirit live long and prosper! Discuss this project with us in the 3D Print Spock Earmuff forum thread on 3DPB.com.
