
The cold casting process looks like one that would appeal to any 3D printing enthusiast, with the opportunity to use a variety of powders and clear resins, getting creative with the final aesthetics of the 3D print and ending with up a 3D printed object that really is metal in the end — without all the danger, hassle, or expense.
Paul Braddock of Mold3D gives a great demonstration on the cold casting method in a video that shows users the process from beginning to end, using a FSL3D Pegasus Touch, a resin-based 3D printer. His intention is to cold cast with iron metal powder, but you can also use other metal powders, as well as stone or wood powder. With the use of metal powder, makers have a simple, affordable way to create metal works that are shiny and magnetic to boot.
![]()
Cold casting is also a great way to experiment with customized knobs and different pieces for furniture, accessories, and household items. Specialty powders such as porcelain, limestone, and marble can even be used for those interested in more specialized finishes in the areas of construction or working with antique pieces.
The key in the beginning with cold casting is to have the 3D printed model planted somewhere firmly with a glue or fixative so you can start bathing it in a fast-setting silicone, which is usually very thin and pours easily. After setting for about 20 minutes, it’s time to start mixing the polyester resin with the metal powder (per Braddock’s example) for the next step but always with the caveat that you must have suitable ventilation (even a respirator is good) and suitable gloves.
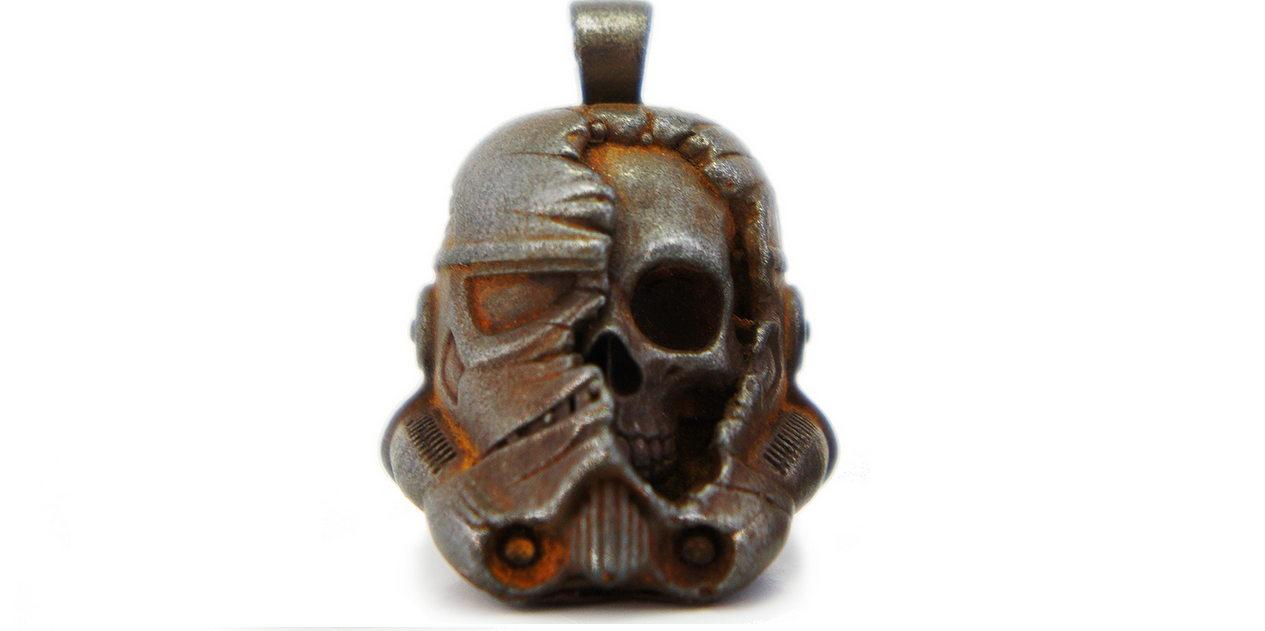
One part powder to one part clear resin are mixed together. Braddock’s iron metal powder gave his 3D print a nice dark pewter look which he then finished further. A fairly short list of ingredients is needed, and won’t set you back much, to include:
- Fast-setting silicone
- Desired powder (usually available in any hardware store)
- Mold release
- Cups
- Clear resin
In your workshop area, after mixing the powder and resin, you just pour it into the mold and allow it to set for about six hours. Once you release the mold and have your metal covered 3D model, you can use the technique of burnishing which is very simple and will allow you to give your metal part a rusty patina. This is done by brushing and scrubbing the piece fairly lightly, and then rubbing it with a rust finish, or whatever finish you might choose. It’s a simple way to give your 3D object an authentically ‘old’ look. The 3D printed object, at that point, has a true metal finish, and there is no risk or expense associated with dealing with molten metals or other materials.
The cold casting process offers both versatility — and a great way to have fun while being creative and experimenting. Are you interested in trying the cold casting method? Have you already tried it? Share with us in the Cold Casting forum thread over at 3DPB.com.
