We have heard Apple being mentioned in 3D printing rumors for almost a month now. Besides that though, Apple and 3D printing are not usually heard in the same sentence. Well, that’s until a 29 year old Instructables 
He had been searching for the perfect build platform to use on his 3D printer, for some time. Inspired by other 3D printing hobbyists, who had used old mirrors or glass as a build plate, he set out to find the perfect alternative. He wanted the experience of printing on glass, with the ease of being able to slightly bend the build plate to release the finished print. Corning’s Gorilla Glass was exactly what he needed. Unable to find a piece of Gorilla glass thin enough and large enough to fit his Makerbot Replicator 2, he stumbled upon an Apple iPad screen for sale on Amazon.com for just $15.
The screen was nearly the perfect size and had all of the requirements he had sought:
- Thin, and very flexible
- Cheap! $15 on Amazon
- Almost impossible to scratch
- Amazing thermal conductivity, equating to near perfect heat distribution
- Lacking any major thermal expansion or distortion at the general print temperatures
- Relatively easy to install
Buying the iPad screen is not all this project takes, however. Once the glass screen in received, there are a few steps one must take in order to prep the glass for printing.
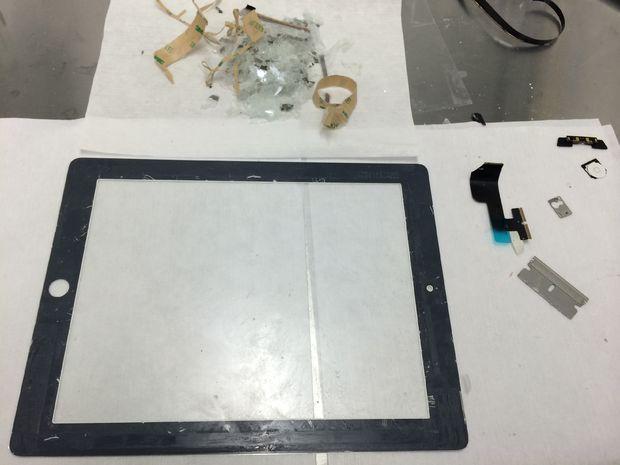
#1 Remove the Touch Sensitive Circuitry and Other Components From the Screen
The iPad screen will have a camera, several wires, and a button on it, as well as a second layer of glass which act as a capacitive plate. After removing all but the second layer of glass, take a razor blade, and slowly begin scraping under the glass. It will break up quite easily. Be sure to wear goggles and gloves, just in case . This glass must be removed, as the heating of this plate could release toxic fumes.
#2 Clean The Glass
Once you are left with the main iPad glass, you will need to clean off any glue and residue. To do this, blot the glass with rubbing alcohol or IPA,. Then take a razor blade and scrape the glass, removing most of the residue. There will likely be some residue remaining, so now you will need to rub the glass with a rag soaked in Acetone. Once done, you can now wipe the acetone off with IPA or rubbing alcohol, and then wash it in warm water.
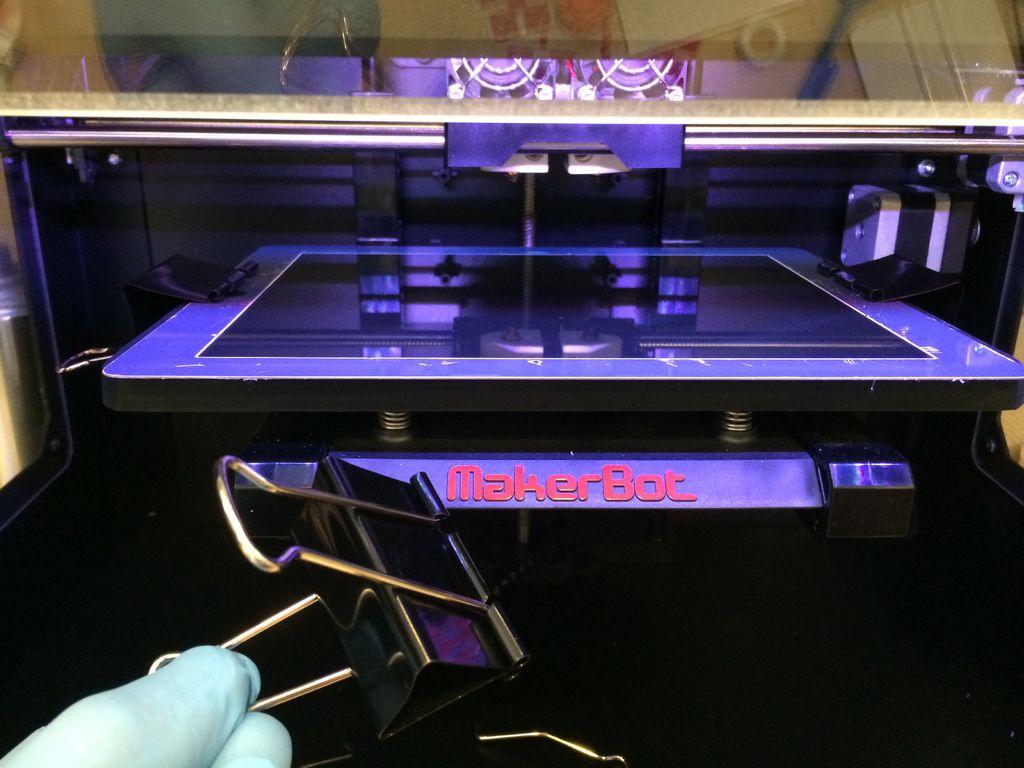
#3 Installing Glass Onto the 3D Printer
This is probably the easiest part. The Instructables user cvbrg, simply used large binder clips to attach the glass. He just used one on the right and the left side of the plate.
After spending a decent amount of time removing the touch sensitive circuitry from the glass, cleaning it, and installing it on the printer, the iPad glass works amazingly well. Cvbrg , has even printed directly onto the glass without treating it with anything. The great part is that when a print has finished, you can scrape it off the plate as hard as you’d like, without having to worry about scratching the glass.
We’d love to hear if any of you guys try this out. Please feel free to discuss this idea further, and post any experiences you may have had in the 3DPB.com ‘iPad build platform’ forum thread‘.