Sometimes 3D models seems to be produced by some parts 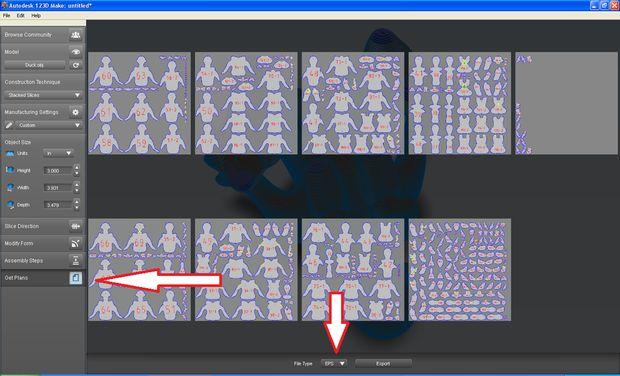
While db85 comes up with an amazing homespun and very cool way to make a 3D printed model without actually using a 3D printer, it’s important to note that there are some really good paper 3D printers on the market by way of Mcor, which happens to be famous for its role as the only producer of paper-based desktop 3D printers. The award-winning company gets big points for their eco-friendly printer which produces entirely recyclable waste.
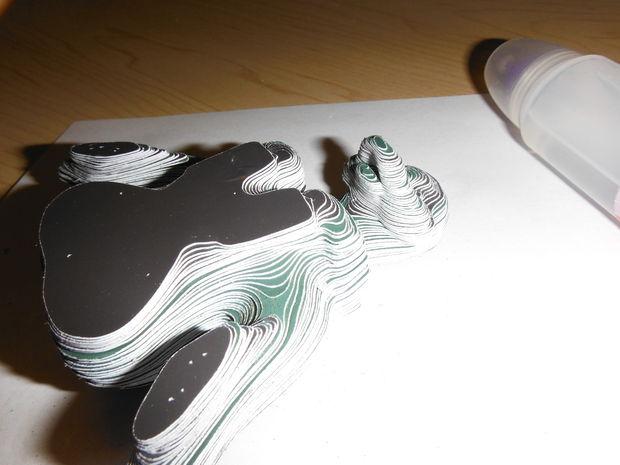
If you’d like to go it without a 3D printer at first though, db85 has found a great way to keep you busy — and challenged. You will need to set aside some time for the arts and crafts cutting-out and gluing time involved with this fun project that’s sure to get a big reaction from anyone who checks out the rewards of your efforts.
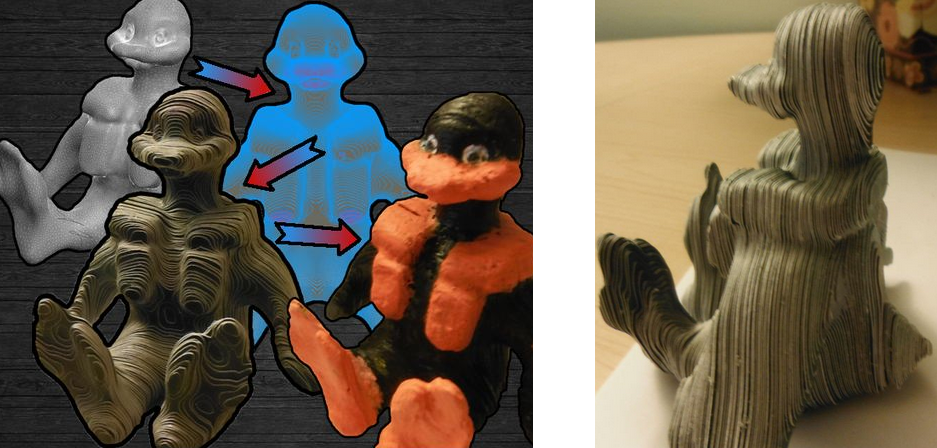
For the purposes of a project example, db85 created a Daffy Duck-esque model and shares the files if that’s something you are interested in 3D printing. Also included is a quite short list of supplies you will need, with the warning that what you will need is plenty of time and patience once you have the paper cutouts ready — that’s part of the fun though — relax. Items to have on hand are:
- Sure Cuts a Lot (SCAL) software for cutting your crafts and this case, the paper cutouts. For this project, you should be able to download a free trial that cuts a watermark into whatever you produce; otherwise, it runs at about $80
- Craft cutters that work with SCAL
- Glue
- Good, thick paper
The following free software:
- 123Make by Autodesk – a great product for creating and building 3D items
- Scribus – for converting .eps files to .SVG files
- Ghostscript – also needed for converting files
- (Optional) Sculptris, which db85 used for clay sculpting while designing the duck
Once you decide what it is that you’d like to use for a model and have it in an .stl, or .obj file, you’ll need to load it into 123Make with the setting stacked on ‘stacked slices,’ so you can go on to set your custom paper size (about a half inch less than the paper size you will be cutting shapes from, with thickness equal to that of the paper you’re cutting from) and final object size.
123Make allows you to select the plans and file type, and you can also save this as a .pdf file. Scribus then allows you to import the files and begin cleaning them up and eliminating extra shapes in the file that would mess with your final product. Upon importing the file in SCAL and choosing the proper mat size, and aligning properly, you are ready to start cutting.
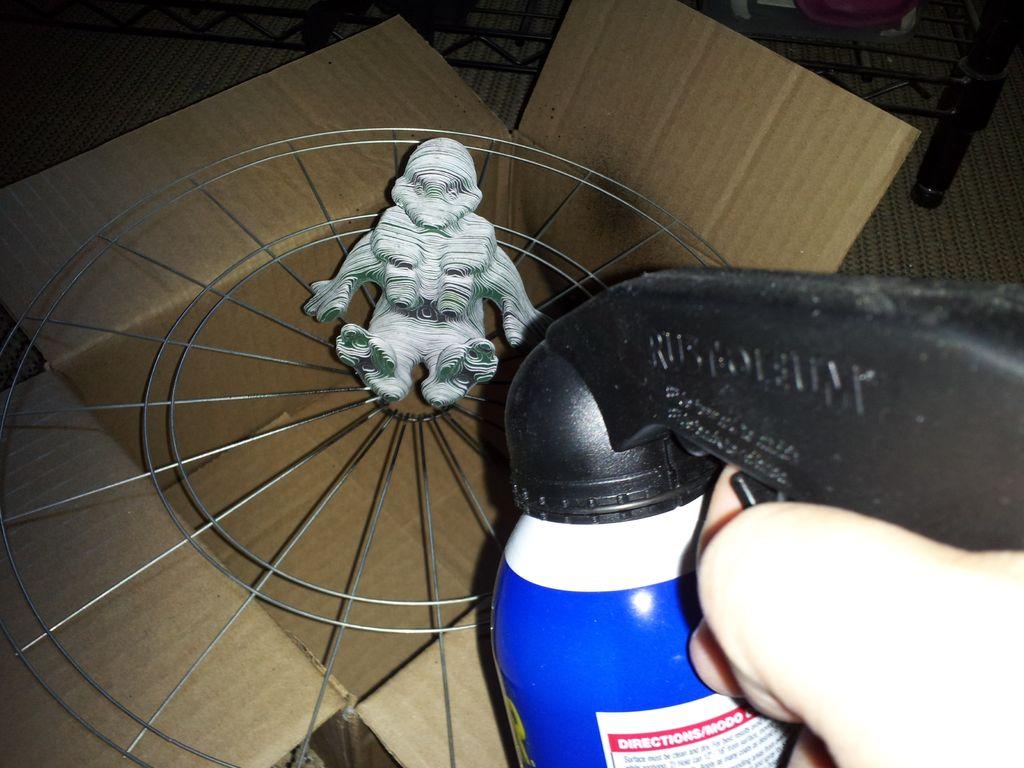
Once you’ve finished and your model has taken shape, you can accentuate it with painting, added details, and whatever creative notions strike you. In the Instructables example, we can see that db85 used a spray-on rubber to coat the finished product (“get it? Rubber ducky!”) before painting it to finish it off as a seemingly one-piece final object.
Is this a project you are interested in taking on? Do you have a 3D printer and decided to try it just for fun anyway? Tell us your thoughts in the Make 3D Models With Paper Cutouts forum over at 3DPB.com. Check out more photos of the finished stages of this project below.