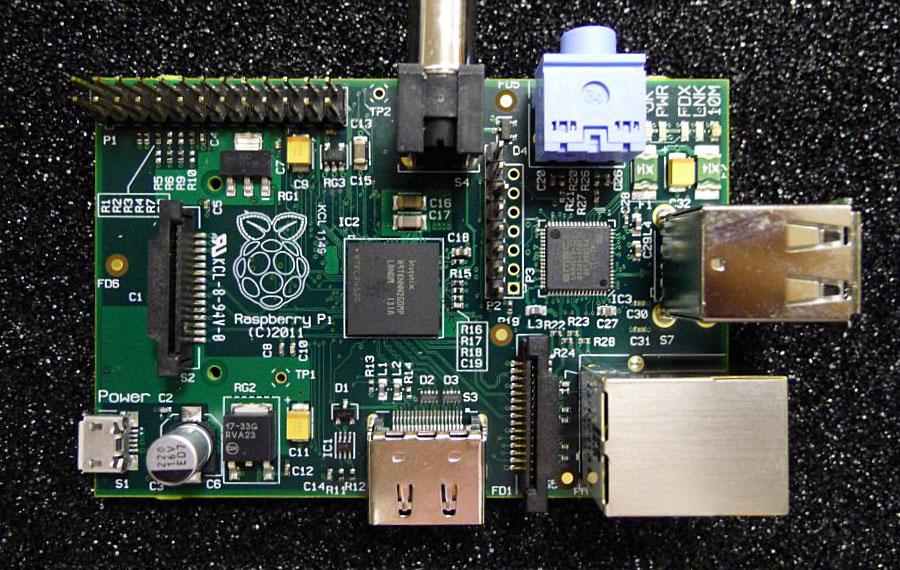
The idea of a water cooler for Raspberry Pi brought to mind some sort of sweet summery drink complete with paper umbrellas and a pounding headache the first time I heard it. The item itself is actually a single board computer approximately the size of a credit card that was developed by the Raspberry Pi Foundation. The foundation, created in 2006, hoped the product would help to promote the study of basic computer science and receives its support from the University of Cambridge Computer Laboratory and Broadcom. Its co-founder Eben Upton described the reasoning behind the initiative:
“The lack of programmable hardware for children – the sort of hardware we used to have in the 1980s – is undermining the supply of eighteen-year-olds who know how to program, so that’s a problem for universities, and then it’s undermining the supply of 21-year-olds who know how to program and that’s causing problems for industry.”
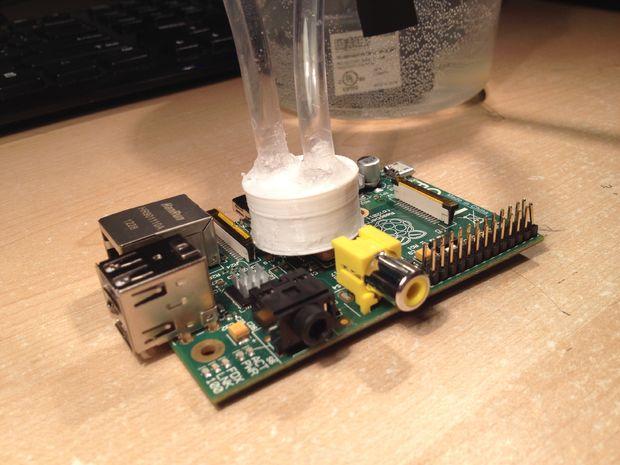
“I wanted to give the gift of easy water cooling to the entire raspberry pi community. I decided to build a 3D printable water block that anyone with access to a 3D printer could build. What if you don’t have a 3D printer? Well, you can still build one!”
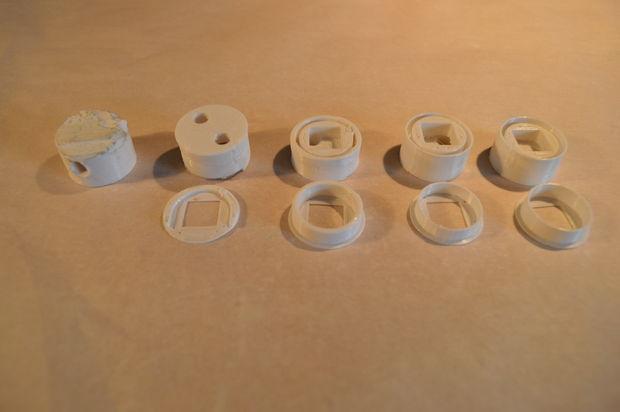
Aside from what it costs to purchase the supplies, I must warn you that there is a small monetary investment involved. You will need to sacrifice: a penny. Just as in the old bon mot, “a penny saved is a penny that can be used in the bottom of a homemade Raspberry Pi water cooler.”
The penny is pressed into the bottom piece of the cooler, being careful to remove any extra sealant that might leak onto the penny and prevent a good transfer later. Unprecedented warns that you will want to test the seal created during step 4 before moving on in the project otherwise you will find yourself attempting to dry and fix leaks that are nearly impossible to find.
Although I have to admit, I still like the idea of that drink…
What do you think about this project? Is it something you would find useful? Tell us what you think over at the 3D Printed Water Cooler for Raspberry Pi forum thread at 3DPB.com.