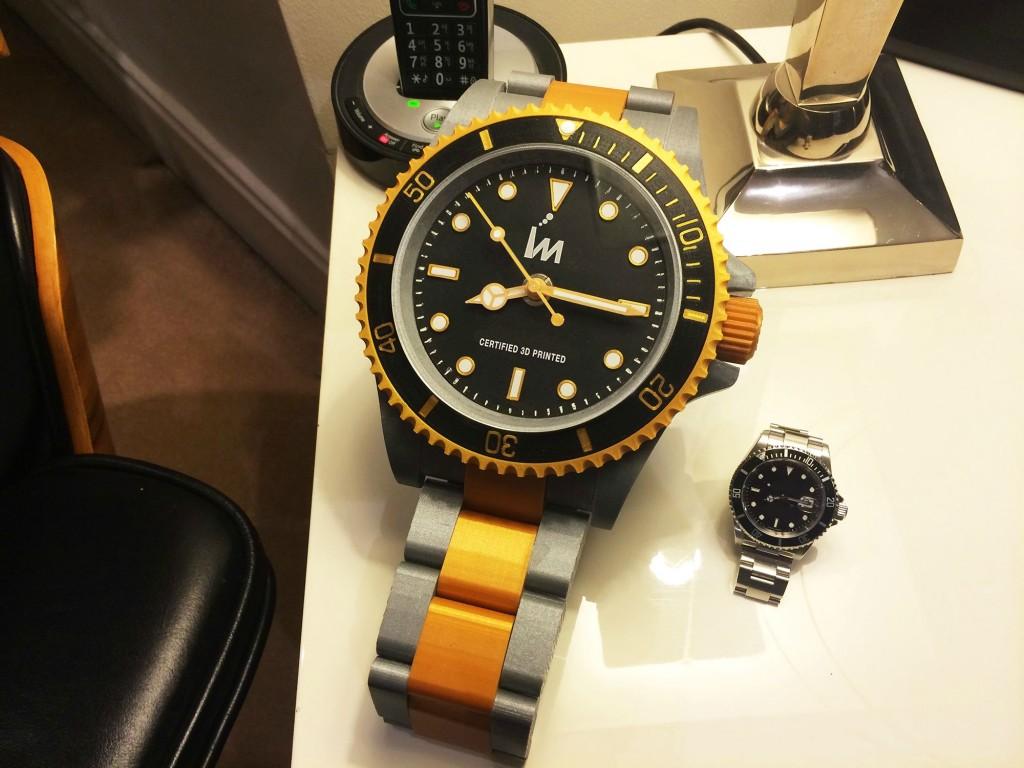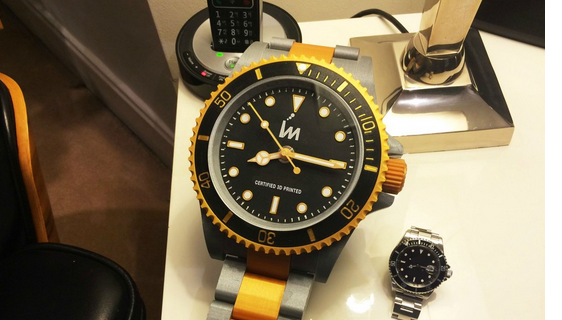

The 3D printed clock features 131 pieces and will take about 30 hours of printing time, so it’s a project you want to carve out a slot for. Expect to use about 50 meters of filament at 3mm, with the finished product weighing in at 400 grams. Falco printed the giant timepiece on a MakerBot Replicator 2 as well as an Ultimaker 2, using PLA, with the parts being printed in silver, gold, black, and white filament.
Along with a bit of 3D printing expertise for this project, you will need some other items, such as:
- Battery quartz clock movement
- Perspex/acrylic 100 mm disc, 3mm thick
- Scalpel
- Sandpaper
- Smoothing files
- Lengths of 3mm filament
- Super glue
- 3mm drill
- Correction fluid

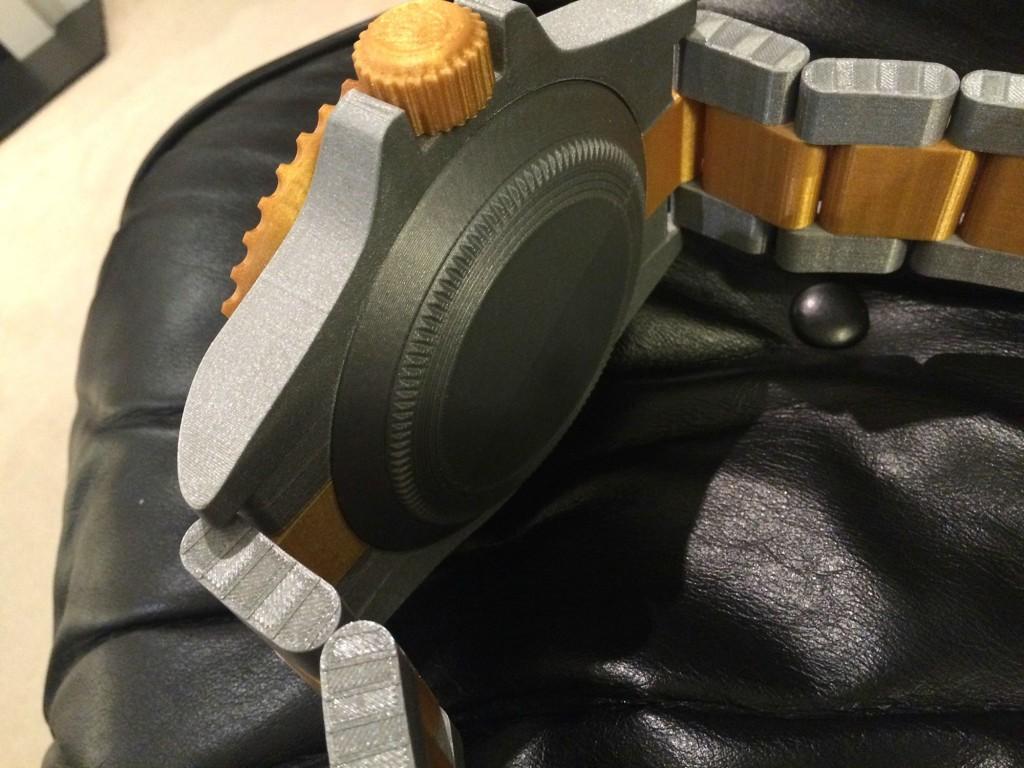
Once all the parts are 3D printed, you’ll need to carefully lay them out and follow assembly instructions to piece together your final reward, beginning with putting together the clock back and then placing all the pieces to the clock’s ‘watchband’ or bracelet out in a straight line and super gluing them together. Falco makes sure to mention that you don’t want to glue the bracelet parts to the clock back as it is just meant to give direction for laying out the bracelet parts and aligning the main body, where the inner rings are glued next, one by one, with proper orientation.
The bezel outer ring and face are glued onto the watch body next. As you are bringing this part of the project together, this is where you will see whether or not the print quality and resolution of your 3D printer are up to par in this project. You will have to do some trimming, according to Falco. Once the bezel face is in place, the clock back is assembled and glued together and then positioned in the recess of the main body for the clock.