Traditional RC cars run on electricity, nitro, gasoline, and are constructed for both on-road and off-road use. You might be looked at like a three-headed alien if you told an old-school, traditional RC car hobbyist that you’d constructed your own car with your own digital design, written the code, employed a 3D printer, wired it, and controlled it with an Arduino microcontroller. That’s what Austin Jones gets to explain when describing his project for the MAKE: Hands-On Intro to Engineering course he participated in at University of South Florida, where he produced his 3D printed RC car using a basic yet highly functional design which can be replicated using his Instructable, and can also be customized if you have a slightly different plan for the size, wiring, or coding.
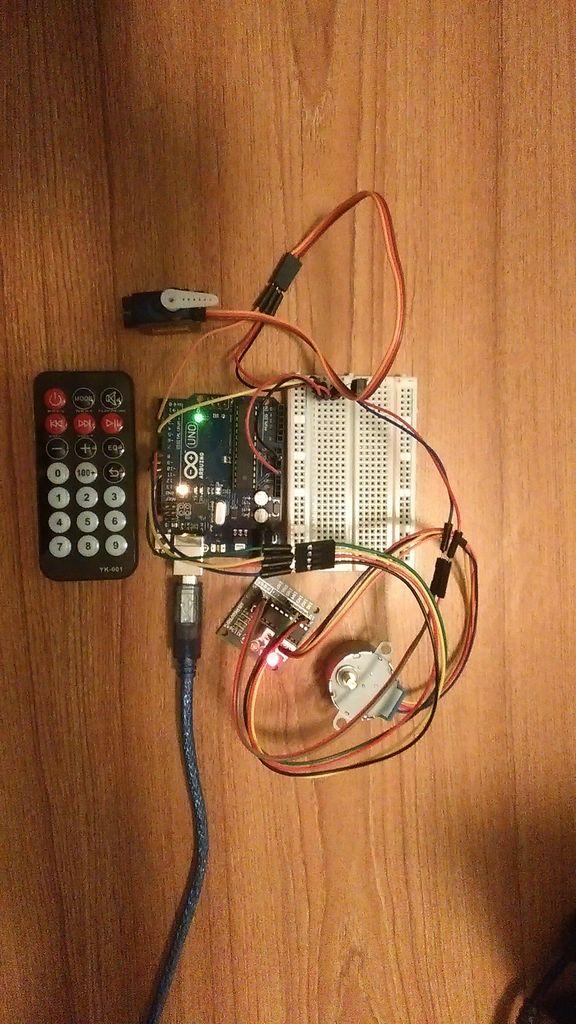
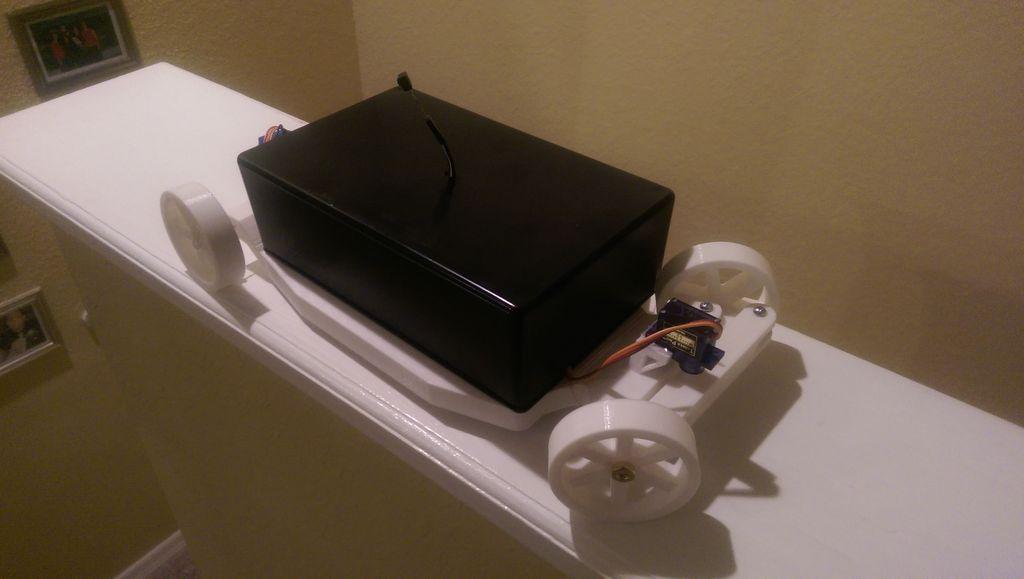
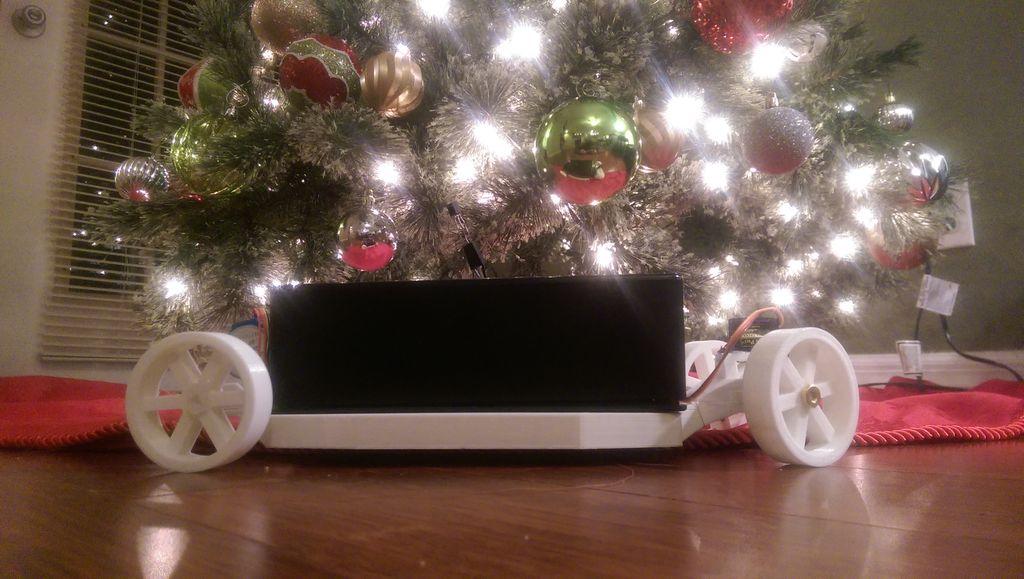
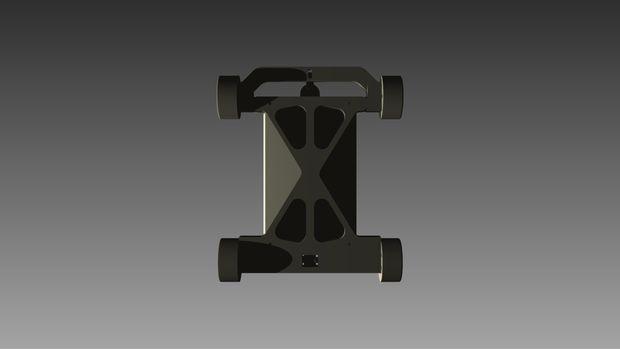
With concept and coding in place, it was time to wire the car by placing all the components in the car and then testing them. While everything worked just as planned, Austin found a glitch in the design that he had not found a way to fix, which was with a short delay in the motor stopping when he commanded the servo to turn left or right. Once all the components were in place, and Austin had the solid parts designed in CAD just the way he wanted them, it was off to the 3D printer. Austin did point out that he sent his design out to be 3D printed and with the prints painted black in the first version they did not fare very well, but in choosing the natural color, they were much more durable.