Even while the excitement is building and relaxing luxuriously by your 3D printer’s side is a nice thought, we live in a bustling world of priorities and multi-tasking. There are still errands to be run, meals to be eaten, and a whole world outside to participate in. Wouldn’t it be convenient to head out to work, or maybe just receive a notification from your printer while you are busy out Christmas shopping or attending a party or sports event with friends? Not only is that a huge convenience, but setting up the whole process is a piece of cake, as we learned from Thingiverse user Chuck Hellebuyck, who was kind enough to share this great idea with the world.
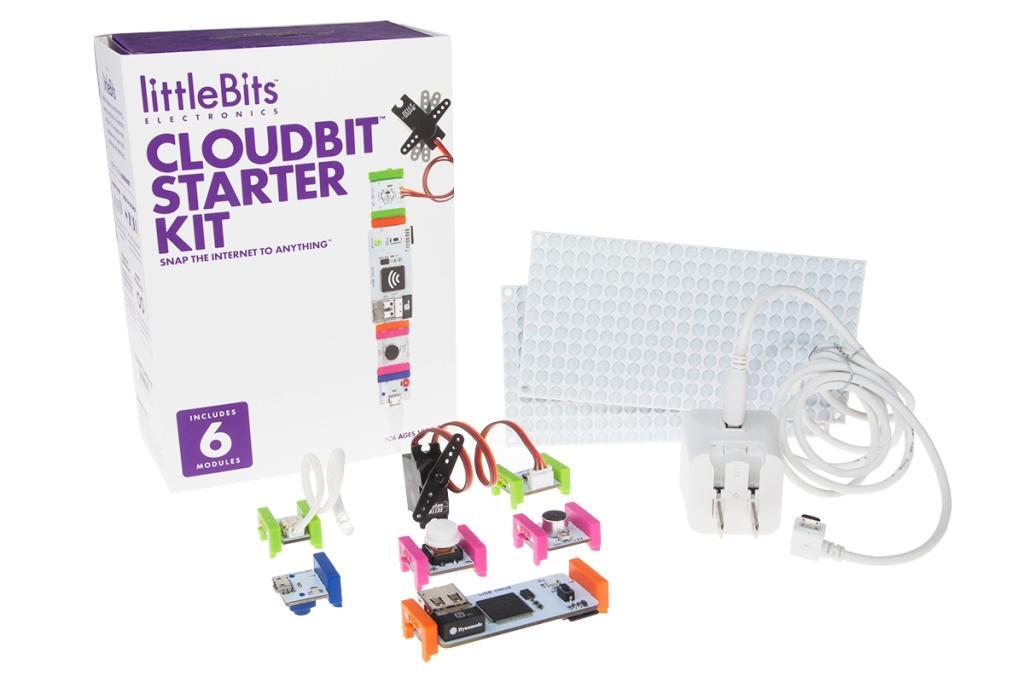
What will you need? For starters, you’ll need the littleBits Cloudbit Starter Kit for under $100. The kit includes a package of parts that snap together, with a module that Hellebuyck explains is ‘a little Internet computer’ that will connect to your wifi and basically work to send a signal to text your phone when a switch is pressed by the 3D printer as it completes the job.
- Go to littleBits for setup instructions.
- Connect power to your module with the parts from your kit.
- Plug everything in and connect the switch. You will know you have power when the LED lights up.
- Place the module and connections on the base, snapping everything conveniently into place.
- LittleBits leads you through all the connection steps and helps you connect the Cloudbit module to your wifi.
- Create a ‘recipe’ to connect your module and output.
- Activate and verify your phone number, and define messages to be sent to you.
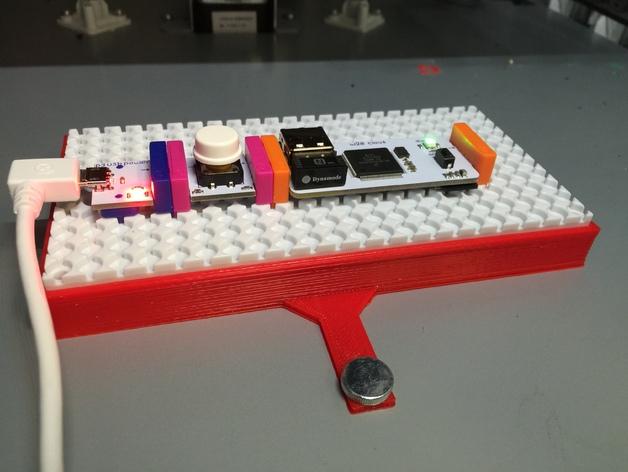
For the 3D printing the platform/base, Hellebuyck employed the use of TinkerCAD, a user-friendly 3D design tool, where he was able to set up his measurements at 150 mm x 14 mm x 78 mm deep for a proper area to hold the electronics, with a lip around the edge. A hole is required for the thumbscrew with a triangular piece for added strength. Once 3D printed, the platform is placed in the 3D printing area, slid in place under the build plate area, and tested to see if it presses the module upon reaching the bottom. Check out the project from start to finish here.
With this system, you are able to use a simple electronics project to help you complete your 3D printing projects and multi-task at the same time. Is this something you would find helpful? Tell us your thoughts in the 3D Printing Text Notifications at 3DPB.com.
