For people used to creating 3D models in Photoshop, there’s some good news here. Photoshop Creative Cloud has announced the availability of a new feature that will allow users to directly convert their 3D Photoshop files into a printable object through i.materialise. If you are used to uploading your models through i.materialise’s 3D Print Lab, then the process for printing will feel very familiar.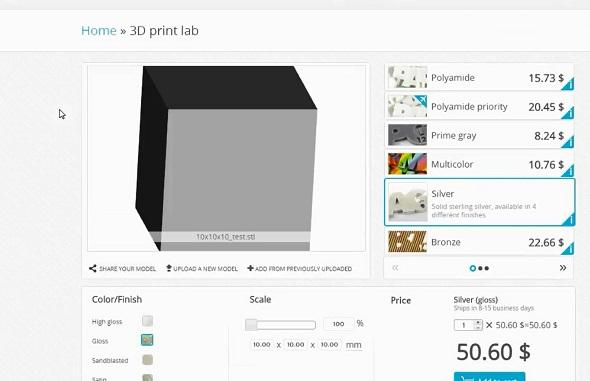
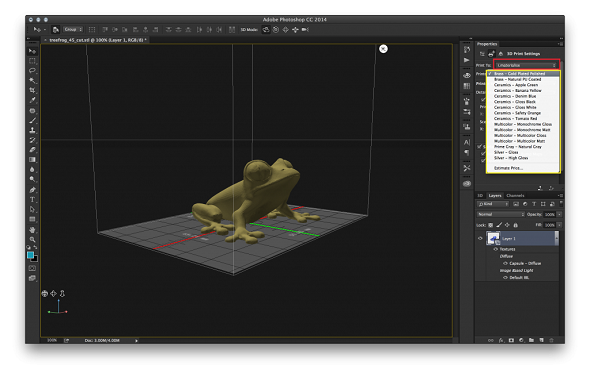
The first step in the process is to download the printer profile provided on the Photoshop website. Once that’s done, and it’s exactly as easy as you think it will be, you simply go to the dropdown menu for 3D, choose “3D Print Settings” and select “i.materialise.” After selecting the printer at i.materialise, you can choose among printer options for the materials that are 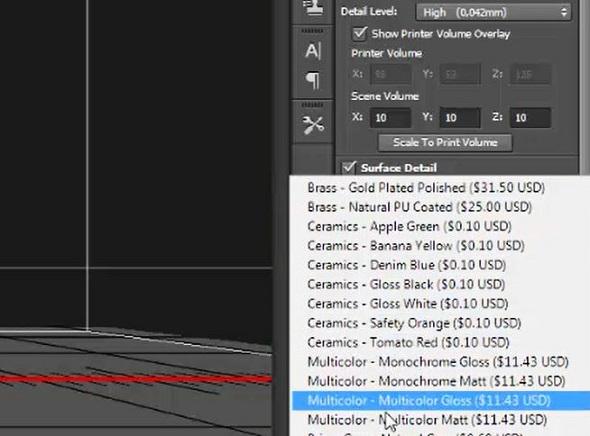
Printing directly from Photoshop doesn’t mean that you will be sacrificing the helpful price estimator that is available to i.materialise’s 3D Print Lab. It’s still available by clicking the “estimate price” option available at the end of the list of materials. Then, as if by magic, Photoshop will repair your model’s mesh automatically thereby creating a solid piece that is ready for print. After it completes that operation, the estimated price will appear for each of the materials and finish options.
After making your final decisions regarding materials and finish for your 3D creation, you click on the button marked “upload.” This will present you with a preview of your soon-to-be-printed object. It also provides you with a summary of the 3D printing preferences you have selected as a way of giving you another checkpoint before finalizing your print. Once you are satisfied that your creation is ready to be brought to life, you choose “export” from the bottom of the preview screen and save your object as an STL file.
If you feel your attention beginning to wander, never fear, the process is almost complete. After you have created the STL file, a dialog box will appear on your screen asking you to complete the ordering process by going to the i.materialise upload page. Once you click through to that page, your settings will all already be in place in their 3D Print Lab, simply upload the STL and presto, change-o (and credit card-o) your design moves from screen to printing platform to you. Discuss this recent integration in the Photoshop & i.materilise forum thread on 3DPB.com.