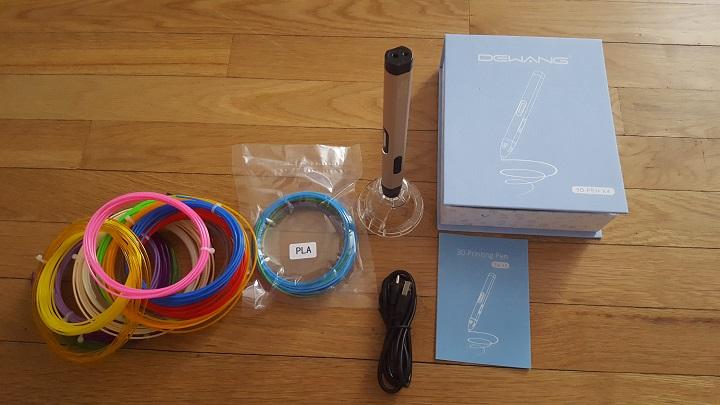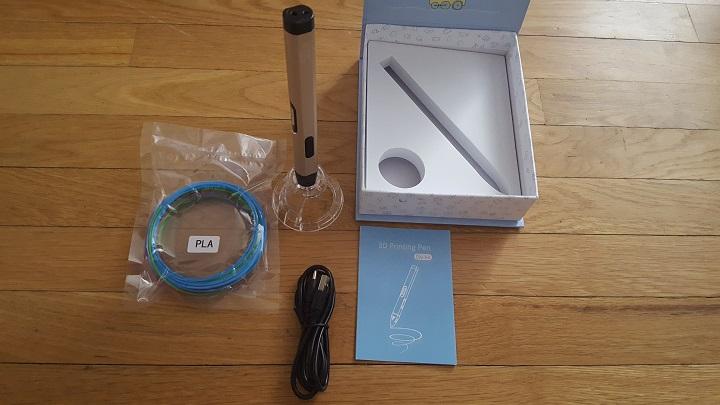
Standard Dewang 3D printing pen starter pack
The 3D printing pen, available from Amazon for about $100, arrived from China in a well-packaged (read: fully taped-up) small box, taking just 10 days to reach me after leaving the warehouse. Unboxing it was a simple process; the company had included extra filament so I could be sure to properly put the pen through its paces, though the standard amount of PLA that arrives with it can certainly get any user off to a good start. Included were the FDM pen, a stand to keep the hot tip off surfaces when not in use, PLA filament, and a cord that plugs the pen in to any USB.
That last was a bit of a negative for me, as needing to be plugged in did keep me tethered to either my computer or to a plug (that, for lack of an included power adapter, I powered through my phone charger’s USB connection to plug in). Still, I only knocked down a couple of things on my desk by brandishing the cord as I used the pen near my computer. The pen itself is pretty minimalist: the only buttons it has are for feeding filament (and reversing it to unload), and to adjust between PLA and ABS material and between speeds (high, medium, or low, each with preset temperature ranges). A small LCD screen notes the settings and is easy to read. The pen has an automatic shutoff that will turn it off after three minutes of non-printing, which is a nice safety feature.
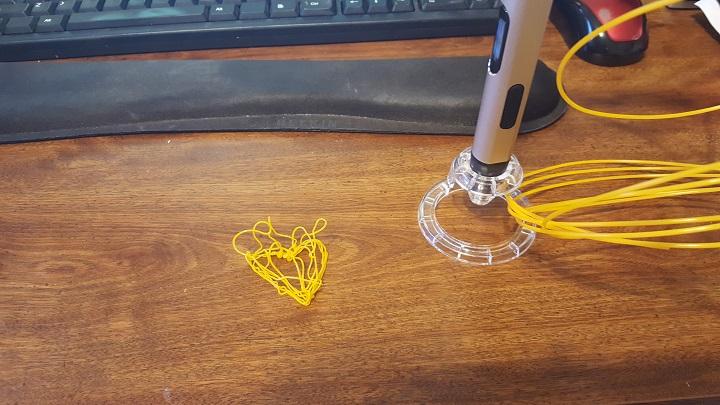
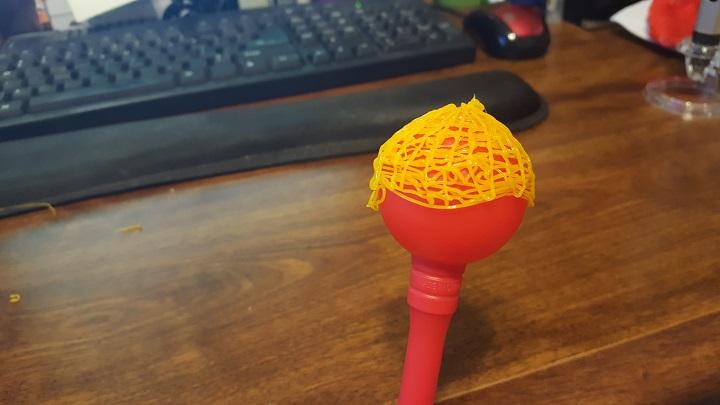
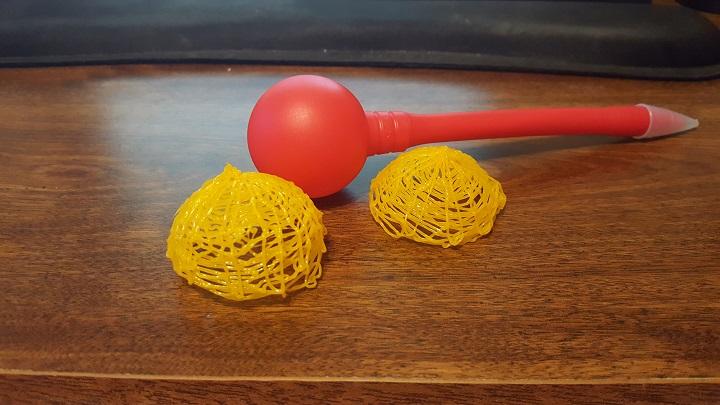
The trouble with a 3D printing pen comes hand in hand with one of its biggest positives: the options are limitless in what you can create. I spent a while staring blankly at the pen as it was ready to go and I faced a huge case of creator’s block. Finally, I loaded up some yellow filament and decided to just get going — I used my least favorite color to start, as I figured my first creation would be, let’s say, unimpressive. I started by drawing a little heart on my desk, then tried to make it 3D with some not-thought-out embellishments that ended up making it look like one of those toys from a pediatrician’s office.
It was during this first mini-project that I encountered the one difficulty I had in using this pen; after more than about 20 minutes of constant use, it stalled out on me a little bit. The motor kept whirring away, but nothing came out. This issue reoccurred later, but I eventually learned to push down on the filament to encourage it to feed through, which wasn’t the best solution but did work (as did setting the pen down for a little bit).
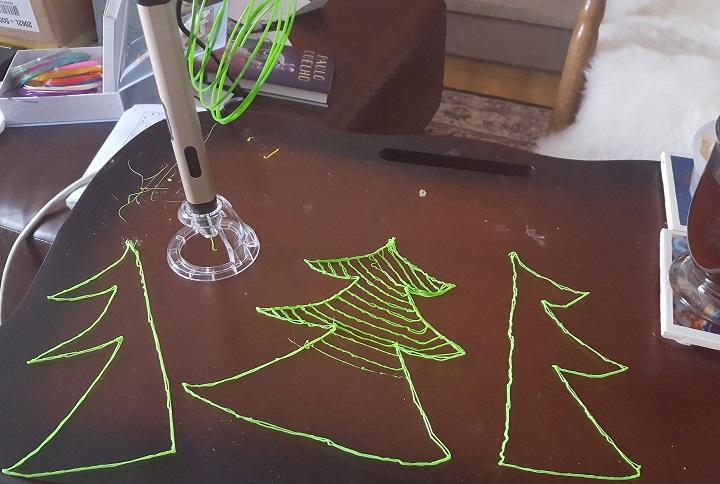
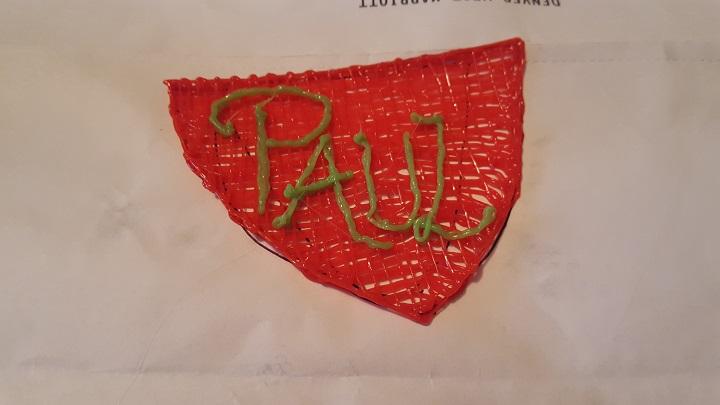
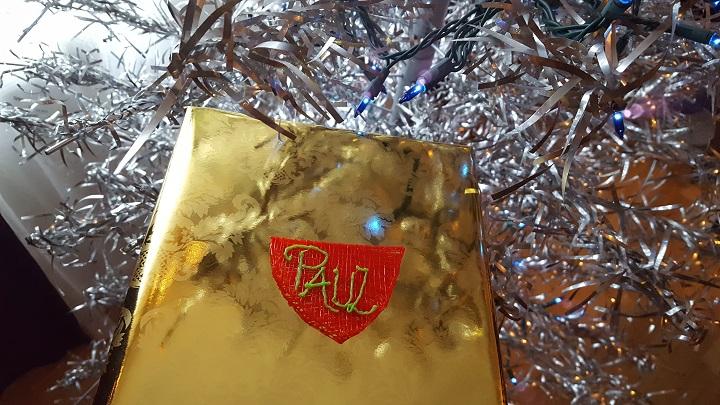
After the initial tests, I turned to the season for inspiration, and made some Christmas presents for my family. As we would be celebrating first with my in-laws, I set about making two Christmas trees for my husband’s nephews. I started out making them at the same time, and as I worked to fill in the outline of the first resolved that this was a bigger project than I’d anticipated and that, in fact, my brother-in-law and his family could all share one tree for decor (after all, the young boys would probably break the delicate finished product). The creation of the Christmas tree-and-a-half took me the duration of Love Actually as I took my work from my desk to my living room. I hand-drew a stencil, traced it in full once and then each half separately; filled in each of these three sections with a hatch in a different shade of green; then drew them together up the middle. To finish it off, I changed out the green filaments for yellow to create a star, some lights, and a more solid base.
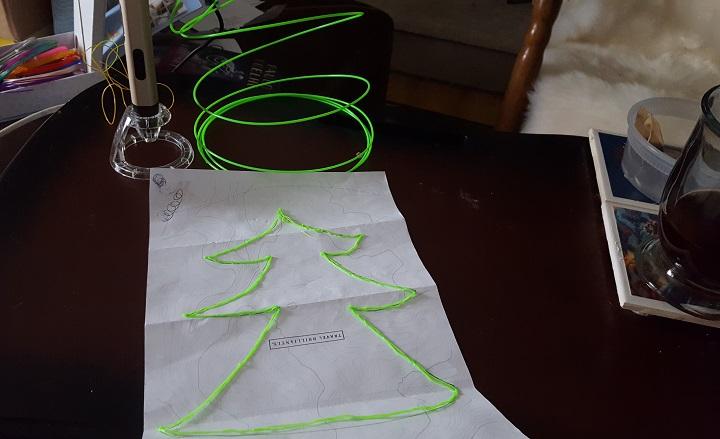
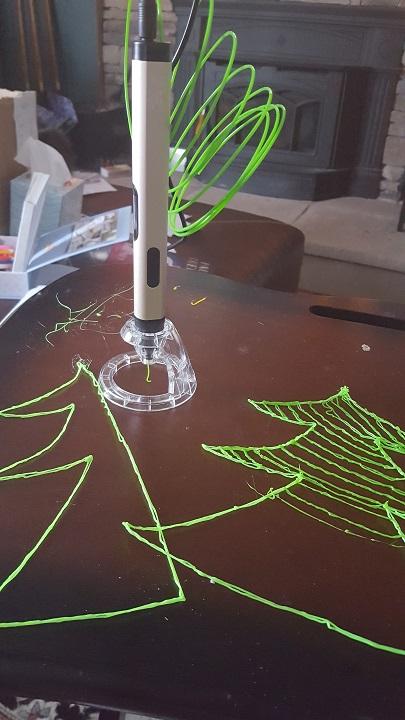

The tree was to be my most elaborate project. The pen did stall out on me again during the hatching process on the big piece, which I used as a quick photo break to capture progress. This was also when I learned to push the filament down, which didn’t hinder this part of the project too much as it wasn’t a highly dexterous process to draw lines.
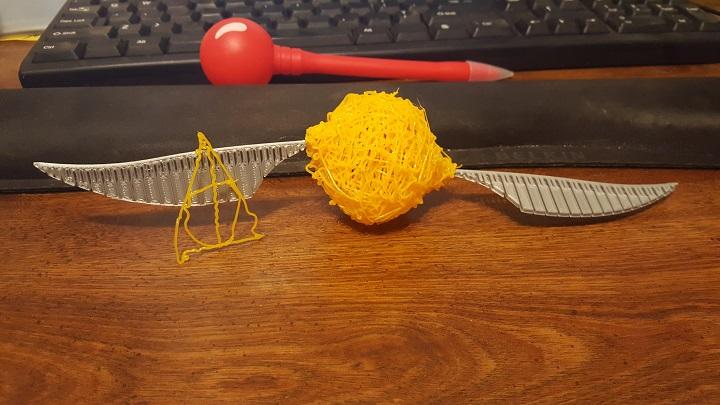
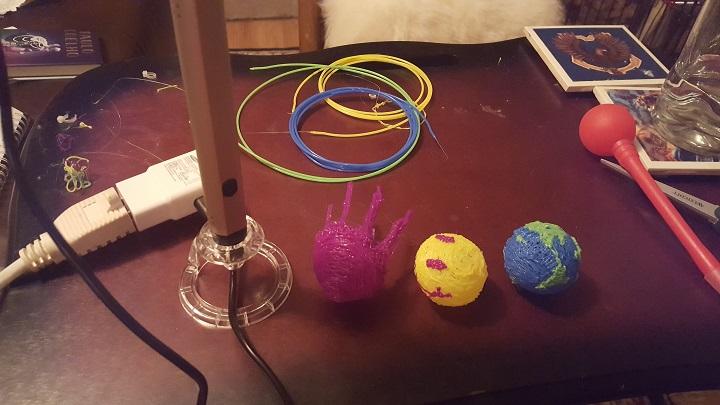
When switching between filament colors, I kept up a small wipe tower to the side, so I could get out the rest of a previous color and the how-does-it-always-look-like-baby-poop color mixing of the changeout to the new filament. This proved to be a solid move, and eventually the little wipe tower was almost its own piece of art. That looked like well-structured baby poop.


Overall, this 3D printing pen performed as I would have hoped. My issues with it were minor, and on the whole it definitely delivered on what it promises, which is a good time and easy extrusion. Aside from my lacking artistic skills and a few very minor burns to my fingertips (really, don’t touch the hotend — advice which should go without saying), Dewang’s 3D printing pen provided a great experience. I’ll definitely be using this 3D printing pen again.
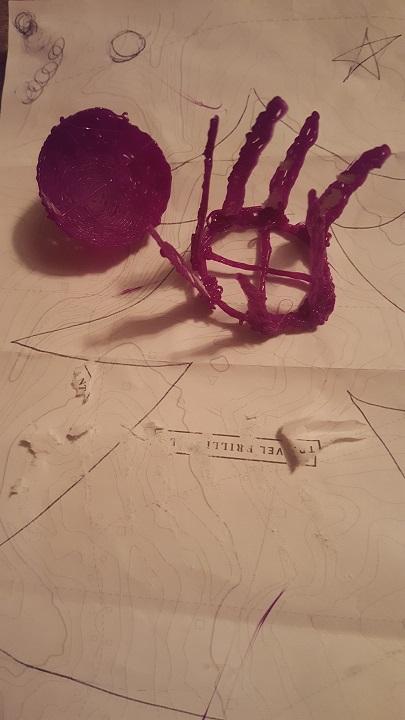
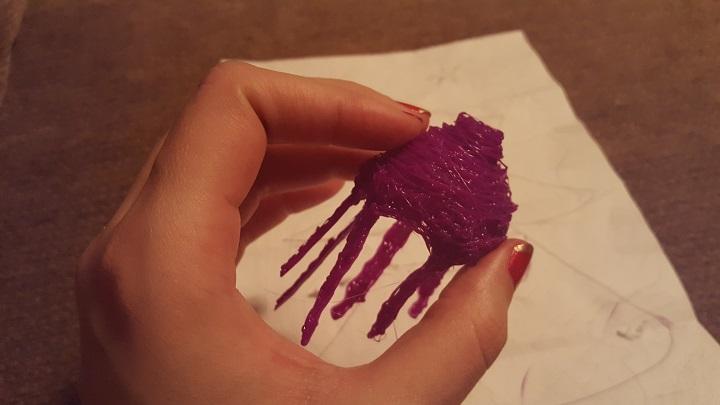
If you’re looking for a 3D printing pen, this one provides solid performance at a pretty decent price point for the technology, on par with the cost of the better-known 3Doodler, available for $99.90 on Amazon. Dewang also offers a lower-cost and lower-temperature 3D printing pen, available for $66.90 on Amazon, suitable for younger users — or anyone who might want to 3D print right onto their hands. While a 3D printing pen may not ever be a necessity, if you’re skipping over the question of “Do I need this?” and heading straight to “Do I want this?” the Dewang 3D printing pen delivers on the ease of use and performance you’d want from this technology.