Kitronik, a company we’ve followed often, is offering a number of easy-to-make accents for All Hallow’s Eve. Rather than just speaking out about how 3D printing needs to be more accessible and affordable, this UK-headquartered team of makers has been dedicated to putting 3D printers in schools, offering fun project resources for students, including combining electronics with 3D printing—their specialty. And now they are turning their skills to some holiday fun, and teaching us as well.
For this year’s costume, whether you are sporting vampire teeth and drooling blood, or going as your favorite frightening character, it’s important to go all out. But let’s not forget about the decorations at home. You can get started on those even earlier, and get the whole family involved. From lighting to pumpkins, Kitronik has a great list of 3D printing and laser cutting Halloween projects, all with free files for download.
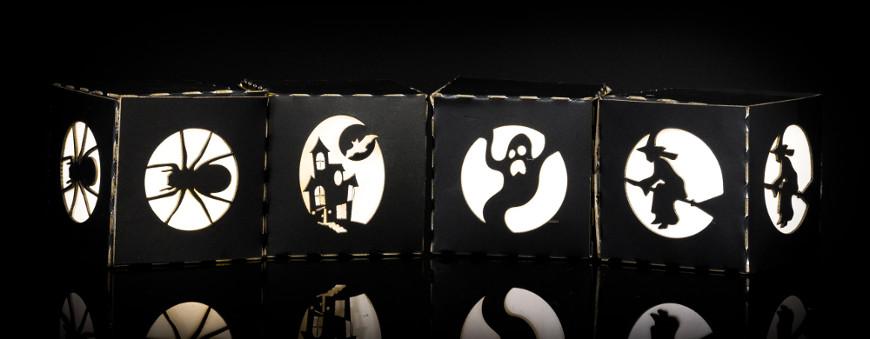
To start, creepy flashing lights are an absolute necessity. With Kitronik’s flicker boxes, you’ll need to put together your 2D talents and the laser cutter as you get crafty with this simple lighting that can be displayed in your front windows to freak out the neighbors, or just hung from the ceiling with string.
“We glued squares of thin white paper inside of each of the design windows,” offers the Kitronik team as a tip. “This allows the light to get out but hides the LEDs from view. To light the box, we took the quick route and taped our LED to a coin cell battery and popped it into the box. The candle LEDs mimic how fire flickers and look quite effective, especially when the LEDs are hidden from view as they are in these boxes.”
All you’ll need are the following:
- Flicker box download from Kitronik
- 1 x Yellow Flickering Candle 5mm Water Clear LED – 30deg – 5800mCd per flicker box
- 1 x CR2032 3V Coin Cell per flicker box
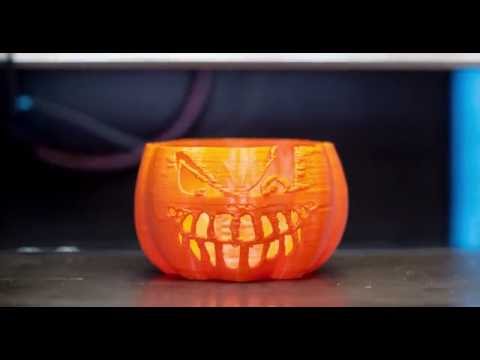
And what about that pumpkin? This is a concern at my house every year. With a bunch of artists in the house, how we are going to carve or light it up is always an exciting topic of discussion. The issue of placing a real candle inside the pumpkin is always a worry regarding fire hazard too, but here Kitronik is offering pumpkin 3D designs that also use the flickering candle LED seen in the flickering boxes.

There are several different designs (the face, ghost, or wolf) to 3D print your jack o’lantern, and it’s recommended that for the ultimate effect, of course, that you make sure the LED is hidden. To pull this one off, all you will need is:
- Your choice of pumpkin downloads
- 1 x Yellow Flickering Candle 5mm Water Clear LED – 30deg – 5800mCd per pumpkin
- 1 x CR2032 3V Coin Cell per pumpkin
You’ll need some bats too, of course. And the more they flap around and surprise everyone, the better. Here, Kitronik (note, you will need a BBC micro:bit for this one) has supplied us with the download and information to rig up one of these tiny creatures that is capable of moving his wings automatically. The team also shared an interesting story as to how the exact design came about:
“We initially laser cut our bat from a perspex sheet with some kerf cuts along the wing/body join so that the wings would flap. In our haste we got our sums wrong and kerf bending became kerf snapping. We re-cut our bat from polypropylene and salvaged the body from our perspex version to act as a platform for mounting our flapping mechanism.”
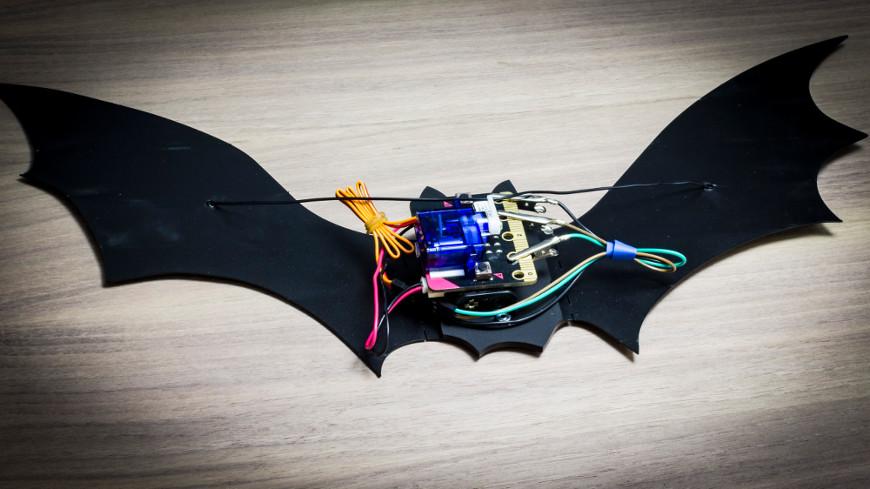
The flapping mechanism is quite simple, composed of:
- A battery cage
- BBC micro:bit
- One servo
- Some crocodile leads
- A length of wire
- Sticky pads
To get your bat flapping, you’ll need to use the micro:bit to rotate the servo and then thread the wire through the horn or the servo, passing either end through a wing, and knotting it off. See the project page for more on coding and connecting the micro:bit.
You will also need:
- Flapping bat download
- 1 x Battery cage
- 1 x BBC micro:bit
- 1 x Servo
- 3 x Jumper wires
- 3 x Crocodile leads
- 1 x Polypropylene sheet
- 1 x Perspex sheet
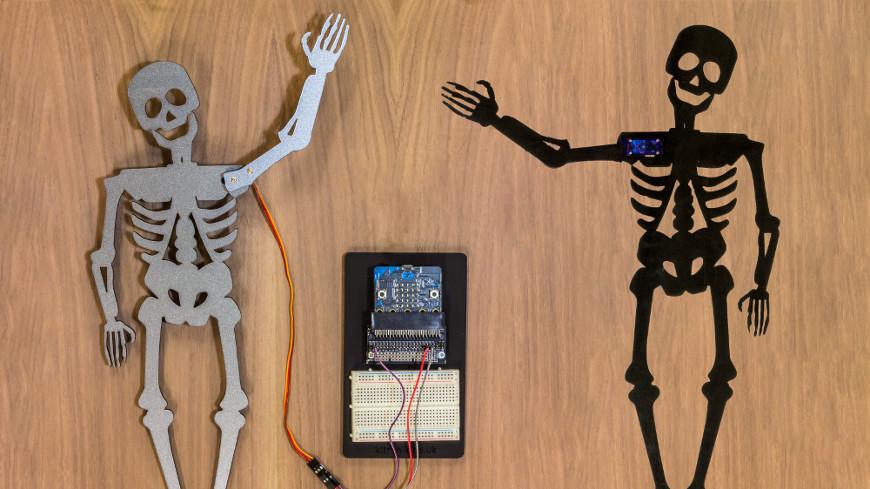
With flickering lights, bats, and pumpkins, it would seem you have all the bases covered for decking out your house of horror…except for, of course, skeletons. Kitronik has thought of this for you too, creating a simple way to make skeletons that will wave at your trick or treaters. You’ll need to cut the skeleton design into two pieces from a Perspex sheet and then mount the servo on the back. The arm connects to it firmly, and from there you are set.
“We used the same code for this project only tweaking the code slightly to get the desired waving effect,” says the Kitronik team regarding the servo. “Although we built ours using the prototyping system, if we were going to put it into a window we would power it and connect it up in the same way we did for our flapping bat design.”
- Waving skeleton download
- 1 x BBC micro:bit
- 3 x Jumper wires
- 1 x Perspex sheet
- 1 x Servo
There is so much cool stuff you can do—and there are still a couple of weeks to enjoy everything. You can also try some of these designs below—especially if you want to incorporate more 3D printing:
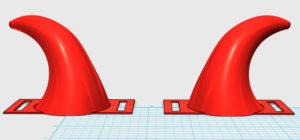
- Wearable horns with lights—here, you can 3D print hollow horns worn with a strap, and made to light up with a simple LED.
- Sweet collecting cauldron—Fabricate a cauldron with a lid and holes for a string handle. Kitronik recommends putting an SVG or DXF image on the bucket, along with, of course, adding a flickering LED inside for greater effect.

And for some extra fun, if you’d like to remember your experience and create a time-lapse film of your 3D printing, Kitronik has created the video below for instruction on just how to do so. Discuss this at the 3D Printed Halloween Projects forum at 3DPB.com.
[Source/Images: Kitronik]