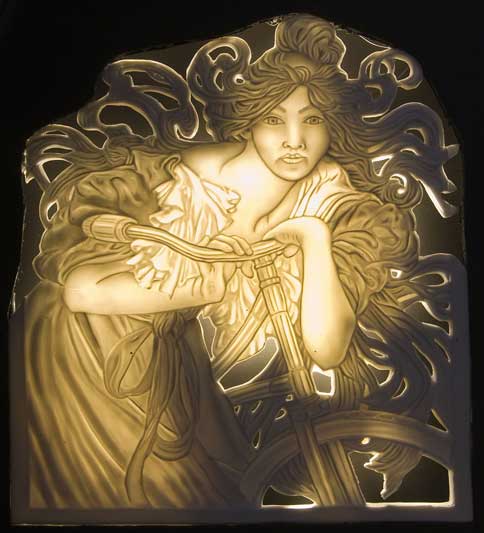
Lithophane by Hannah Blackwell [Image: Blair Museum of Lithophanes]
It’s a beautiful art form, and it hasn’t been completely abandoned over the years. It has, in fact, been adapted to the digital world, and now lithophanes are surprisingly easy to create. 3D printed lithophanes are becoming popular, and there are lots of resources out there to help you create one in mere minutes. It’s almost too easy, actually – I imagine the lithophane’s original creators are probably kicking themselves in frustration, on whichever plane of existence they happen to be residing now.
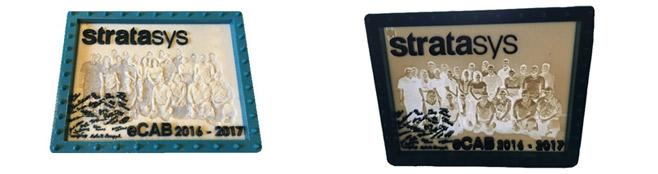
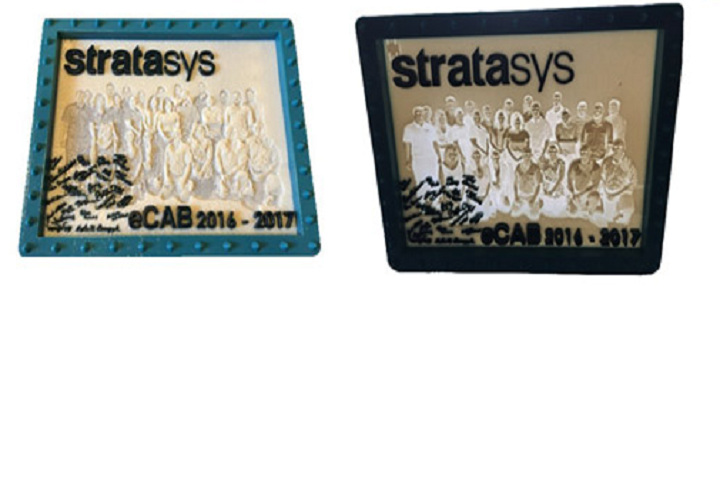
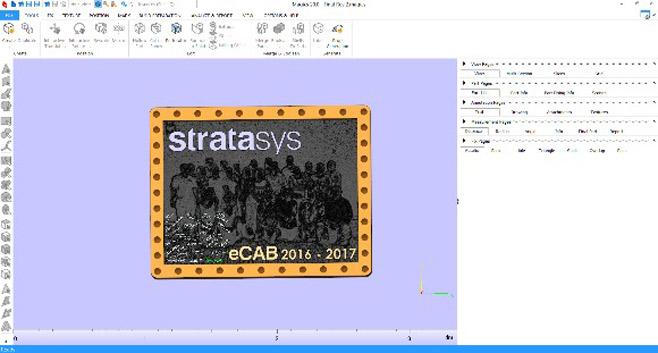
Stratasys recently released their own 3D printed lithophane tutorial as part of their Education Innovation Series, which includes lesson plans and fun projects for K-12 teachers to use to teach their students about 3D printing. For the tutorial, the Stratasys Education Advisory Board (eCAB) team made their own lithophane, incorporating multiple images to create a really neat final product that can easily be adapted by a school for a class photo project.
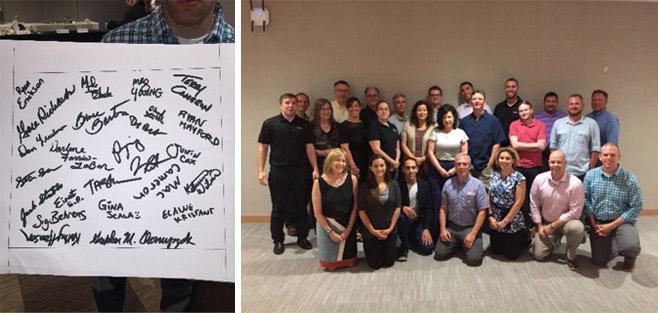
The team began with two separate images: a group photo and a photo of a piece of posterboard signed by the entire team. They then imported the group photo into 3DP Rocks’ popular Image to Lithophane tool, which converted the 2D image into an STL file. Next, they used Inkscape to convert the image of the signatures into an SVG file, which was then imported into Tinkercad, where it was turned into an STL file and overlaid onto the lithophane file.
Finally, the completed file was uploaded to Objet Studio and 3D printed on the Objet Connex3, Stratasys’ multi-color, multi-material printer, which made quite a buzz when it was introduced nearly three years ago. The image was printed with a glossy surface, and while it isn’t porcelain, it still glows – in an almost eerie manner, to be honest, as a strange negative-image effect is created when held up to the light.
The process took about two and a half hours, and all of the software, except for Magics, was free. (It probably won’t be too hard to find a free workaround for the Magics step, if necessary.) This looks like a great classroom project; it’s simple enough for most age levels, and is a fun way to teach students about multiple kinds of 3D software. It can be done on any kind of 3D printer, and kids should love the personalized nature of it – plus, the weird glowing negative effect of the final product is perfect for Halloween. Read the full tutorial here. Have you tried a project like this? Discuss in the Lithophane Tutorial forum over at 3DPB.com.