If you are up on manicures these days, you know that gel polish is all the rage. It generally has to be applied at a salon because in the end it has to be “cured” in a UV lamp, and usually with a fairly hefty price tag. If you can whip up your own lamp and be responsible for your own gel manicures, again this is another example of how 3D printing takes time and expense out of a process, allowing an individual to be a one-stop shop from start to finish.
In keeping with innovative technology, UV gel nail polish is taking nail salons into the new age, with a different chemical formulation that’s more durable, flexible, and long-lasting. It usually comes at a premium price, and customers are beholden to the nail salon to apply it, complete the drying process, as well as remove it a few weeks later. Women appreciate the polish because it’s very difficult to chip, even while washing dishes, prying something open, etc. I myself have had a number of these manicures, and the polish really is impressive. I find myself doing out-of-the-ordinary things with my nails just to see how far the limits of the polish will go. It is incredibly industrial.
You could purchase a lamp ready-made, but they are large and unwieldy. Adafruit has made this into a fun DIY project, supplying the design and instructions to make the entire lamp yourself. It might not keep you or your partner out of the salon entirely, but it’s great for touchups or travel. All you need are the instructions/tutorial and this simple list of products:
- 30 UV LEDs
- 30 100-ohm RESISTORS
- half-size perma proto
- silicone wire in red and black
- Slide switch
- PowerBoost 500c
- 2500mAh lipoly battery
- soldering iron and solder
- wire strippers
- diagonal flush snips
- helping third hand tool
- Panavise
- access to a 3D printer
- machine screws
- hot-melt glue
- silver sticky paper (optional)
- multimeter
It takes about four to five hours to print the materials for the enclosure/casing for the lamp. The enclosure is held together with machine screws, but you’ll have to glue the eyes in place. E6000 is recommended, but hot-melt glue would work fine too. All of the parts are optimized to print with out with the support material. It’s recommended that you print in PLA material with the recommended slice settings for the best results.
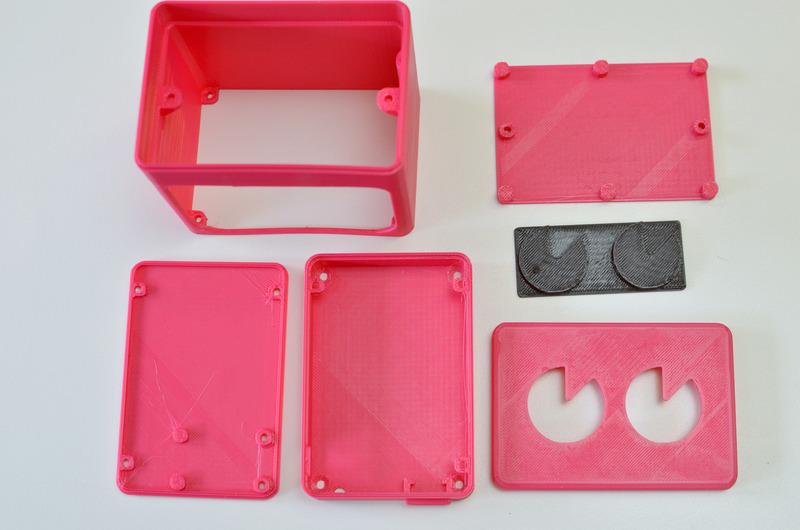
3-D printed enclosure parts
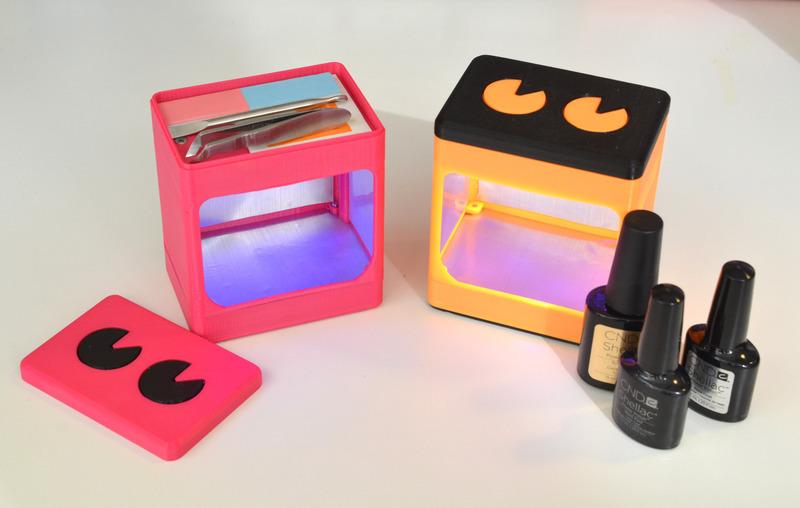
While your 3D printer is busy printing the enclosure for the lamp—in your favorite color, of course—you can be busy building the UV circuit, and soldering the light board, all of which will fit inside the plastic frame your 3D printer produces. You may want to put a little sticky paper in the bottom of the enclosure to even out the light. You’ll need provide the battery. To watch a complete tutorial, see below.
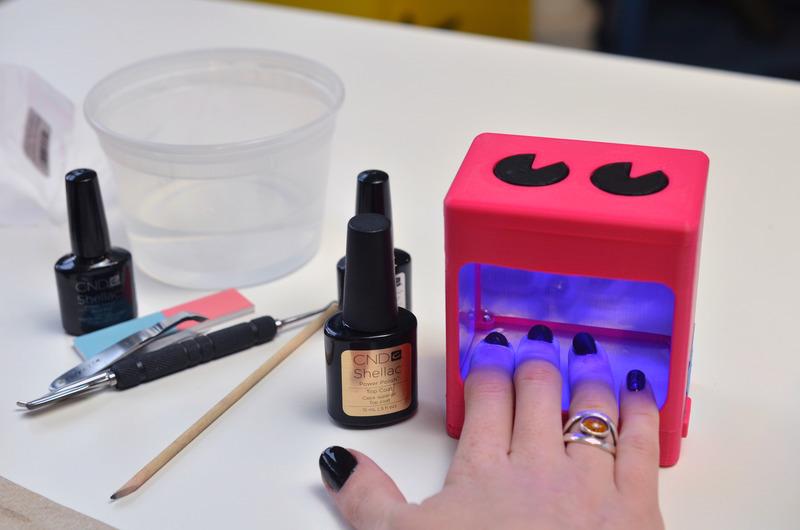
“Curing” may take just a bit longer in your mini manicure lamp, but you’ll be rewarded with something you made on your own, and it’s fabulous for touch-ups and travel. Best of all, you can probably put all of this together without even breaking a nail.
To view and download the application and print instructions for this project, click here. Please share your thoughts on this project, or similar projects in the manicure lamp forum thread on 3DPB.com