

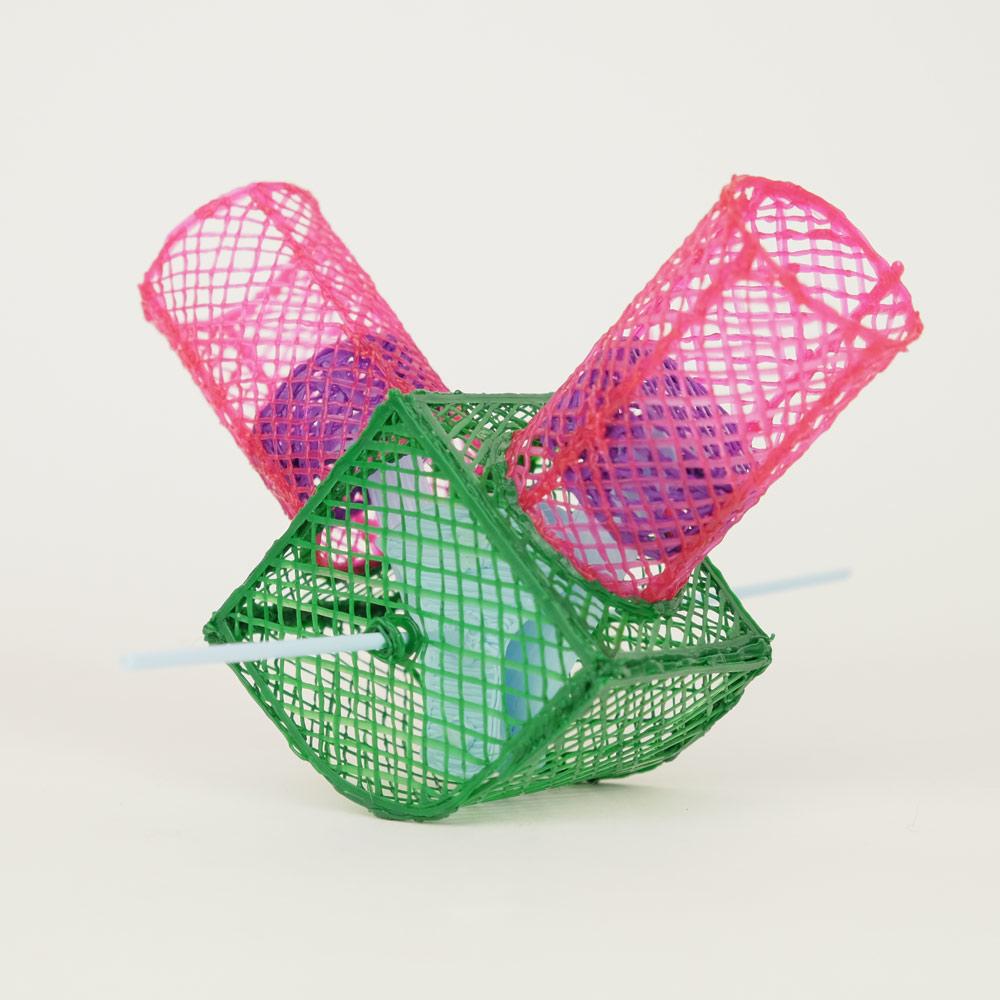
To 3Doodle a V-Twin Engine you will need to gather some materials together, including: your 3Doodler pen, PLA plastic of any color, a DoodlePad, scissors, masking tape, and something shaped like a tube (such as the 3Doodler 100-strand plastic tubes). Oh yeah! You’ll also need to get your hands on one of these V-Twin Engine stencils, since that is the item that this particular PowerDoodler Activity revolves around.
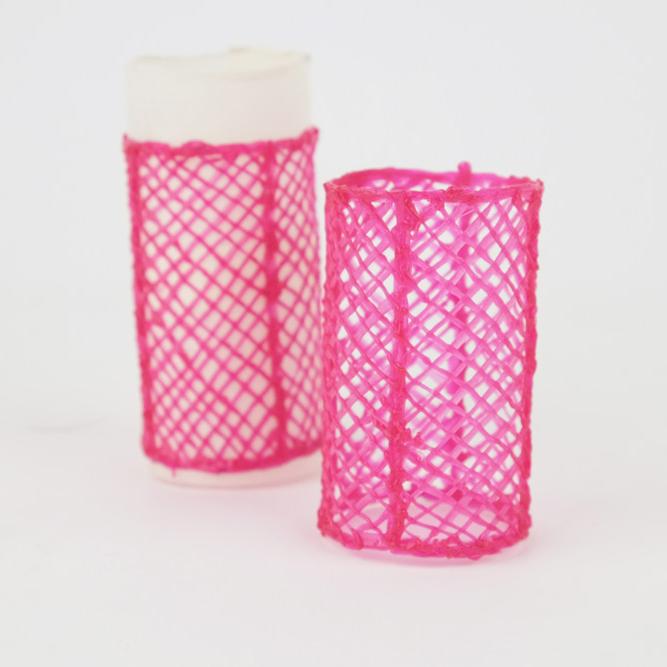
For the engine pistons, you need to take the same tube piece, cut shorter. This time you’ll be putting masking tape on the inside of the tube, then: “Carefully Doodle around the interior of the tube, using the opening you cut in the side of the tube to help peel the Doodle out when you are finished. Do this twice too!” When you are done make sure that the pistons you just made fit securely inside your other larger tubes.
For the next step you’ll need that DoodlePad as you Doodle the rest of the engine parts, including two round piston parts, a crank shaft, and casing. Next is a step that is a bit more difficult than previous steps. You need an unused strand of plastic, cut into three pieces: two large pieces that are the same length and one shorter piece that fits in the middle of the other two pieces. Then “Doodle each longer strand piece into place, resting it in the middle hole of the paddle-shaped pieces you’ve made on the stencil.” Both paddles and longer strands should be aligned. Likewise, the smaller strand segment will connect the paddles together so long as you “thread it through one end of each of the two remaining stencil shapes.” The goal here is for these to swing around like clock hands!
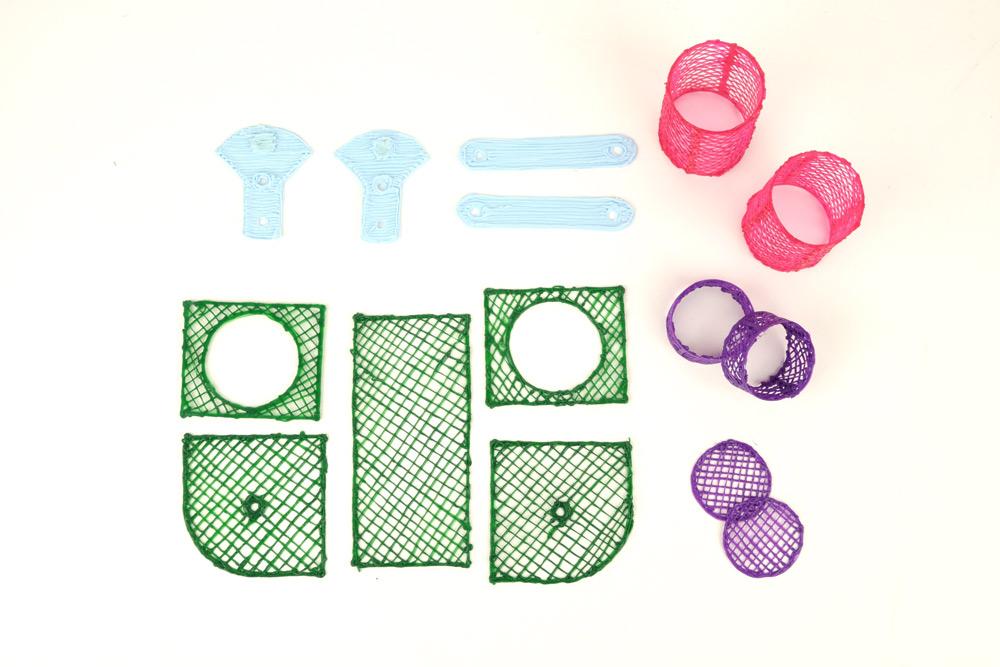
Nearing the end of our project, we still have two more very important steps. In Step 6, you are bringing the pistons and the crank shaft together, and it is best for you to check out exactly how this is done in the PowerDoodle Activity instructions. In Step 7, to make sure everything stays together here, Doodle each cylinder to each crank case panel and one of the shaft panels. Then put your pistons and crank shaft into place. Once everything seems to fit, you will Doodle the case’s opposite side into its correct place, along with the curved bottom part.
Once you’ve made sure that all parts are fitted and then Doodled together, you should have a Doodle Engine that’s ready to go! Samson Wong leaves one final challenge here: he wants you to consider taking this to the next level by making a single cylinder alternative — with a 3Doodler pen, of course! What do you think of these ideas? Discuss in the 3Doodler 3D Printing forum over at 3DPB.com.
