


In that spirit, Guido Vrola Design has produced a remarkable video that shows all of the steps involved in the making of a Stone Age-inspired computer mouse. In the video, you can see all the steps involved and hopefully get an overall idea of what it takes to make something 3D printed, and this may make you want to try making your own Stone Age-inspired 3D printed mouse.
A reference to the Stone Age simply can not be passed up, it seems, without also referring to the American cartoon The Flintstones. In the cartoon we confront how modern amenities — most memorable for me is the automobile — are “Stone Age-ified.” That is, the modern becomes distinctively near ancient, and what better way to capture this than a computer-related accessory like a mouse?
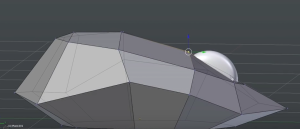
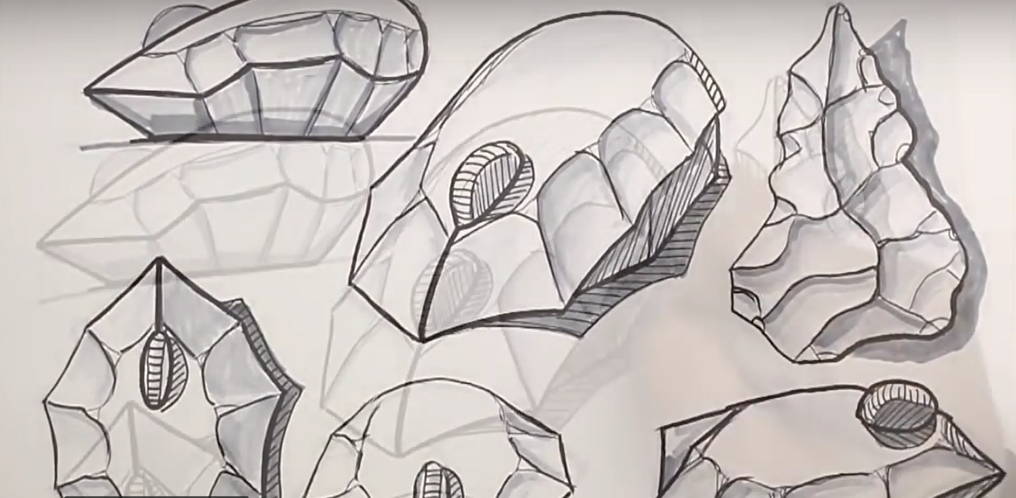
“In this video, I share the process I use to create a design project from the realization of concept sketches moving then to digital modeling and to the construction of a physical prototype through 3D printing. I used Blender to model the mouse because I find that, when I have to translate ideas into 3D models to print them and test the ergonomy (and maybe change them multiple times), Blender is the fastest and easiest way of doing it.”
First we have the drawing of the object, and the next step shows how the drawing becomes a model using Blender. Next, we see him 3D printing and then wiping down the mouse, and then using Dupli-Color Plastic Primer on it.
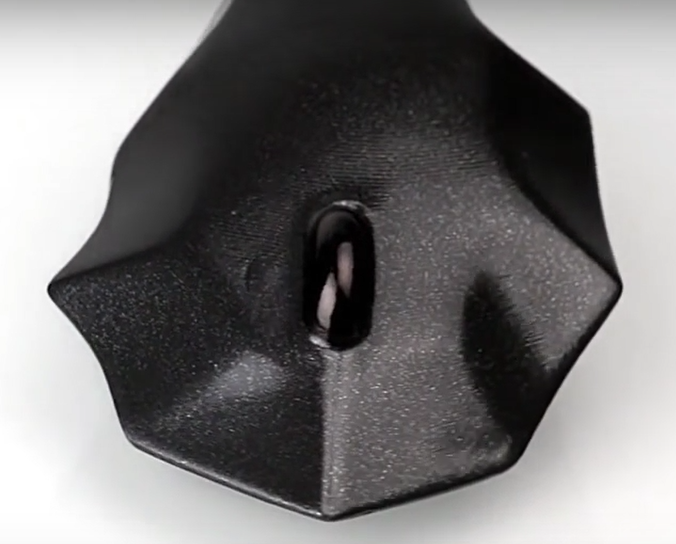
The finished product still looks very Stone Age, and who says they didn’t have anything slick back then anyway?
You can check out Guido Vrola Design’s excellent YouTube video below. Is this a product you would enjoy using? Discuss in the 3D Printed Mouse forum over at 3DPB.com.
