![]()
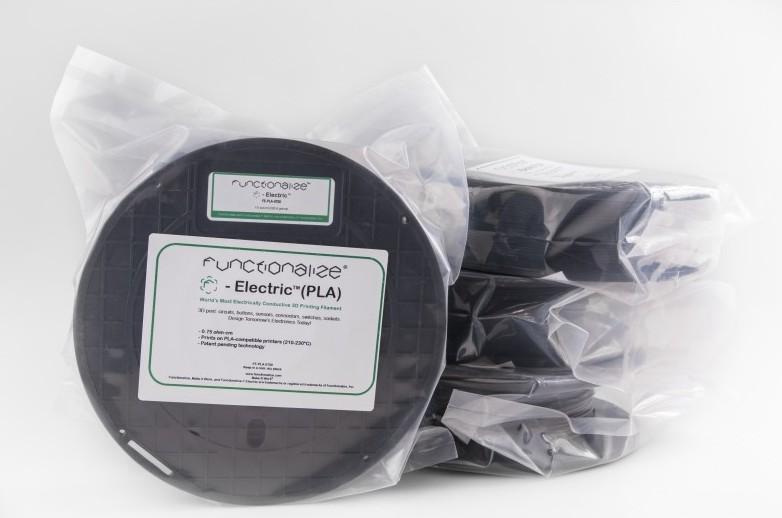
Functionalize F-Electric conductive 3D printing filament.
Functionalize was one of the first companies to develop a highly conductive 3D printing filament that they call F-Electric that can be used to 3D print circuits, buttons and power connectors. It is also conductive enough to 3D print a working flashlight with power connectors and a battery pack right inside a plastic print. The material will work on just about any standard desktop 3D printer regardless of nozzle size. F-Electric was originally launched on Kickstarter way back in 2014, however it was unable to secure the funding that Functionalize founder Michael Toutonghi was looking for. The idea for a conductive filament was truly ahead of its time, but it didn’t take long for everyone to catch up and Toutonghi to get his Washington-based company off the ground.
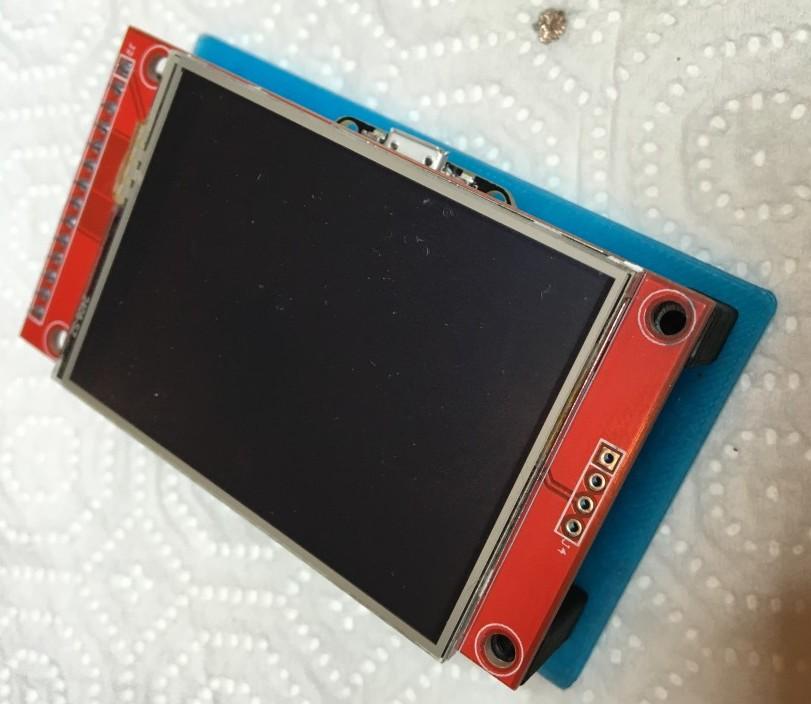
Functionalize has already showed off a wide range of uses for their F-Electric filament, including a working LED mini-flashlight kit and a light-up Christmas-themed spaceship ornament. They’ve also used their F-Electric to help 3D print functional lamps, breadboards and even drones, which are all featured on the Functionalize Blog. And they have just posted their most complex and exciting 3D printing project yet, a working Arduino compatible, WiFi-connected 320×240 color touchscreen device with 3D printed circuits. The device can be used for almost anything, including to automate home functions, a drone or robot controller, as the brains of a WiFi-enabled device or a sensor display for the Internet of Things.
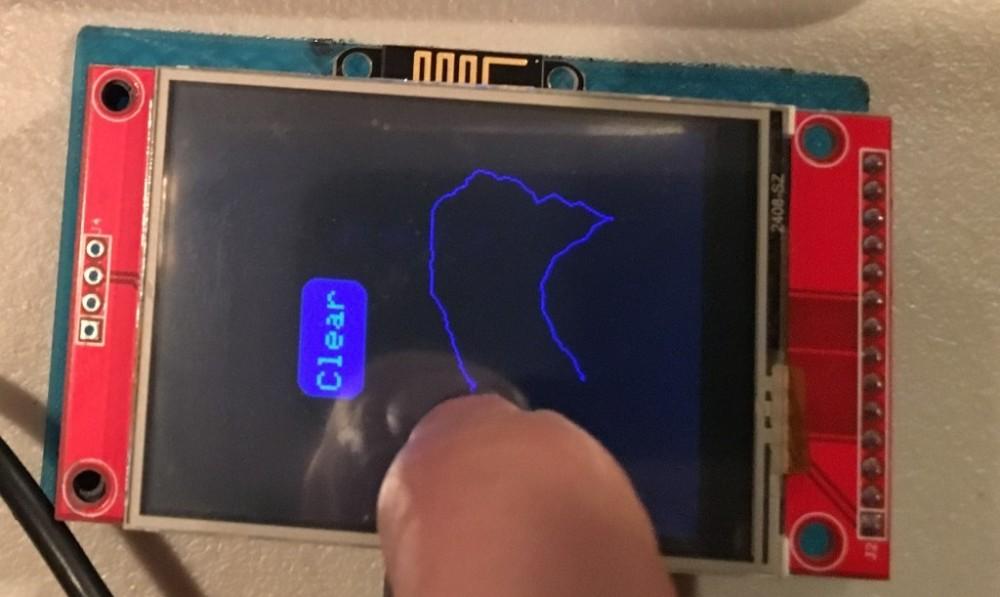
An Arduino compatible, WiFi-connected color touchscreen device made with 3D printed circuits.
In comparison to manufacturing your own touchscreen device using traditional materials, the 3D printed version seems surprisingly easy. But don’t let it fool you, despite the ease of 3D printing working circuit boards, this isn’t a project for beginners. However the Functionalize team has including an extremely detailed set of step by step build instructions that are pretty easy to follow. Once the 3D printed components are complete the total assembly time should be about an hour, and the project required no wires and no soldering of any kind. The device only requires about twenty dollars in materials and about six grams of F-Electric conductive filament.
The 3D printed curcuit board before conductive paint.
“When we first invented F-Electric, we wanted to get the breakthrough into your hands quickly, and enable you to start making amazing things. As we’ve learned through your projects and questions, any new material, while enabling new ways or things to make, also brings with it a new learning curve, especially when dealing with a large variety of 3D printers and ideas. We hope this tutorial will provide you with tools to 3D print the electronics you imagine using F-Electric,” wrote the Functionalize team on their blog post.

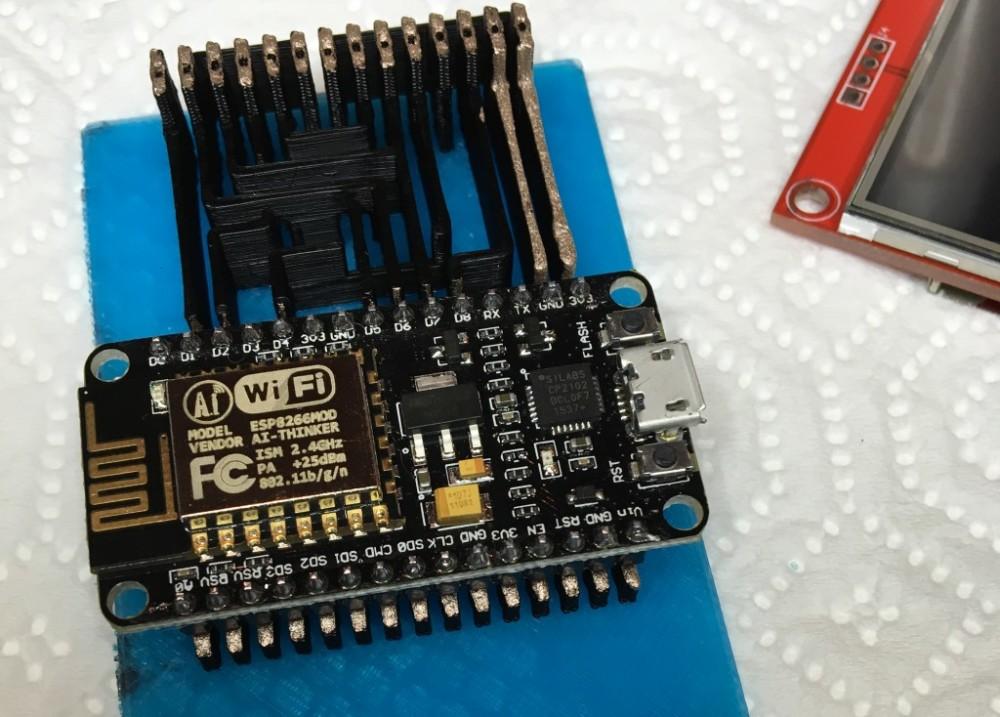
Among the small list of parts that are needed for the project is a NodeMCU board V1, a 2.4 inch TFT Touchscreen Module and a small amount of silver conductive paint. While the Functionalize team says that copper conductive paint may work, it isn’t as conductive as the silver paint and anyone looking to make their own device should stay away from carbon paints.
“This project actually started as an internal effort to improve our production through automation. Recently, we decided to build some factory control equipment, and thought ‘what a great opportunity to put F-Electric to the test and maybe make an example in the process’. I started working on this design a little over a week ago, and am now ready to share the first rev of a component we will use along with what new things I’ve learned about 3D printing circuits with F-Electric. I hope you will find this write-up helpful,” the Functionalize team continued.
The 3D printed circuit boards after conductive paint is applied.
There are two different STL options of the 3D printable circuit boards depending on the types of 3D printing that will be used to 3D print the parts. The first STL file was optimized for a single head 3D printer [link opens download] that will pause the printer to allow a quick change of the insulator filament to the conductive filament. The second STL file was optimized for dual head 3D printers and for slicers that will allow users to assemble multiple STL files into one printable part.
Here is a video demonstration of 3D printing with conduction filament using a single head printer:
I highly recommend that anyone attempting this project have at least a passing familiarity with programming Arduino devices. And don’t worry, you won’t have to hunt drivers or anything down, as the Functionalize team included a full list of downloads on their tutorial. They also included a bunch of 3D printing, assembly and finishing tips and tricks in case anyone building their own touchscreen device runs into any problems. This project is ideal for anyone looking to build a homebrewed connected home or sensor network or for educational purposes in a school setting. You can read the entire tutorial over on the Functionalize blog here. And you can learn more about the Functionalize F-Electric conductive 3D printing filament and purchase a spool here. Discuss in the 3D Printed Arduino Device forum over at 3DPB.com.