
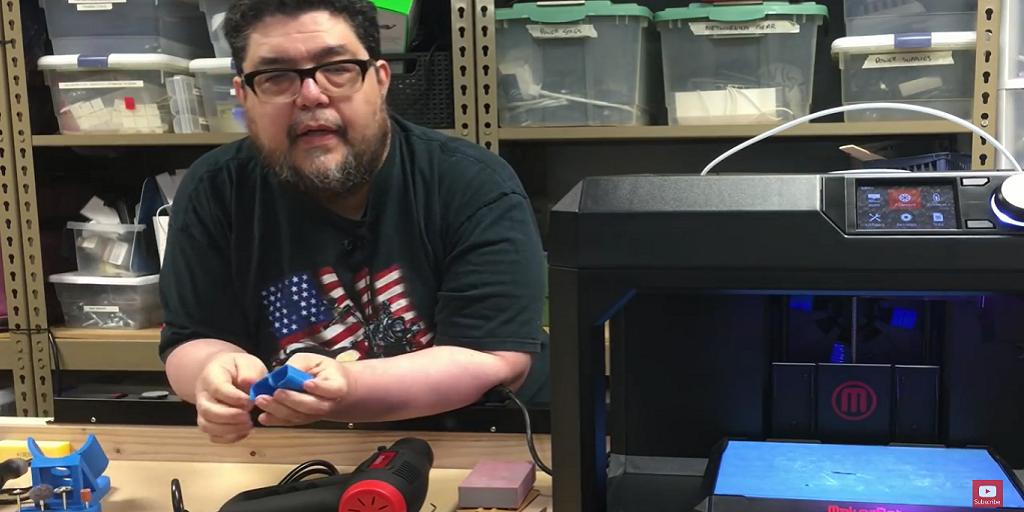

Unlike conventional objects we purchase off the shelf in stores, one great feature of 3D printing is the ability to decide what size you want something to be and scale it accordingly. This is especially the case with things we wear on our bodies, like clothes and shoes, but I am also talking about pre-designed things that we see on one of the many 3D printing marketplaces, like Thingiverse, now at our disposal. This is the focus of David Gewirtz’s recent DIY-IT column, where he took a cord holder design off Thingiverse and scaled it so he could use the gadgets for different size wires.
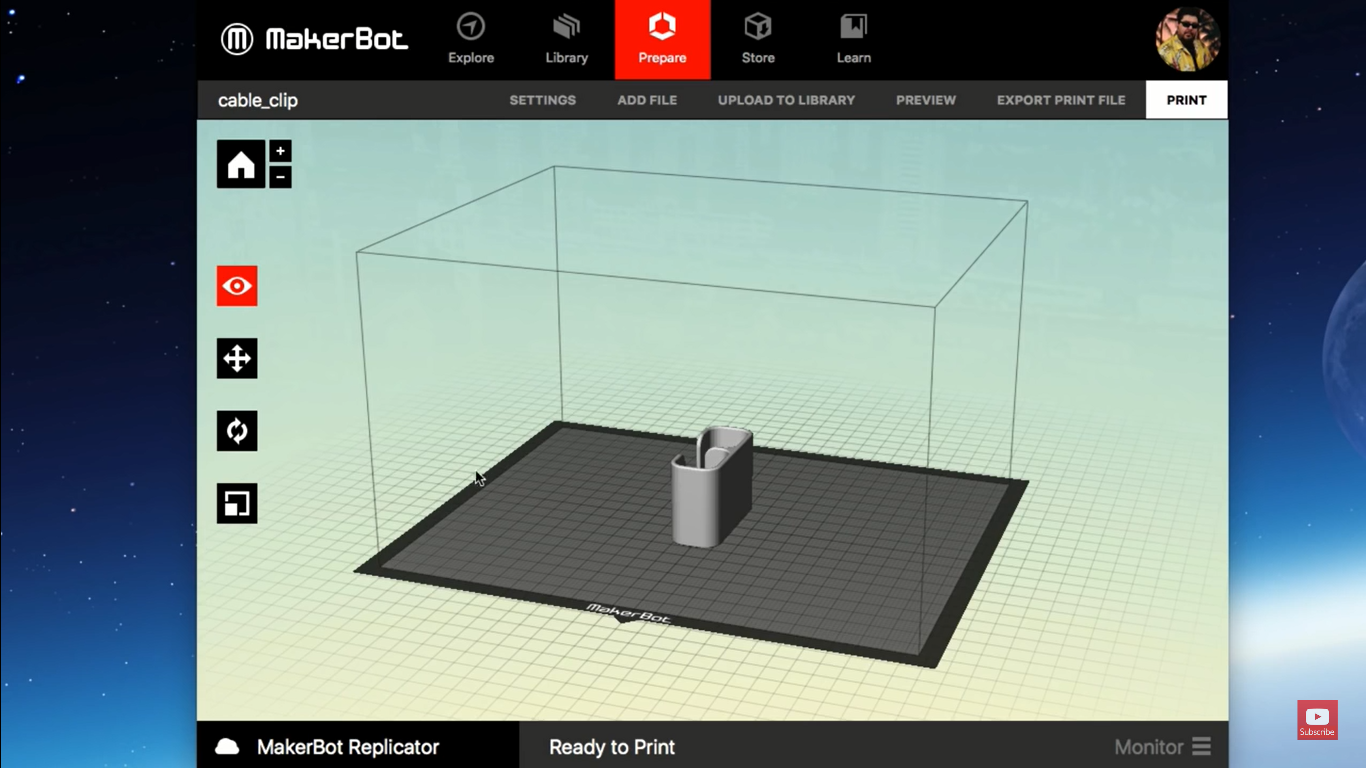
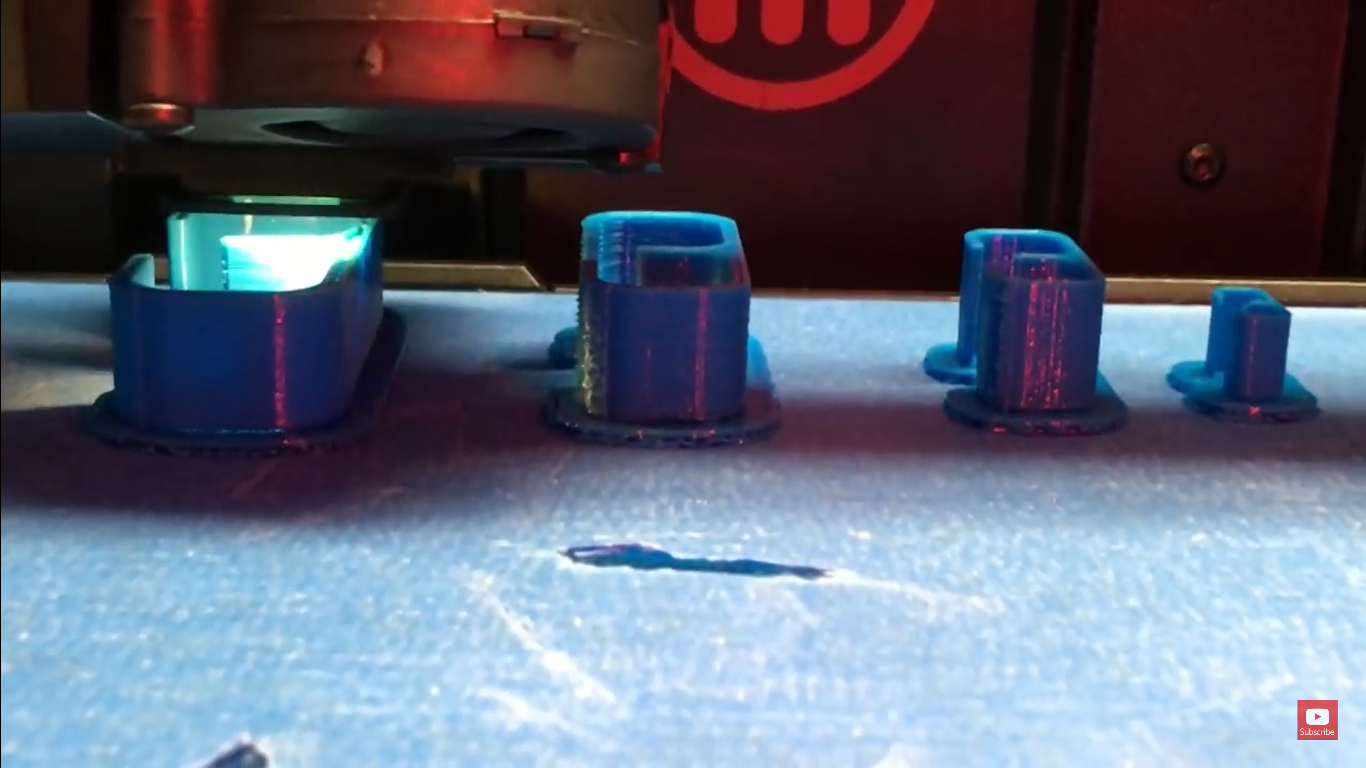
Once he set the dimensions that he needed, he previewed them by clicking “Preview” at the right hand top of the page. Then when the previewing of the objects on the print bed was completed, he sent them to the printer. This particular print took about 5 hours because about 0.061 pounds of material was used.
Not only is it pretty easy to customize these cord sizes, but designing your own cord management system is not expensive. Gewirtz explains:
“To give you an idea of cost, the role of MakerBot-branded blue filament I used cost $48 for two pounds of filament. The four cable holders used 0.061 pounds of material. For all four cord holders, that’s about $1.40 worth of plastic, and that includes the cost to make the rafts. In the video, I estimated that one cable holder was about ten cents, but it’s more accurately closer to about fifty cents for the largest holder. Even so, we’re not talking big numbers here.”

Given all of this emphasis on customization, isn’t it good news that the only thing stopping the printing of an object is that it has to fit on your print bed? And, of course, you can also 3D print complete objects larger than your print bed so long as you know how to segment the object, print the parts, and then assemble them using pins, screws, or glue. Custom-scaling knows no boundaries in the brave new world of 3D printing, and Gewirtz shows us one example of how to accomplish this in his video “3D Printing: How to Easily Customize the Size of Objects.” Discuss in the Customizing Pre-Designed 3D Models forum over at 3DPB.com.
